38
TEST PROCEDURES
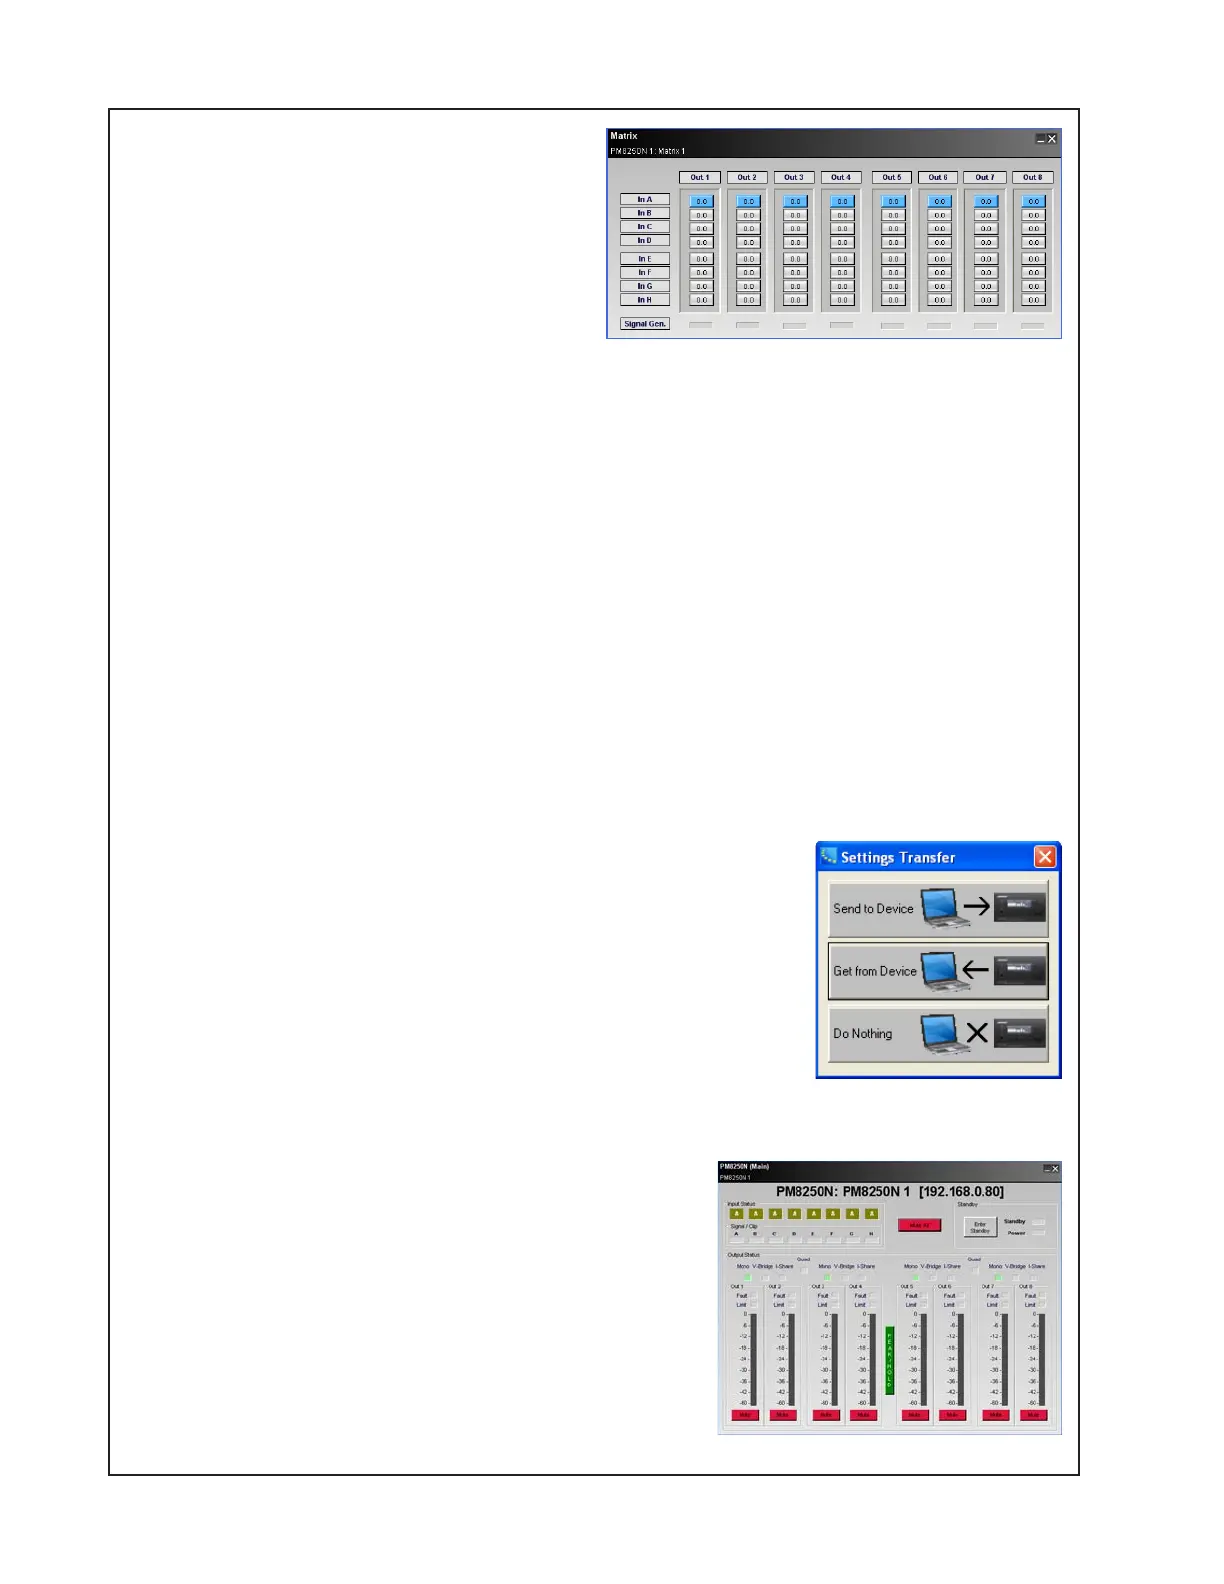
The window at right should open. Click the
Out 1 to Out 8 boxes so that they are lit up in
the In A row. This maps all outputs to the
input A input connector.
3.5 Connect the amplifier to AC mains.
3.6 With no audio signal applied, turn on the
unit. Observe that the bottom 3 LED’s light
evenly.
1 - “Clip” – Red
2 - “Limit” – Orange
3 - “Power” – Green
Listen for any ON pop noise. Turn the amplifier off. Fail the unit if an on-pop can be heard.
3.7 In the ControlSpace Designer software, mute all channels. You can do this by clicking on the
speaker symbol button in the top row of buttons in the CSD window.
3.8 Connect the PC to the unit under test using a USB A/B cable.
3.9 When you connect, a dialog box will appear on the PC asking if you would like to go online,
click YES.
3.10 A second dialog box will appear asking if you would like to associate with the project device,
click OK.
3.11 A third dialog box will appear, click SEND TO DEVICE. Once
you click send to device, the background color of the screen in
CSD will turn light blue and the system will be online at that point.
3.12 Connect an audio source to the channel 1 analog input and
start playing audio with the volume set all the way down (not using
a mute function on the audio source).
3.13 Using ControlSpace
®
Designer, un-mute each channel one by
one and listen for clear, undistorted audio and no unwanted noises
such as pops, whistles or any distortion.
3.14 In CSD, click on the Project View tab at the top of
the window. You will see a graphic of the amplifier. Right
click on the amp graphic and select “Open Monitor
Panel” from the menu. The below control window will
open. Use the red mute buttons along the bottom of the
window to mute and un-mute channels.
3.15 After un-muting the first channel, ramp the volume
on the input device up to a comfortable listening level.
 Loading...


