ENGLISH
10
WARNING: Always remove battery pack before
loading or unloading nails. Serious personal injury
mayresult.
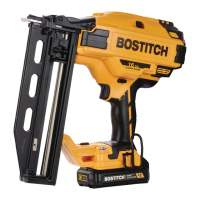
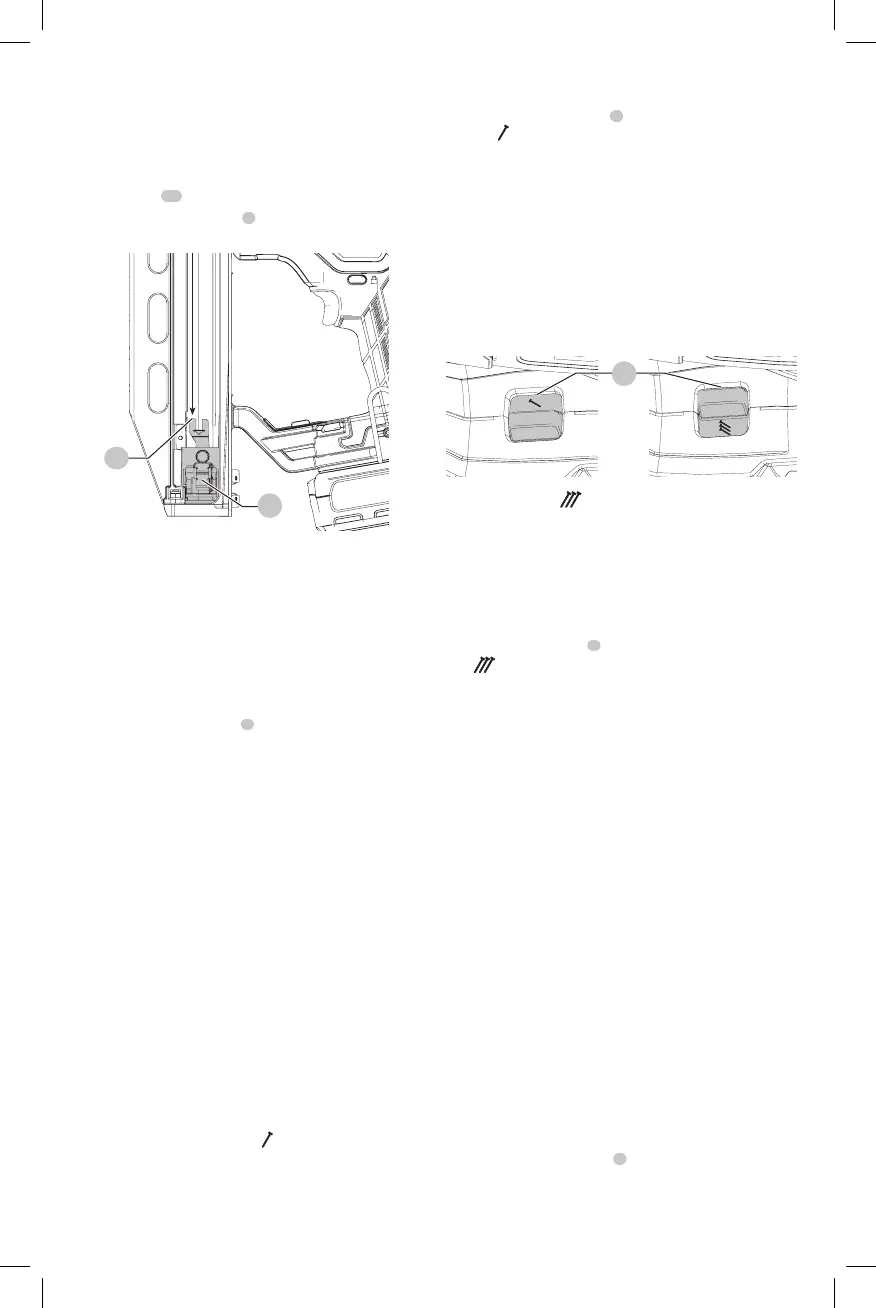
1. Load nails through the slot in the rear of the magazine
and past the retaining clip.
2. Pull pusher
16
back behind nail stick and release.
3. Ensure magazine pusher
7
is behind the last nail stick.
Fig. H
7
16
Unloading The Tool (Fig. H)
WARNING: The trigger lock-off should always be
locked off whenever any adjustments are made or
when tool is not inuse.
1. Release pusher so it is no longer applying force to the
nail sticks.
2. Slide nail sticks down and out through the slot in the
rear of the magazine.
3. Open the jam clear door
5
on the nosepiece to verify
there are no nailsremaining.
Mode Selection (Fig. I)
WARNING: Always wear proper eye [ANSI Z87.1
(CAN/CSA Z94.3)] and ANSI S12.6 (S3.19) hearing
protection when operatingtool.
The BOSTITCH cordless nailers are assembled in accordance
with the ANSI Standard SNT-101-2002.
The finish nailer is capable of firing nails using bump
actuation or sequential actuation. If you would like to
have the bump actuation mode disabled, have the tool
serviced by an authorized BOSTITCH service center. Before
operating this tool, look at the selector switch to determine
the actuation mode. Read all instructions before selecting
actuationmode.
WARNING: Keep fingers AWAY from trigger when not
driving nails to avoid accidental fastener discharge.
NEVER carry tool with finger on trigger. In bump
mode tool will drive a nail if contact trip is bumped
while trigger isdepressed.
Sequential Actuation
Use sequential actuation mode for intermittent nailing
where very careful and accurate placement and depth
control is desired. The sequential actuation mode provides
the maximum delivery of power for driving the longestnails.
To operate the nailer in sequential actuation mode:
1. Slide the selector switch
8
to expose the singlenail
icon
.
2. Fully depress nosepiece against the work surface (motor
will start).
3. Pull trigger (nail will drive into work surface).
4. Releasetrigger.
5. Lift nosepiece off worksurface.
6. Repeat steps 2 through 4 for nextapplication.
NOTICE: The contact trip needs to be depressed followed
by a trigger pull for each nail followed by a release of both
the contact trip and trigger after eachnail.
Fig. I
8
Bump action
Bump action is intended for rapid nailing on flat, stationary
surfaces and typically most effective for applications that
require driving shorternails.
When the tool is set in the bump actuation mode, two
methods of tool operation are available: place actuation
and bumpactuation.
Slide the selector switch
8
to expose the triplenail
icon
.
To operate the tool using the place actuation
method:
WARNING: A nail will be driven each time the
trigger is depressed as long as the contact trip
remainsdepressed.
1. Depress the contact trip against the worksurface.
2. Depress thetrigger.
To operate the tool using the bump actuation
method:
1. Depress thetrigger.
2. Push the contact trip against the work surface. As long
as the trigger is depressed, the tool will drive a nail every
time the contact trip is depressed. This allows the user
to drive multiple nails insequence.
WARNING: Do not keep trigger depressed when tool
is not in use. Keep the trigger lock-off in the locked
position when the tool is not inuse.
WARNING: When the tool’s motor is running, pulling
the trigger or depressing the contact trip will cause a
nail to bedriven.
Adjusting Depth (Fig. J)
The depth that the fastener is driven can be adjusted using
the depth adjustment wheel
3
on the side of thetool.