Gearbox and Flail Replacement Procedure
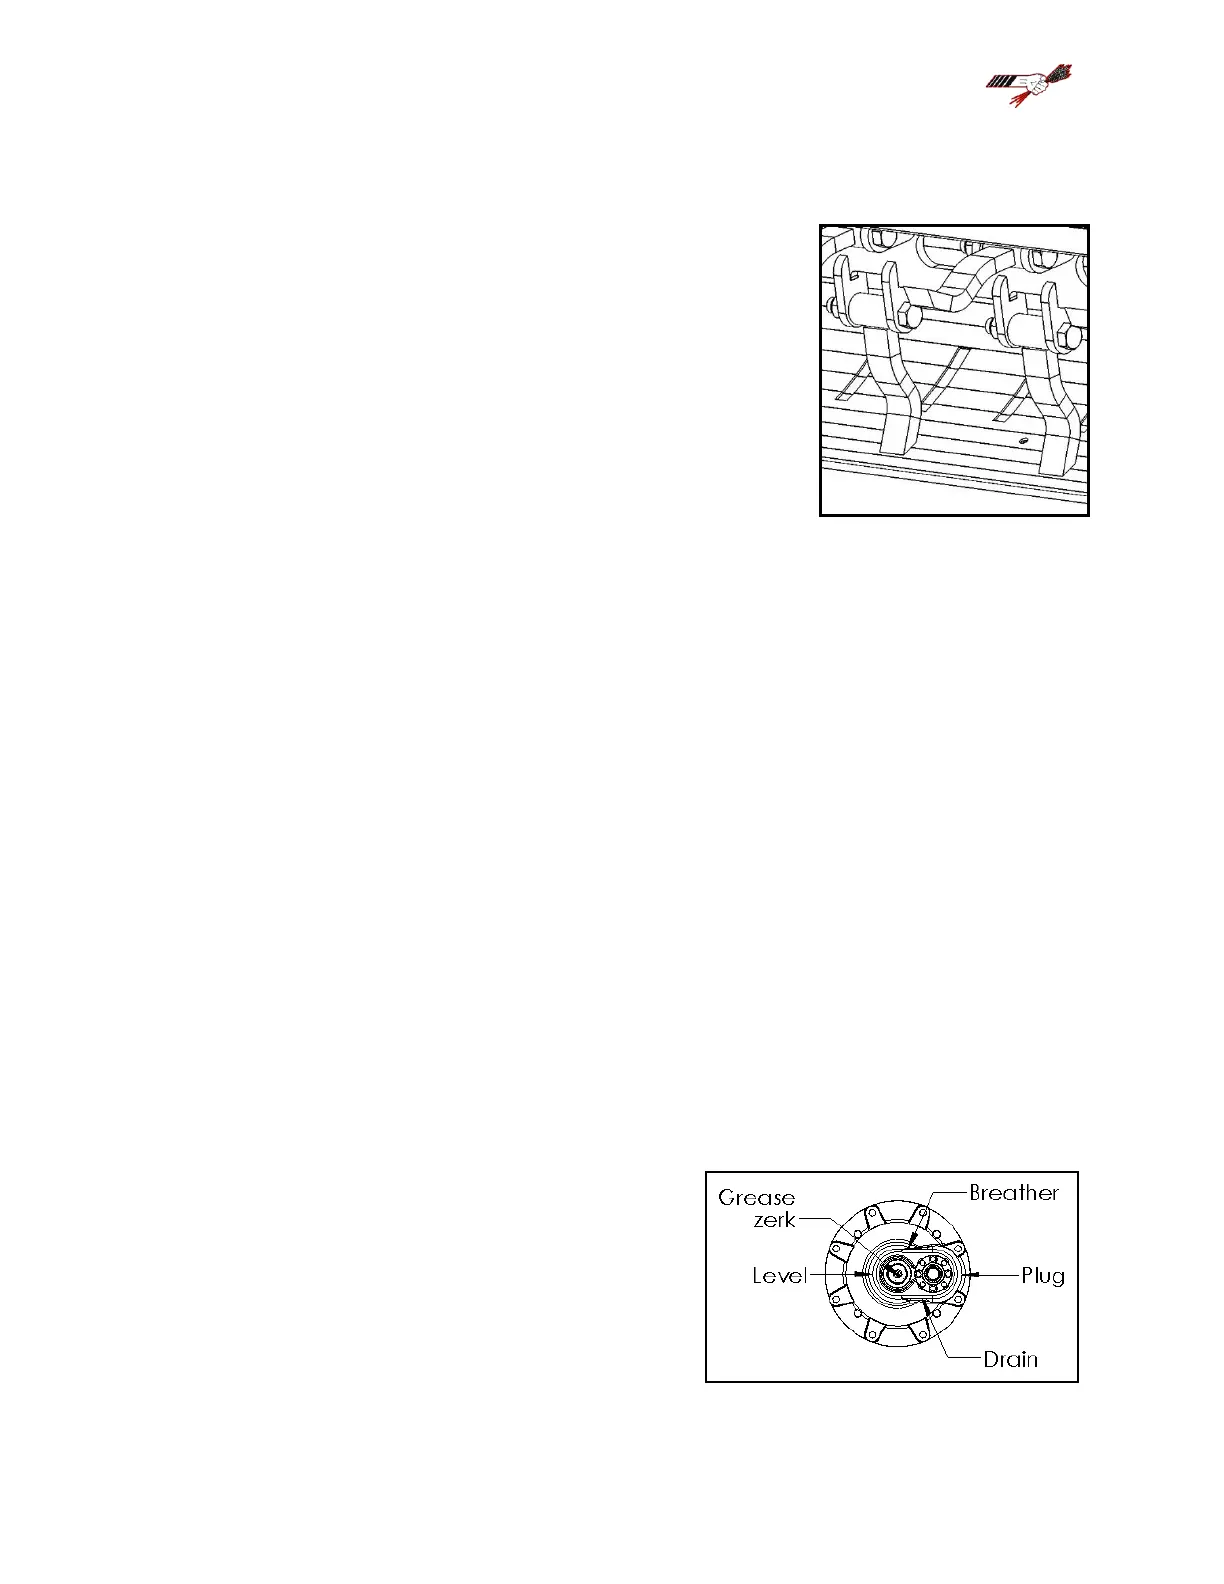
Flail replacement is accomplished by removing the 3/4”x 4-
3/4” bolt holding the flail to the rotor. The flail is then lifted away
from the rotor. The bushing can now be removed by using slight
pressure to push it out of the flail. Inspect the bolt, bushing, and the
flail for wear. If wear is excessive, replace with new parts.
Bridgeview Manufacturing Inc. recommends when changing
flails to change in PAIRS (opposite each other). Processing bales
with broken flails causes the rotor to be out of balance and excessive
vibration may cause machine deterioration.
If a new rotor is required, care must be taken when reinstalling:
- Clean the spline and shaft ends of the rotor of any debris
- Clean the inside of the gearbox. Check the splines for damage.
- Slide rear twine guard over the rotor
- Install new rotor bearing (if necessary). Apply loc-tite to bolts and torque to 110 ft-lb
- Slide the rotor through the rear bearing. Do not tighten collar yet
- Install the gearbox over the rotor spline and bolt to the tub
- Check flail clearance of 1/2 to 5/8” to tub panel
- Center the rotor in the tub so that the flails are centered between the hoops and slots
- Tighten bearing lock collar counter-clockwise. Apply loc-tite to the set screw and
torque to 100 in-lb.
- Check gearbox oil to the side plug level (~500 mL). Replace if necessary.
- Add 80 pumps of grease to the front gearbox grease zerk.
- Install rear twine guard using 3/8” bolts.
 Loading...