BrightDrop Zevo 600 Owner Manual (GMNA-Localizing-U.S./Canada-
16569273) - 2023 - CRC - 11/3/22
Driving and Operating 161
The vehicle cannot be driven while the
charge cord is plugged into the vehicle.
{
Warning
Make sure the charging cord plug and
terminal are in good condition, free from
debris, not worn or damaged, and
connected securely to the vehicle
charging port. If vehicle charging is
intermittent, disconnect the cord and
inspect for damage. A worn or damaged
terminal, or AC or DC charging cord plug
may result in personal injury and/or
damage to the vehicle, the charging port
or other property.
There are several infotainment screens that
will display depending on the current
charging status. See Charging 0 66.
Charging Override
A CHARGING OVERRIDE/INTERRUPTION
OCCURRED message may display to indicate
that a charging override or interruption has
occurred due to one or more of the
following events:
.
Override of the charge settings by the
owner.
.
Unintended interruption of AC power at
the vehicle charge port.
.
Interruption of charging by the utility
company.
AC Charging
A loss of AC power alert may sound for a
short time if AC power is lost for over
one minute. This sound alert can be turned
off. See Charging 0 66.
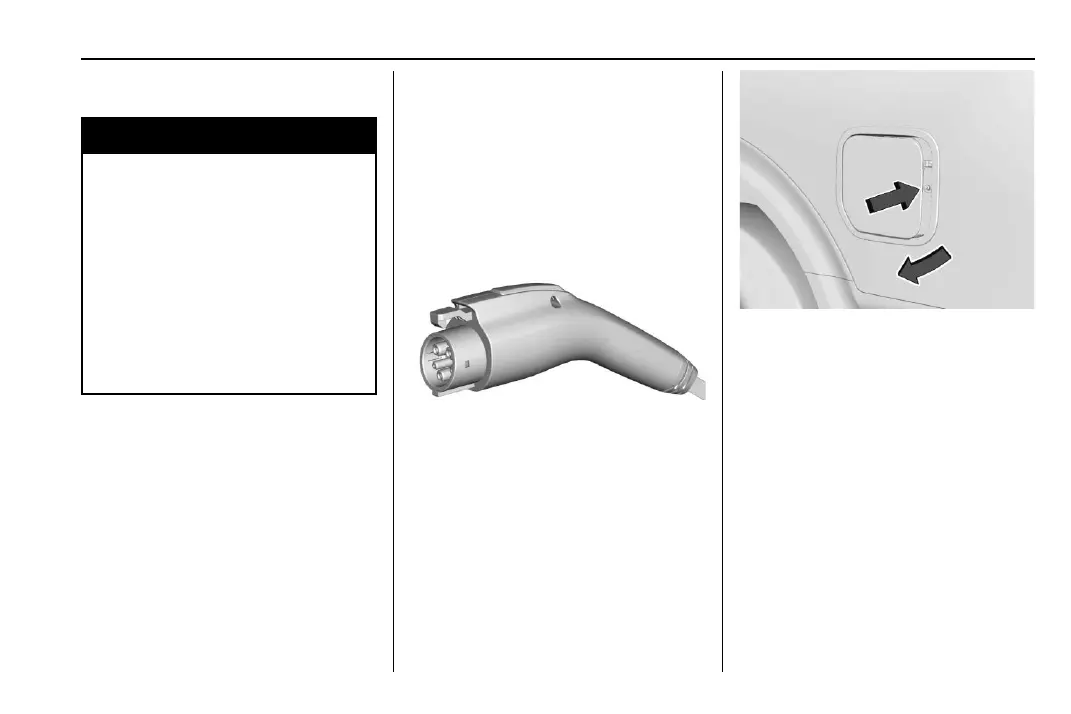
AC Charge Cord Vehicle Plug
To Start AC Charging
1. Put the vehicle in P (Park).
2. Push and release near the center of the
rear edge of the charge port door to
release the latch. Swing open the charge
port door.
In cold weather conditions, ice may form
around the charge port door. Remove ice
from the area before attempting to open
or close the charge port door.
3. Remove the charge cord from
storage case.
4. Plug the charge cord into the electrical
outlet. To verify the charge cord status,
see Electrical Requirements for Battery
Charging 0 168. For instructions to set
cord limit settings for a charge session,
see Charging 0 66.
 Loading...