This document outlines the setup, operation, and maintenance of a Brio Bottom Load Water Dispenser, Model No.: CLBL420V2. The dispenser is designed for household and similar applications, including staff kitchen areas, farmhouses, hotels, motels, bed-and-breakfast type environments, and catering. It is not intended for use by persons with reduced physical, sensory, or mental capabilities, or lack of experience and knowledge, unless supervised.
Function Description
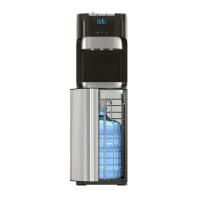
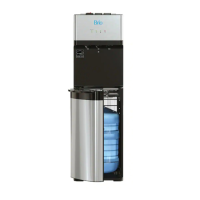
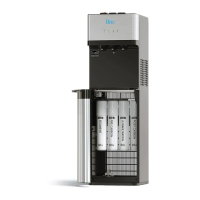
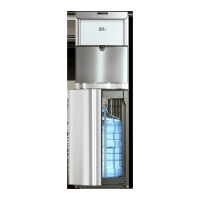
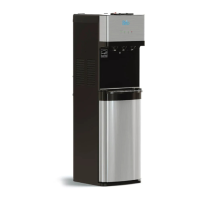
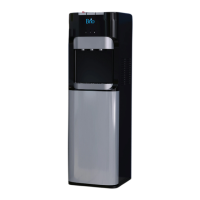
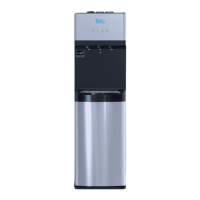
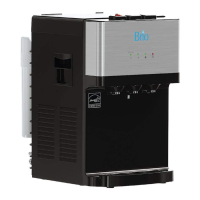
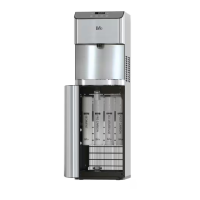
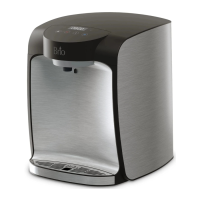
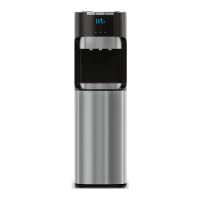
The Brio Bottom Load Water Dispenser provides instant access to cold, room temperature, and hot water. It operates by drawing water from a 3- or 5-gallon (12- or 19-liter) water bottle stored in a cabinet at the bottom of the unit. The dispenser features an indicator panel that provides visual cues about its operational status, including lights for cold water cooling, hot water heating, and an empty bottle warning.
Usage Features
Installation:
- Location: The dispenser should be placed upright on a hard, flat, and level surface in a cool, shaded area near a grounded wall outlet. It is crucial to ensure the back of the dispenser is at least 20 cm (8 inches) from a wall to allow for free airflow. The dispenser should not be placed in an enclosed space or cabinet.
- Drip Tray: The drip tray and grid are to be unwrapped and slid into place on the dispenser until secure.
- Water Bottle Connection:
- Remove the plastic wrapping and cap from the water bottle and clean it with a cloth.
- Open the cabinet door and feed the bottle adapter tube into the water bottle, ensuring it reaches the bottom.
- For a 5-gallon bottle, place the bottle adapter over the neck and press securely.
- For a 3-gallon bottle, press down on the two tabs on top of the bottle adapter and slide the cap down the probe tubing to adjust the fit.
- Slide the water bottle into the dispenser cabinet and close the door.
- Wait 5 minutes for the water tanks to fill before use.
- Before initial use, remove air from the tanks by placing a cup under each water tap and draining at least 4 cups (1 liter) of water. Water will not pump from the bottle until the door is completely closed.
Operation:
- Power On/Off:
- Plug in the dispenser.
- Run water through the cold and hot water taps until water begins to dispense.
- Flip the cooling switch to the "On" position to power on the cooling system.
- Flip the heating switch to the "On" position to power on the heating system.
- It is important not to turn on the heating and cooling switches until the water bottle connection steps are complete to prevent dry heating.
- Dispensing Cold Water:
- Place a drinking glass or container under the cold water faucet.
- Press the cold water button to dispense.
- Release the button when the container is full.
- Note that it takes approximately 1 hour for the water to become completely chilled after plugging in and turning on the cooling system. The cooling light will turn off once chilled.
- Dispensing Hot Water and Child Safety Lock:
- This unit dispenses water at very high temperatures, so direct contact with hot water should be avoided. Children and pets should be kept away during dispensing.
- To dispense hot water, place a cup or container under the hot water faucet.
- Slide the red lock button on the hot water button to the left.
- While holding the red button, press the hot water button to dispense.
- Release both buttons once the container is full.
- It takes approximately 15-20 minutes for the water to reach its hottest temperature after plugging in and turning on the heating system. The heating light will turn off once heated.
- The heating feature can be disabled by switching the heating convenience switch to the "Off" position to prevent unsupervised use by children.
- Changing the Water Bottle:
- The bottle indicator light on the front-right of the dispenser will flash red when the bottle is empty and needs replacement.
- Do not dispense hot, cool, or cold water if the red light is flashing, as this could empty the tanks and cause the dispenser to overheat.
- Open the dispenser cabinet door and slide the empty bottle out.
- Remove the bottle adapter from the empty bottle, allowing any remaining water to drip into the bottle. Place the adapter on the hanger.
- Follow the steps for "Connect a Water Bottle" to install a new bottle.
- Recycle the empty bottle at a local exchange center.
Maintenance Features
General Care and Maintenance:
- Keep the dispenser in a dry and cool place, away from direct sunlight.
- Ensure the back of the dispenser is at least 20 cm (8 inches) away from the wall.
- Never place the dispenser on paper or foam, which could store water and cause creepage.
- Do not place flammable items near the machine.
- The dispenser should not be used outdoors or in areas where it can be splashed by water.
- If the dispenser will not be used for more than 24 hours, turn off the heating and refrigerating switches and drain any remaining water to save power.
- Clean the cabinet, controls, bottle probe, and spout each time the water bottle is changed. Use a clean, soft cloth and a food-grade sanitizer or bleach.
- Empty and clean the drip tray, grid, and float as needed.
Cleaning the Reservoirs:
The reservoirs should be cleaned every 3 to 4 months to remove mineral buildup and optimize dispenser performance.
- Preparation: Gather 200g (approx. 1.5 cups) of citric acid crystals, hot water, a large bucket or empty 5-gallon bottle, a container or cup, and a clean dry cloth.
- Drainage: Turn off the hot and cold water switches and unplug the dispenser. Remove the water bottle and move the dispenser away from the wall. Drain any remaining water from the reservoirs by dispensing from all taps into a container.
- Cleaning Solution: Pour citric acid crystals and 2 gallons of hot water into the 5-gallon bottle or bucket. Stir or agitate briefly to mix.
- Fill Reservoirs with Solution: Insert the bottle adapter tube into the bottle or bucket with the solution, secure the cap (if using a bottle), and slide it into the dispenser, shutting the door securely.
- Circulation: Plug the dispenser back in and allow the cleaning solution to fill the reservoirs. Dispense a small amount of the solution from each tap into a cup or container.
- Soak and Drain: Wait 20 minutes, then unplug the dispenser and drain the reservoirs as described in step 2.
- Rinse: Rinse out the solution bottle or bucket, then fill it with 2 gallons of fresh hot tap water. Repeat the process of inserting the bottle, allowing reservoirs to fill, and draining. Remember to shut the door and plug in the dispenser.
- Final Drain: Unplug the dispenser and place a 3-gallon bucket at the back. Remove the drain plug while simultaneously pressing the dispense buttons. Once the reservoirs are drained, replace the drain plug.
- Restore: Return the dispenser to its location, install a fresh bottle of water, plug in the power cord, and turn the hot and cold switches ON.
- Odor/Taste Removal (Optional): If any odor or taste persists, repeat the cleaning steps using 2 cups of white vinegar and 2 gallons of water.
Troubleshooting:
The manual provides solutions for common issues such as:
- Cold water not cold: Check power connection, dispenser placement (20 cm from wall for airflow), green power switch, and allow up to one hour for cooling.
- Hot water not hot: Check power connection, red power switch, and allow 15-20 minutes for heating.
- Noisy dispenser: A slight noise from the heating tube is normal.
- Bottle leaking: Ensure the bottle is installed correctly and check for cracks or breaks.
- No water dispensing: Check if the bottle is empty, replace if necessary, and press and hold water taps to remove air from the tank.
The Brio Bottom Load Water Dispenser is designed for user convenience and safety, with clear instructions for installation, daily use, and regular maintenance to ensure optimal performance and longevity.