R
Randy Stephens IVAug 6, 2025
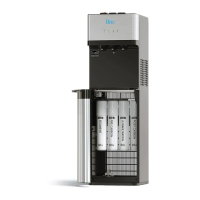
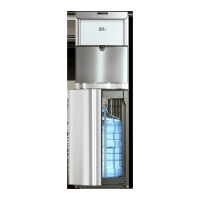
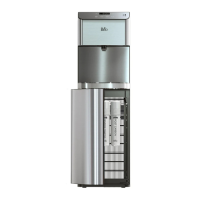
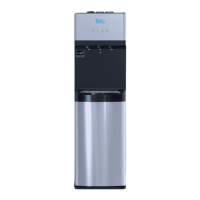
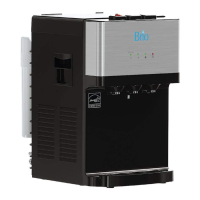
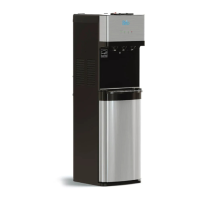
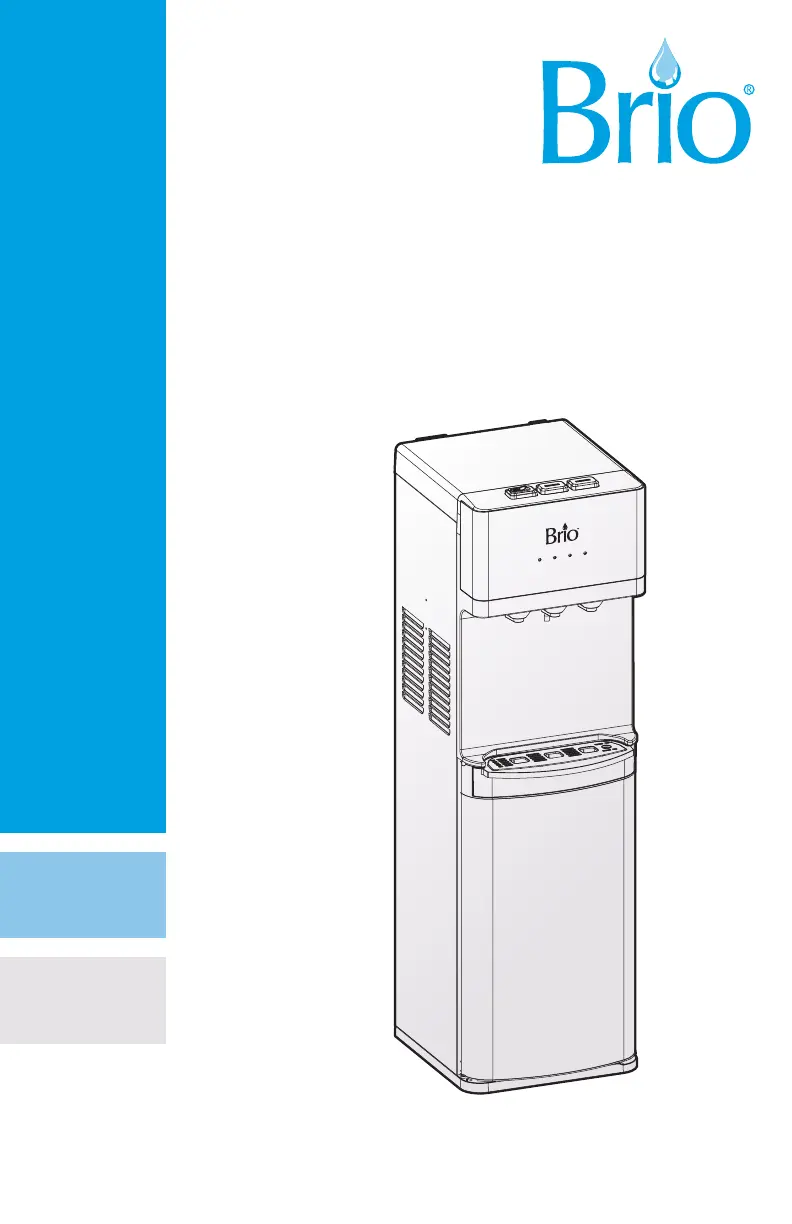
What to do if there is water leakage from my BRIO Water Dispenser?
- WwsilvaAug 6, 2025
If all three lights are flashing on your BRIO Water Dispenser, it means a leak has been detected. Also, check all water connections and tubes to ensure everything is connected correctly. If the water and PE pipes have burst, you need to replace them.