6
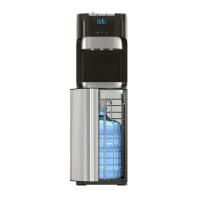
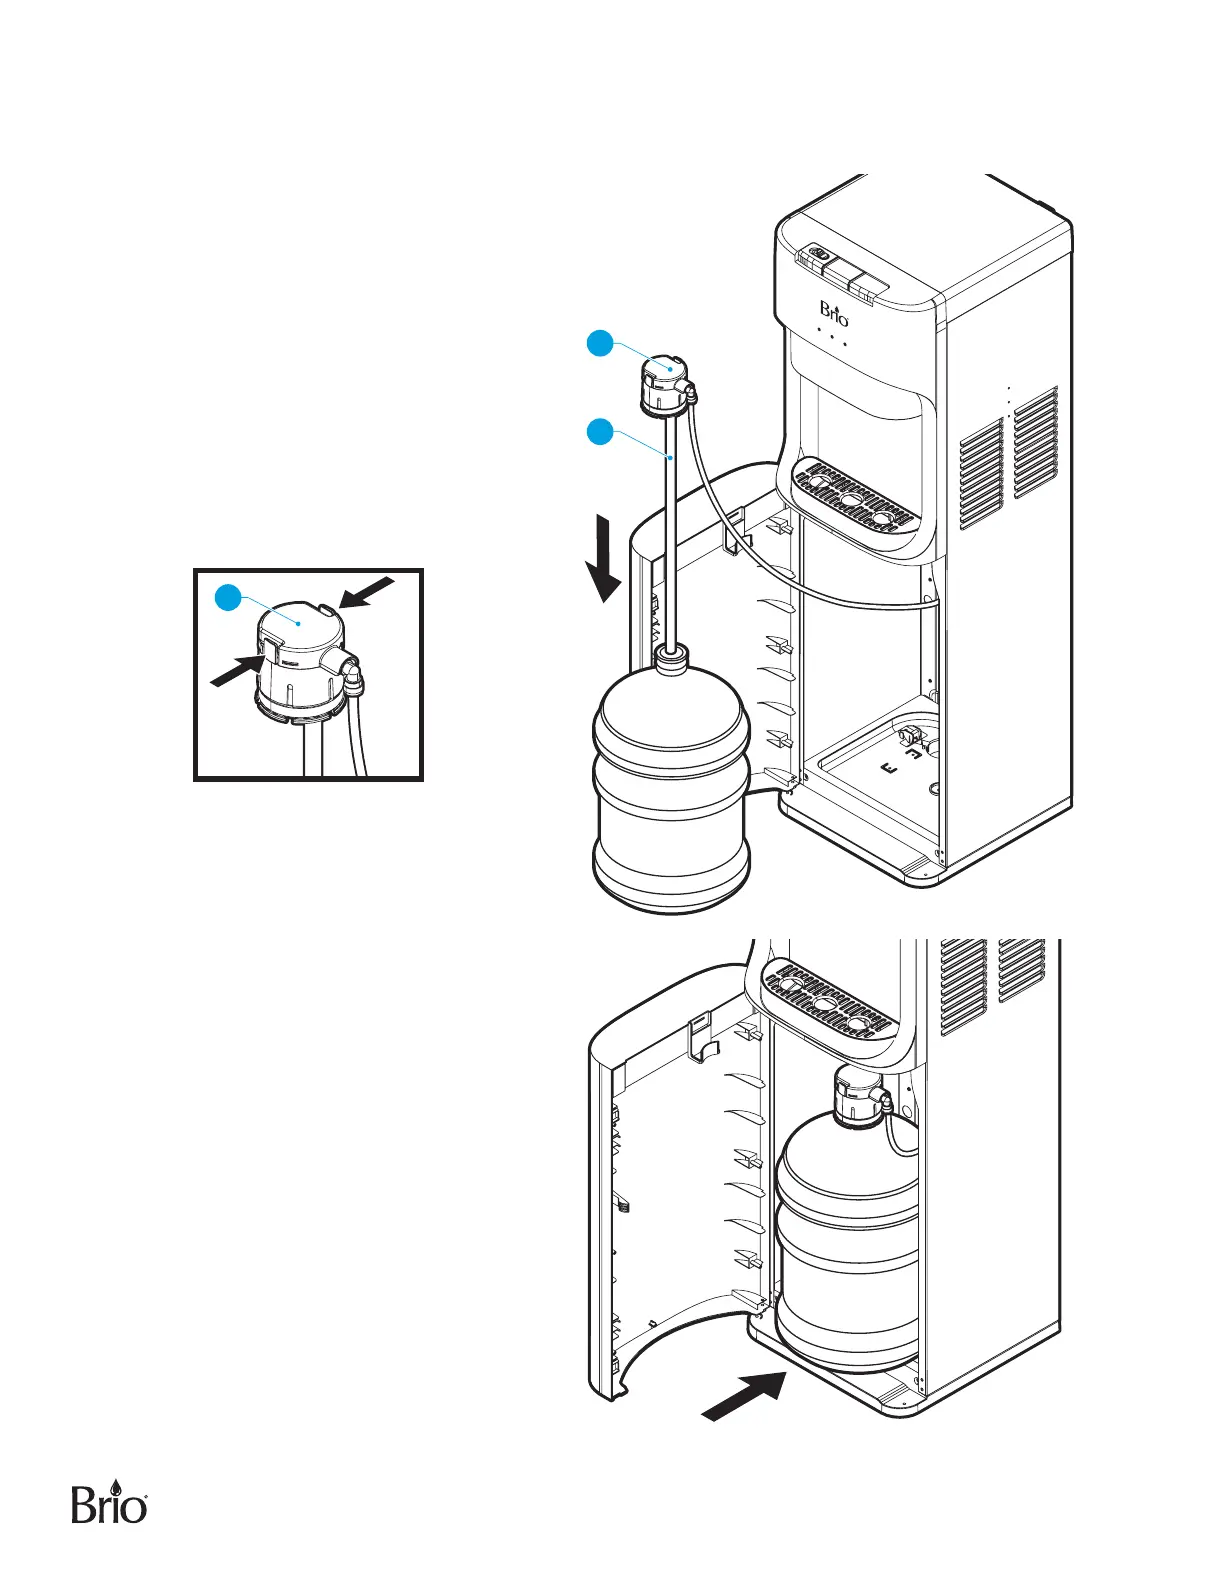
3. Connect a Water Bottle
IMPORTANT: To prevent dry heating, do not turn on the heating and cooling switches until you complete the
steps in this procedure.
A. Remove the plastic wrapping and cap
from the water bottle. Then clean the
new bottle with a cloth.
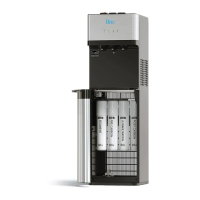
B. Open the cabinet door and feed the
bottle adapter tube (12) into the water
bottle. Ensure the tube hits the bottom
of the bottle.
C. For a 5-gallon bottle, place the bottle
adapter (11) over the neck of the water
bottle and press securely into place.
D. For a 3-gallon bottle, press down on the
two tabs on top of the bottle adapter
(11) and slide the cap down the probe
tubing to adjust the bottle adapter to t.
11
11
12
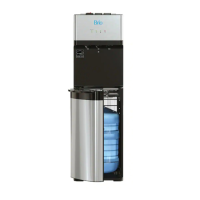
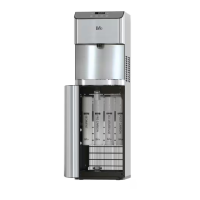
E. Slide the water bottle into the dispenser
cabinet and close the door.
F. Wait 5 minutes for the water tanks to ll
with water before attempting to use the
dispenser.
G. Remove air from the tanks by placing
a cup under each water tap and drain
at least 4 cups (1 liter) of water before
initial use.
NOTE: Water will not pump from
the bottle until the door is
completely closed.