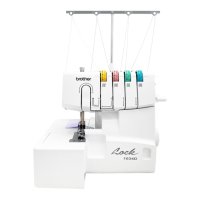
Serger Badge: Brother 1034D
Age: Grade 9-Adult
• • • • • • • • • • • • • • • • • • • • • • • • • • • • • • • • • • • • • • • • • • • • • • • • • • • • • • • • • • • • • • • • • • • • • • • • • • • • • • • • • • • • • • • • • • • •
[diagram from pp. 17-18]
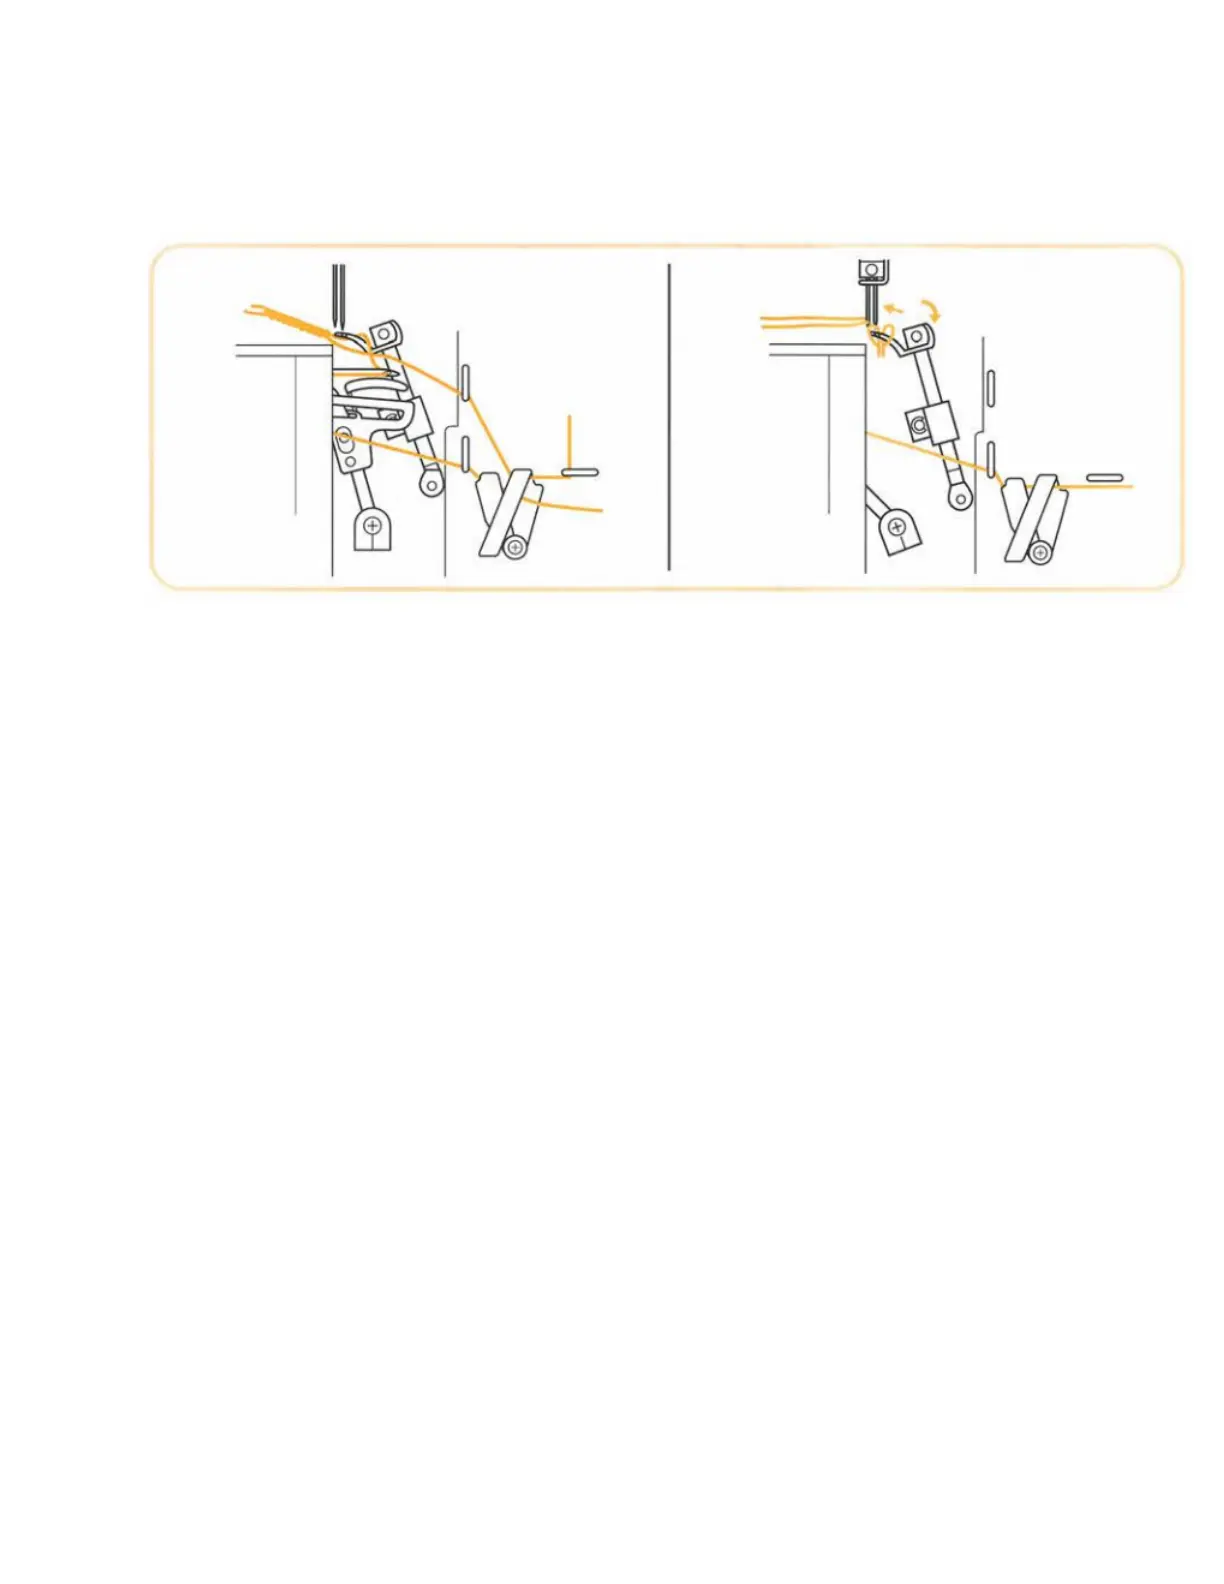
● Threading the lowerlooper (blue):
1. Open the front cover by sliding to the right and opening toward you.
2. Pull the thread from the spool and up through the hole on the thread guide on the
thread tree above the spool from back to front.
3. Pull thread about an extra six (6) inches through the front of the hole.
4. Pass thread through proper thread guide at top of machine (blue).
5. Slide and hold thread tension release button to the right, then pass thread
through tension disc in the channel next to the blue tension adjustment dial.
Then release the button.
6. Guide the thread down the channel and pass thread through the blue threading
points 5-12(see pp. 19-21 in manual for illustrations of threading points).
7. For threading the lowerlooper threading lever (threading points 9-12; see p. 21 in
manual for illustration)
a. Slide the lowerlooper threading lever to the right
b. Position the thread under the hook (left end of the threading lever)
c. Place the thread through the eye of the lowerlooper
d. Holding the end of the thread, slide the lowerlooper threading lever to the left
(back into the machine) to its standard position
e. Make sure the blue triangular marks line up.
[Insert diagrams from pp.19-21 here]

 Loading...