Step 9
Using a Phillips screwdriver, remove the
screw that holds the developer roller bear-
ing end cap (See photo 11).
Step 10
Using a small flat blade screwdriver, pry off
the developer roller bearing end cap from
the developer roller axle (See photo 12).
PHOTO 11
PHOTO 12
PHOTO 14
Step 12
Clean the developer roller using a dry, lint-
free cloth and set it aside (See photo 15).
PHOTO 16
Step 13
Using a Phillips screwdriver, remove
the two screws that hold the doctor
blade onto the toner hopper (See
photo 16). Remove and clean the
doctor blade by using dry com-
pressed air and then a dry lint-free
cloth. Set doctor blade aside.
PHOTO 17
Step 14
Remove the toner fill plug with a pair
of pliers (See photo 17). Dump out
the toner from the toner hopper and
clean it with dry compressed air or a
vacuum.
NOTE: OEM fill plugs get damage
most of the time and may need to
be replaced.
© 2008 Future Graphics Imaging Corporation. All
rights reserved. Future Graphics Imaging
Corporation (FGIC) is a distributor of compatible
replacement parts and products for imaging equip-
ment. None of FGIC's products are genuine OEM
replacement parts and no affiliation or sponsorship
is to be implied between FGIC and any OEM.
PHOTO 13
PHOTO 15
Step 11
Lift the developer roller from the toner hop-
per (See photo 13). Slide out the white bear-
ing tab from the developer roller shaft (See
photo 14).
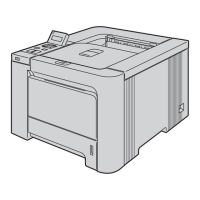
Brother HL-4040CN Technical Instructions 3
 Loading...