5
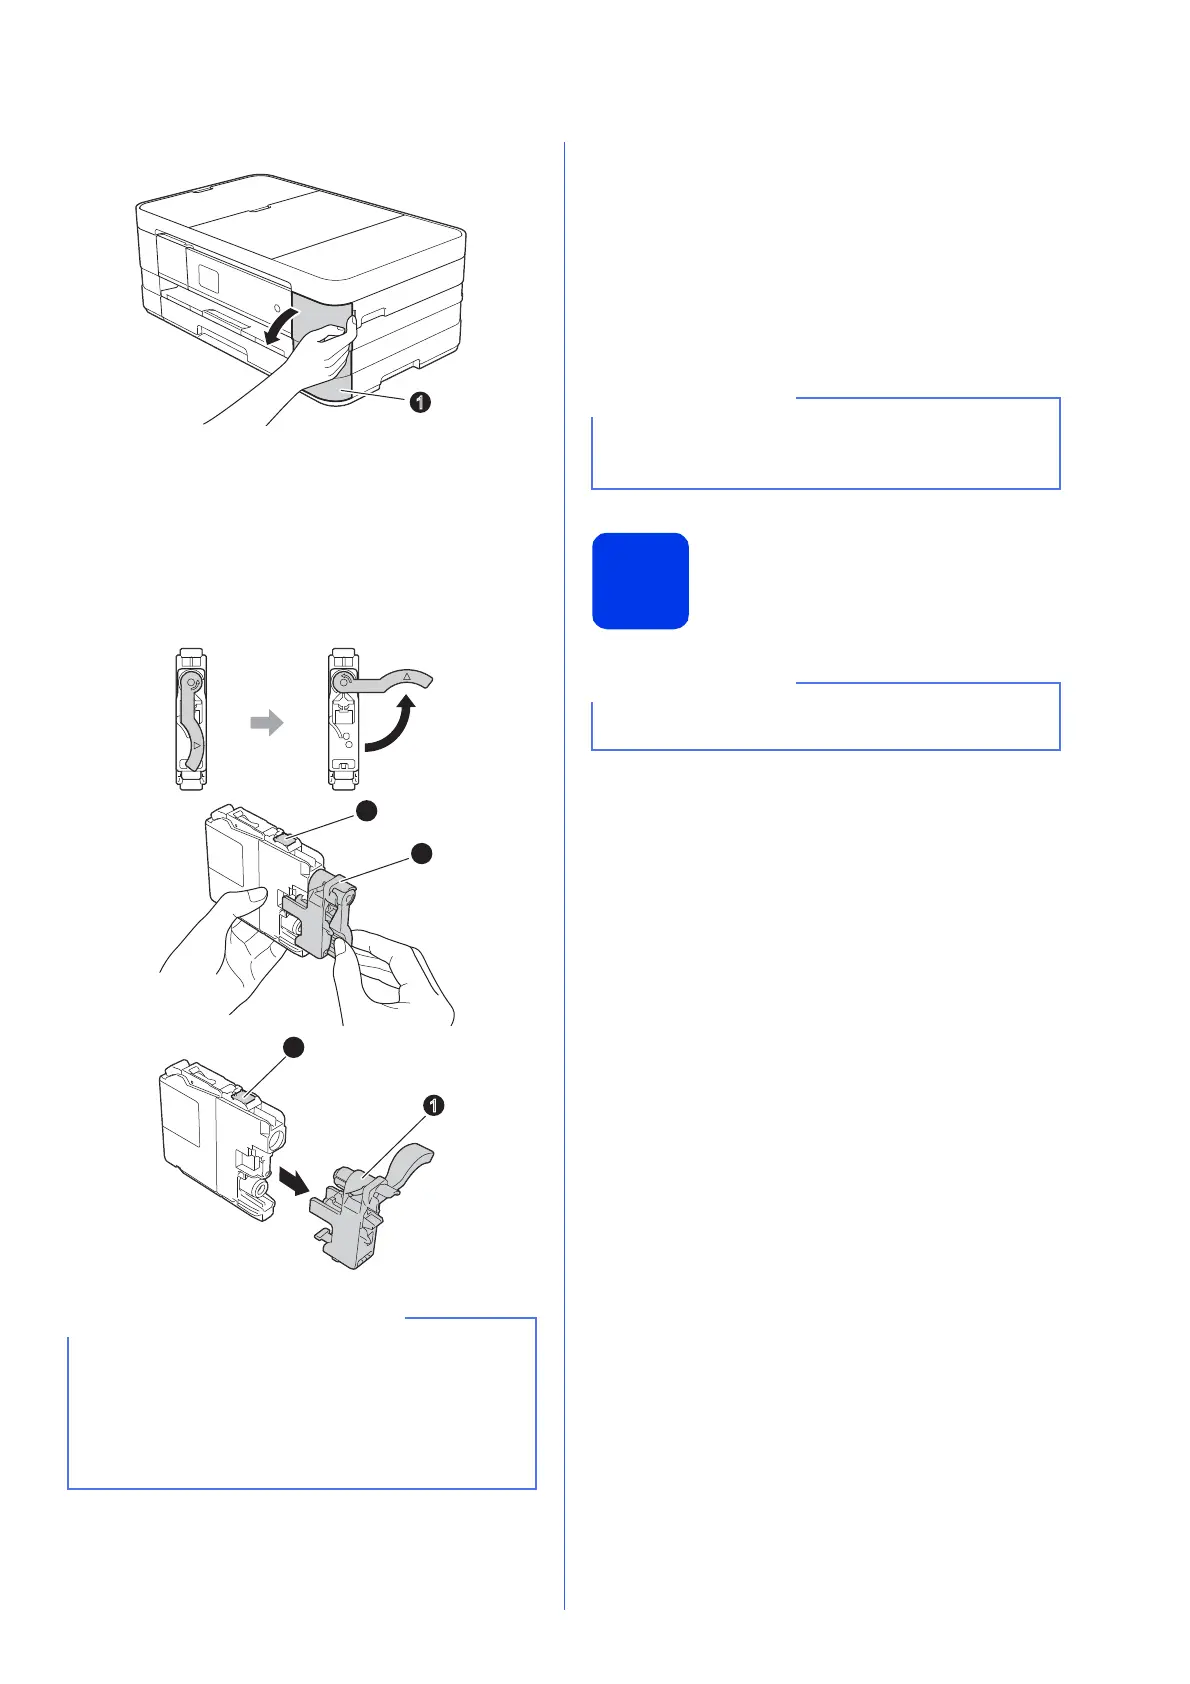
b Open the ink cartridge cover a.
c Remove the orange protective part.
d Unpack the ink cartridge.
Turn the green release lever on the orange
protective packing a counterclockwise until it
clicks to release the vacuum seal. Then
remove the orange protective packing a as
shown.
e Take care to match the sticker colour with the
cartridge colour.
Install each ink cartridge in the direction of the
arrow on the label.
f Gently push the back of the ink cartridge
marked “PUSH” until the cartridge lever lifts.
After all the ink cartridges are installed close
the ink cartridge cover.
5
Check the print quality
a When the preparation process has finished, the
Touchscreen shows Set Paper and Press
Start.
Press Start.
b Check the quality of the four colour blocks on
the sheet. (black/yellow/cyan/magenta)
c If all lines are clear and visible, press Yes to
finish the quality check and go to the next step.
If you can see missing short lines, press No and
follow the steps on the Touchscreen.
• DO NOT shake the ink cartridges. If ink stains
your skin or clothing, wash with soap or
detergent at once.
• DO NOT touch the cartridge in the area
indicated b, as this can cause the machine not
to function with the cartridge.
The machine will prepare the ink tube system for
printing. This process will take approximately four
minutes. Do not turn off the machine.
Make sure you put paper in the paper tray (for
MFC-J4610DW, tray #1) for the initial setup.
 Loading...