

A
Allison LittleAug 21, 2025
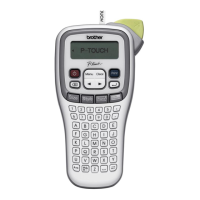
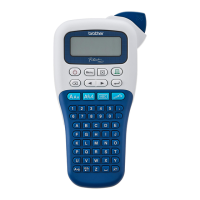
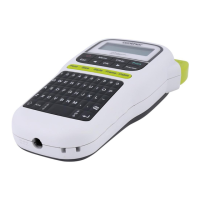
Why is my Brother P-TOUCH H110 display blank after turning it on?
- CcarterdeniseAug 21, 2025
If your Brother Label Maker display stays blank after turning it on, check the batteries are installed with the correct polarity (+ and -). If the batteries are low, replace them with six new AAA alkaline batteries, without mixing old and new types. Also, ensure the AD-24ES/AD-5000ES adapter (Australia, New Zealand only) is correctly connected.