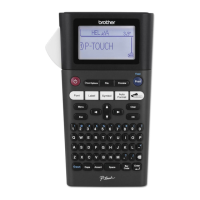
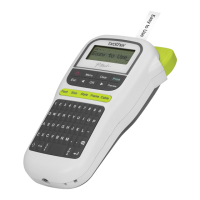
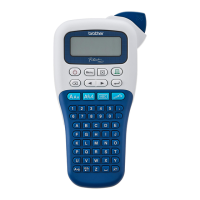
EasyManua.ls Logo

Brother P-touch H200 User Manual

Brother P-touch H200
18 pages
To Next Page IconTo Next Page
Page #1 background imageLoading...
Page #1 background image
GETTING STARTED
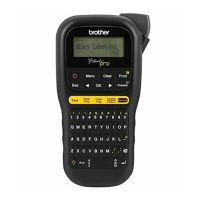
Power Supply and Ribbon Cassette or Tape Cassette
Open the cassette cover by pressing the
highlighted area at the top end of the machine.
Make sure you turn the power off when replacing
batteries or ribbon/tape cassettes.
Insert the ribbon or tape cassette, making sure
it locks into place.
Make sure the end of the ribbon/tape feeds under the tape
guides.
Use Genuine Brother P-touch TZe tapes with this machine.
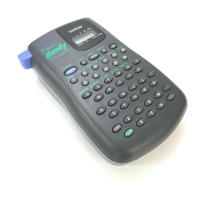
1
Print head
Tape cutter leverCassette cover
1
Tape exit slot
Toothed wheel
Cutter's edge
End of tape
Tape guides
2
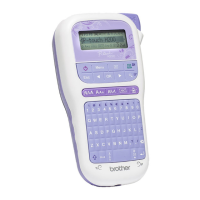
With your new Brother P-touch labelling machine, you can create a wide variety of custom, self-adhesive labels and
ribbons. This machine uses Brother "TZe" tapes from 3.5 mm to 12 mm widths. "TZe" tape cassettes are available
in many colours and sizes. Visit
www.brother.com
for a complete list of tapes that work with your machine.
Read this guide before using this machine. After reading this guide, keep it in a safe place.
English
User’s Guide
H20
0
Ver. 0

Questions and Answers:

Brother P-touch H200 Specifications

General IconGeneral
Device CategoryLabel Maker
Print MethodThermal Transfer
Print Resolution180 dpi
Print Speed20 mm/sec
Number of Styles10
DisplayLCD
KeyboardQWERTY
CutterManual
ModelP-touch H200
Label Width6, 9, 12 mm
Max. Label Length1 m
Tape Sizes6mm, 9mm, 12mm
Power SourceAA Batteries or AC Adapter

Summary

Getting Started: Initial Setup

Power Supply and Tape Cassette Installation

Instructions for inserting power supply and tape cassettes into the machine.

LCD Screen Overview

Initial Settings and Configuration

Guides users through initial setup including language and measurement unit selection.

Keyboard Layout and Keys

Basic Operation

Text Entry and Editing

Covers text input methods, including case switching and creating two-line labels.

Printing Labels and Ribbons

Details on previewing, feeding tape, printing options, and cutting tape.

Saving and Recalling Label Files

Instructions on how to save and recall created labels for later use.

Using Templates and Designs

Text Templates Usage

Guidance on using pre-defined text templates for repeated text entry.

Adding Initial Marks

Instructions for adding personalized marks or symbols to labels.

Continuous Frame Borders

How to create continuous borders for labels using frames.

Using Patterns

Key Functions: Formatting

Font Selection Key

Options for changing font styles, including Helsinki, Brussels, and Berlin.

Style Selection Key

Options for changing text styles like Bold, Italic, and Outline.

Size Selection Key

Adjusting text size settings to Large, Medium, or Small.

Frame Selection Key

Selecting and applying frame designs to labels.

Specifications and Accessories

Product Specifications

Technical details including dimensions, weight, power supply, and tape compatibility.

Available Accessories

Information on compatible accessories like tape cassettes and AC adapters.

Helpful Hints and Troubleshooting

Troubleshooting Common Issues

Common error messages and their causes, remedies, and solutions.

System Shortcuts

Quick access methods for changing language, width, margin, file, unit, and contrast.

Machine Reset Procedure

Procedure to restore the machine to factory settings, clearing all data.

Related product manuals