sss
™
1143 page 8
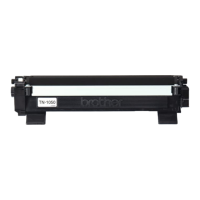
17. Using a small slotted screwdriver, gently fluff both of the doctor blade
felts to loosen any toner build up Figure 17.
Figure 17
Doctor
Blade Felt
Slotted
Screwdriver
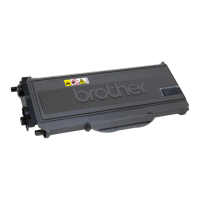
18. Using a small slotted screwdriver, pry the hopper cap from the
cartridge as shown in Figure 18.
Figure 18
Hopper Cap
Molded
Plastic
Slotted
Screwdriver
Note: Pry using the molded plastic closest to the hopper
cap for added leverage. Using the molded plastic will
prevent damage to the hopper cap.
19. Clean the hopper with dry, filtered, ionized, compressed air
(Figure 19).
Figure 19
Toner Hopper
Air Gun
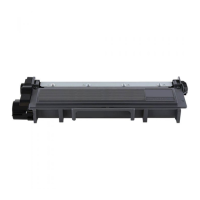
20. Use a slotted screwdriver to gently clean any remaining toner
additive from the developer roller end felts (Figure 20). Fluff felts,
then blow with dry, filtered, ionized, compressed air.
Figure 20
Toner Hopper
Felt
Slotted Screwdriver
Note: If toner is not removed from the developer roller end
felts, leakage can occur.
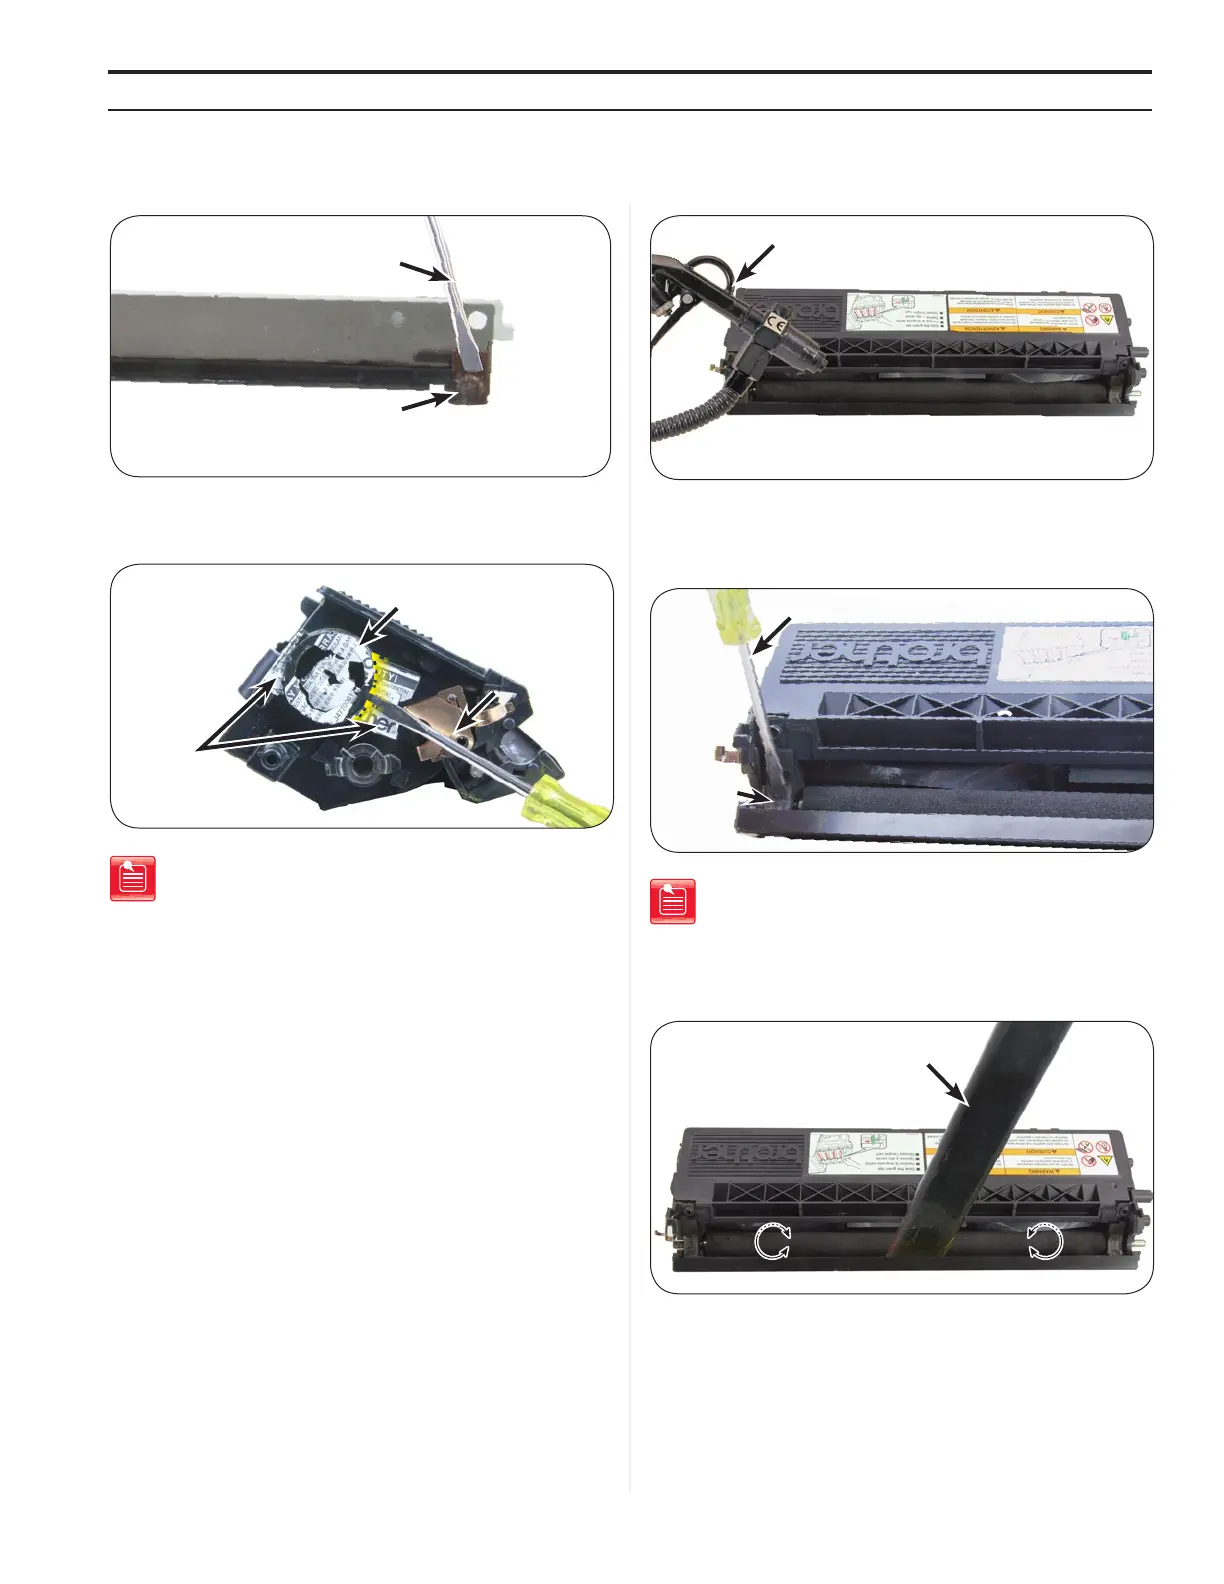
21. Using a toner vacuum, clean the toner adder roller while rotating as
shown in Figure 21.
Figure 21
Toner Hopper
Vacuum
Disassembling The CarTriDge
 Loading...