MAINTENANCE PROCEDURES
mmo2012-005-980
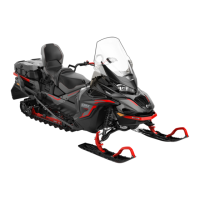
PULLEY EXPANDER ON ALUMINUM
ADJUSTER HUB
5. Op en the driven pulley by screw ing
the tool in.
6. Remove the belt by slipping it over
the top of the driven pulley, then
over the drive pulley.
Drive Belt Installation
1. If necessary, open the driven pul-
ley, refer to
DRIVE BELT REMOVAL
above.
2. Slip the belt over the drive pulley,
then over the driven pulley.
NOTICE
Do not force or use tools
to pry the belt into place, as this
could cut or break the cords in the
belt.
NOTE: The maximum drive belt life
span is obtained when belt is installed
with arrows in the direction of rotation.
mmo2011-002-006_a
1. To be pointed in the direction of rotation
3. Unscrew and remove the driven pul-
ley expander from the pulley.
4. Rotate the driven pulley several
times to properly set the belt be-
tween the sheaves.
5. If a new belt was installed, adjust
the belt height. Refer to
DRIVE
BELT HEIGHT ADJUSTMENT
be-
low.
6. Install belt guard, refer to
DRIVE
BELT GUARD INSTALLATION
.
7. Close side panel, refer to
SIDE
PANELS
in
CONTROLS, INSTRU-
MENTS AND EQUIPMENT
.
DriveBeltHeightAdjustment
The drive belt height must be checked
every time a new belt is installed.
To adjust the drive belt height, proceed
as follows:
1. Remove the tether cord cap from
engine cut-off switch.
2. Open LH side panel, refer to
SIDE
PANELS
in
CONTROLS, INSTRU-
MENTS AND EQUIPMENT
.
3. Remove belt guard, refer to
DRIVE
BELT GUARD REMOVAL
.
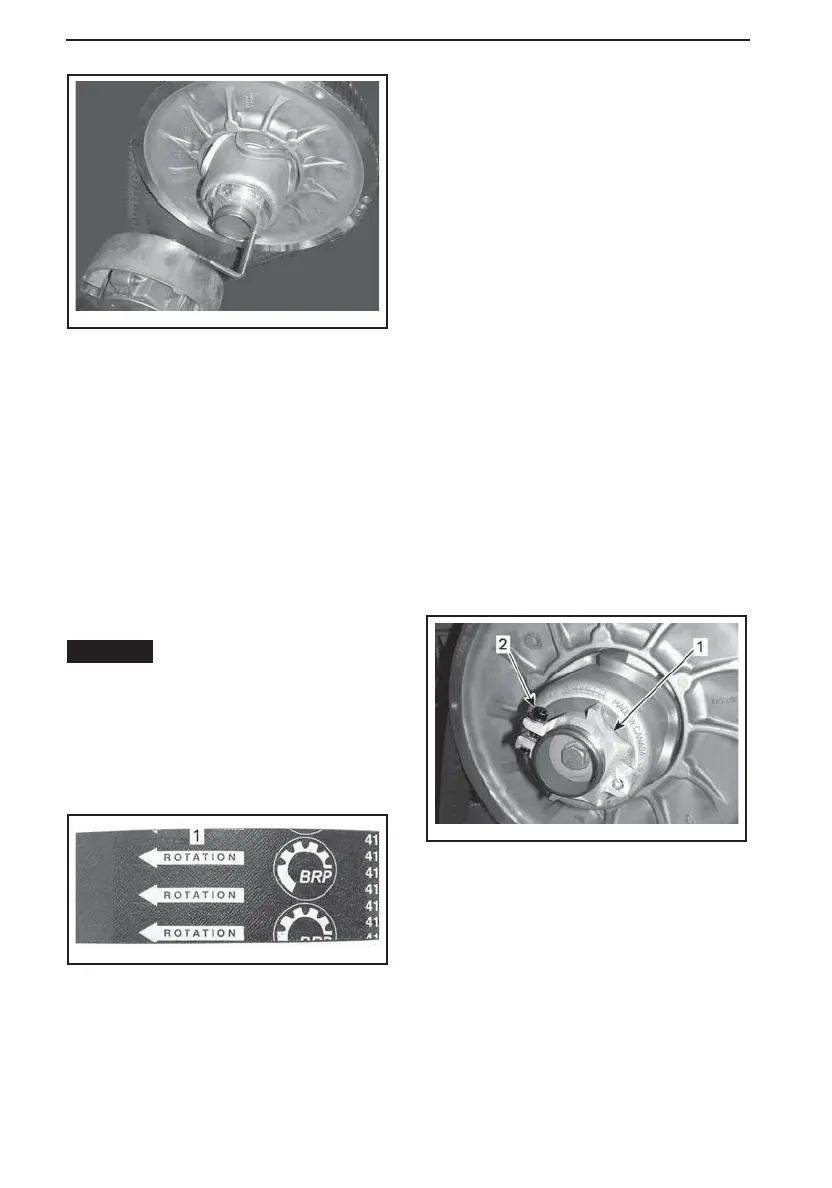
4. Loosen the clamping bolt.
mmo2011-003-010_a
ALUMINUM ADJUSTER HUB
1. Adjuster hub
2. Clamping bolt
5. Using the suspension adjustment
tool provided in the tool kit, turn the
ring 1/4 turn at a time then rotate the
driven pulley to properly set the belt
between the pulley sheaves.
104
______________