SLATE ASSEMBLY AND LEVELING
(CONTINUED)
FIGURE FOUR
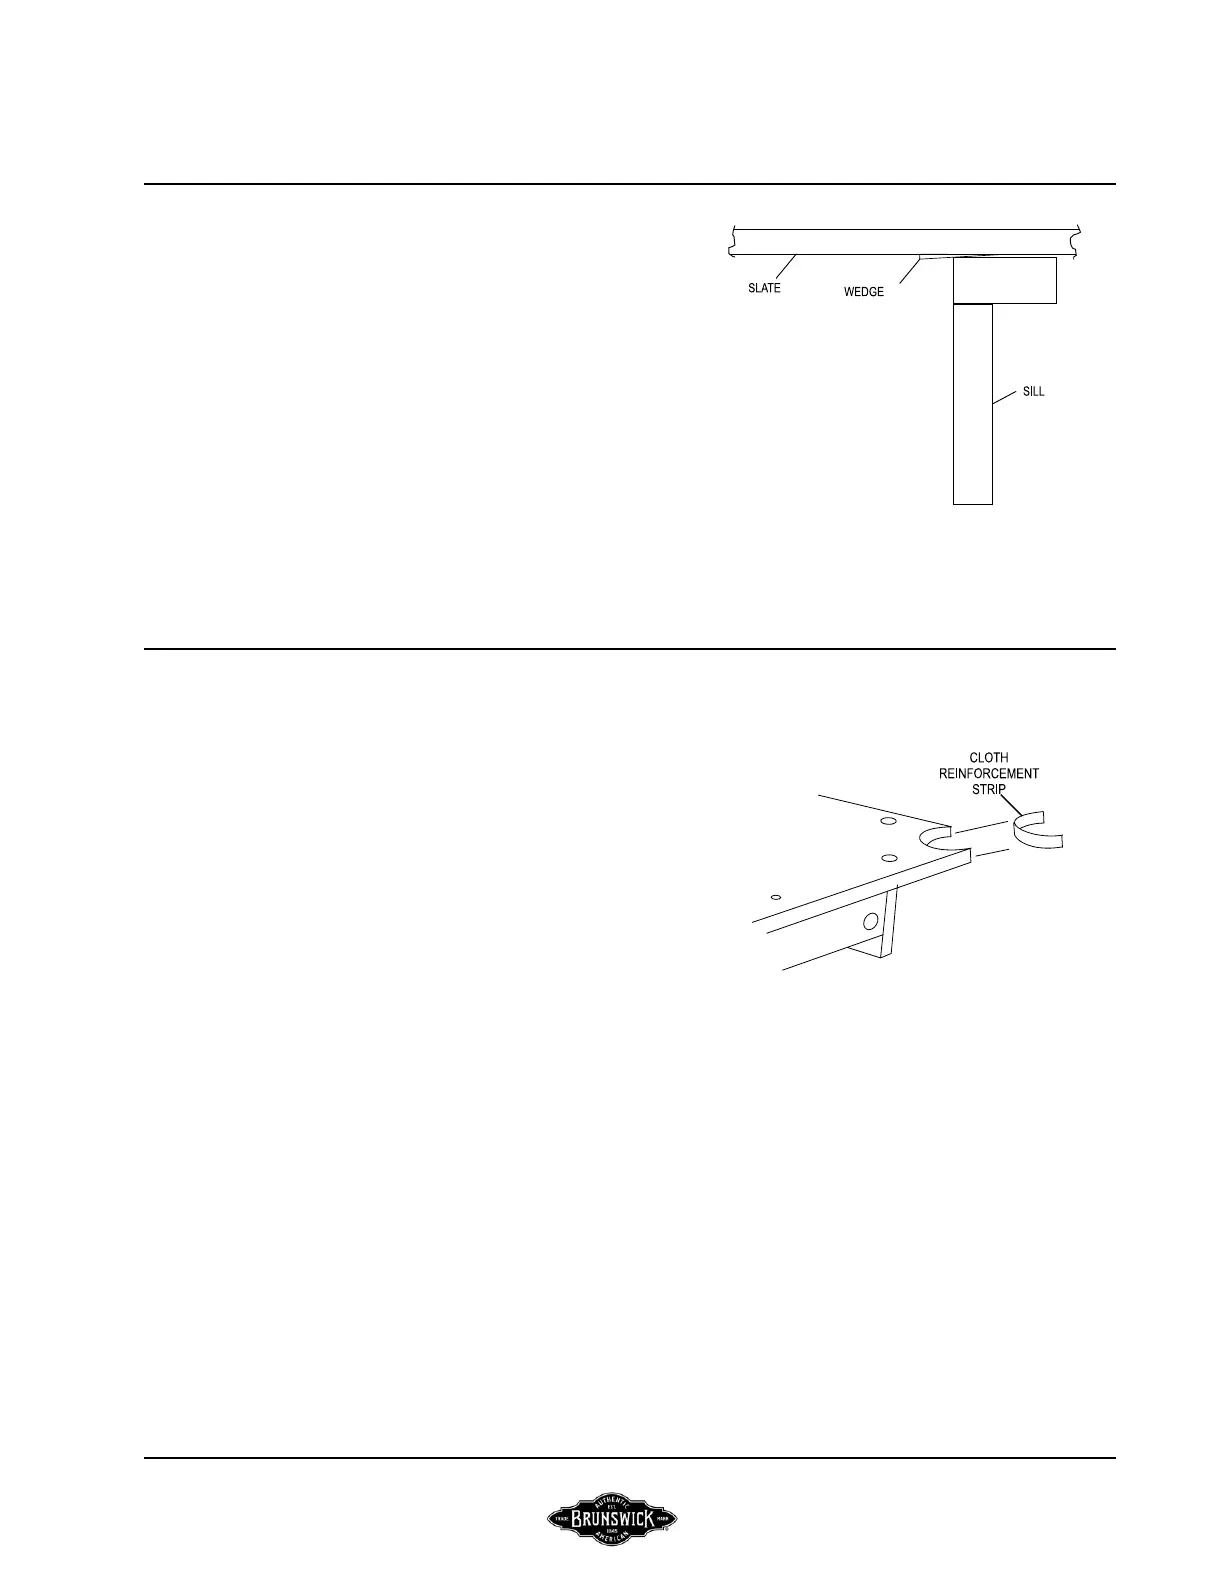
Step #7: With a precision tool, level each end slate section by
driving wooden slate wedges (provided) between the top of
the base frame and bottom of the slate as shown. Keep the
wedges as close to the countersink holes as possible.
Step #8: With both end slates perfectly level, continue
fastening the end slates at the joints. Recheck for levelness
and, if necessary, back the screws out and adjust the shim
position. Then, retighten the slate attaching screws.
Step #9: When satised that both end slates are level, shim
the center slate section as required to obtain a ush t at
both joints, then screw the center slate down.
Step #10: Slate joints can now be lled with Rock Hard putty
or wax. Lightly sand or scrape across the joints after grout-
ing.
FIGURE FOUR
FIGURE FIVE
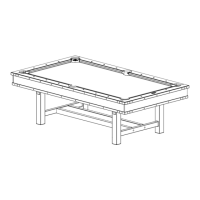
Step #11: From the end of a bed cloth, cut strips of cloth
approximately 1-1/2” wide by 8” long and glue the strips
to the pocket cutouts. This is important as this will provide
cushioning from ball impact and the bed cloth will last
much longer.
FIGURE FIVE
CANTON
BRUNSWICK INSTALLATION MANUAL PAGE 7