AUTOTUNE (continued)
TUNE OR TUNE AT SETPOINT PROGRAM
Enter program (▲▼) and from the display
tunE : oFF
press and hold ✱ and press ▲ to
display
tunE : on
or
tunE : At.SP
Exit program mode (▲▼).
The TUNE program will now start. The display will show
tunE
as the process variable
climbs to setpoint.
Note: Avoid tuning while running a program as SP1 may be different from the target
setpoint..
When the TUNE or TUNE AT SETPOINT program is complete the PID values are entered
automatically. The process will rise to setpoint and control should be stable. If not, this may
be because optimum cycle time is not automatically implemented. To set the cycle time
see PROPORTIONAL CYCLE-TIME.
PROPORTIONAL CYCLE-TIME
The choice of cycle-time is influenced by the external switching device or load. eg.
contactor, SSR, valve. A setting that is too long for the process will cause oscillation and a
setting that is too short will cause unnecessary wear to an electro-mechanical switching
device.
Factory set
To use the 20 sec factory set cycle-time no action is needed whether autotune is used or
not.
To Manually Select AUTOTUNE Calculated CYCLE-TIME
When AUTOTUNE is completed, enter program (▲▼) and select
CYC.t
in Level 1. The
display will read
CYC.t : 20
(the factory setting).
To view the new calculated optimum value, press and hold both ✱ and ▼ buttons until
indexing stops. The calculated value will be displayed eg.
A16
. If acceptable, exit program
(▲▼) to implement this setting.
To Pre-select Automatic Acceptance of AUTOTUNE Calculated CYCLE-TIME
Before AUTOTUNE is initiated select
CYC.t
in Level1, press and hold both ✱ and ▼ buttons
until indexing stops at
A
– – . Exit program (▲▼) to accept calculated value automatically.
To Manually Pre-select Preferred CYCLE-TIME
Before AUTOTUNE is initiated select
CYC.t
in Level 1, press and hold both ✱ and ▲ or ▼
buttons until indexing stops at preferred value then exit program (▲▼) to accept.
CYCLE-TIME RECOMMENDATIONS
SECOND AND THIRD SETPOINTS (SP2 and SP3)
PRIMARY ALARM MODES
Configure SP2 output to operate as an alarm from
SP2.A
in Level 2 and set the alarm
setting in
SEt.2
Level 1.
Configure SP3 alarm mode
SP3.A
and setting
SEt.3
in Level A. The alarms will be
individually triggered when the process value changes according to the options listed
below.
dV.hi
Rises above the main setpoint by the value inserted at
SEt.2/3.
dV.Lo
Falls below the main setpoint by the value inserted at
SEt.2/3.
BAnd
Rises above or falls below the main setpoint by the value inserted at
SEt.2/3.
FS.hi
Rises above the full scale setting of
SEt.2
or
SEt.3.
FS.Lo
Falls below the full scale setting of
SEt.2
or
SEt.3.
EoP
Event Output (See Programmer section pages 11 to 18)
SUBSIDIARY SP2 / SP3 MODES
The following additional Subsidiary alarm functions can be added to any Primary alarm
configurations using the settings found at
SP2.b
in Level 2 and
SP3.b
in Level A.
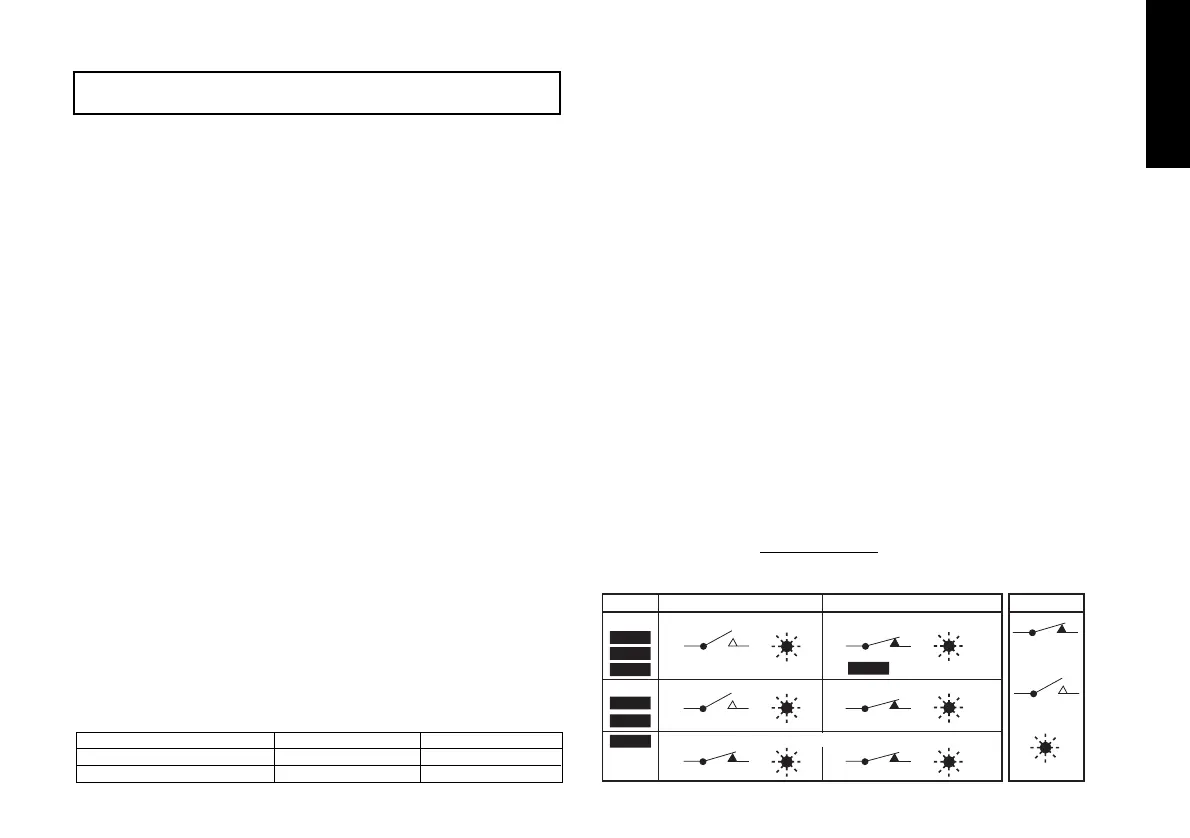
LtCh
Once activated, the alarms will latch and can be manually reset when the alarm
condition has been removed.
Hold
This feature inhibits alarm operations on power-up and is automatically disabled
once the process reaches the alarm setting.
Lt.ho
Combines the effects of both
LtCh
and
hoLd
and can be applied to any Primary
alarm configuration.
SECOND SETPOINT (SP2) Proportional control output
Configure in Level 1 using
CyC.2
to select proportional cycle time and
bnd.2
to adjust
proportioning band. For Heat/Cool operation see Operating Manual.
Additional in depth information on controller operation is available in the CAL 9400.PDF
available for down load from www
.cal-controls.com
In on–off mode,
bnd.2
adjusts SP2 hysterisis.
5
Output Device
Factory Setting
Recommended Minimum
Internal relays
20 seconds
20 seconds
10 seconds
Solid state drives
0.1 seconds
Hereafter in the Manual the symbol (▲▼) signifies both buttons are held pressed
for 3 seconds to ENTER or EXIT Program mode.

 Loading...