5
DELIVERY ACCESS
NOTE: It may be necessary to allow for additional over-head clearance if the spa will be rolled up or down an incline or
moved up or down a short flight of stairs.
Use the information in the chart on the next page to determine the requirements for access to your desired location. It may
be necessary to remove a gate, part of a fence, or other movable obstructions in order to roll the spa to its installation site.
About ten percent of the time, a crane is the only way to install the spa by lifting it to its final destination.
If the spa has to be taken off of the cart to go over a wall (either because the entry area is too narrow, the eaves are too low,
the corner is too tight, or the stairway is too steep), a crane will be required. Don’t be alarmed!
The crane has a truck-mounted boom which can fit right in your driveway. It is run by a licensed and insured operator. For
a charge, the crane operator will lift your spa over walls, buildings, or any other obstruction and place it as close to the
installation site as possible. The CALDERA spa delivery personnel will supervise the crane delivery and complete the spa
installation. Crane delivery typically takes an average of 30 minutes to complete.
NOTE: If your spa delivery requires the use of a crane, you may be required to pay for its services at the completion of the
delivery.
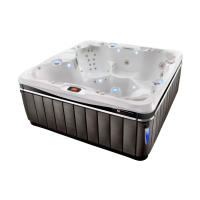
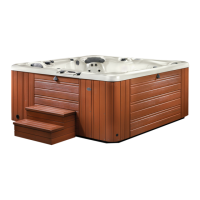
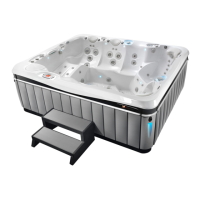
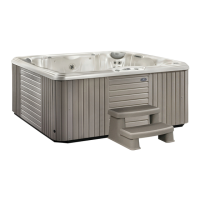
SPA DIMENSIONS
Model Heigth Length Width
CANTABRIA 97 cm 274 cm 231 cm
GENEVA 97 cm 226 cm 226 cm
NIAGARA 97 cm 226 cm 226 cm
TAHITIAN
91 cm
213 cm 213 cm
MAKENA 91 cm 226 cm 226 cm
SALINA 91 cm 226 cm 226 cm
MARTINIQUE
86 cm
226 cm 193 cm
KAUAI
74 cm
213 cm 165 cm
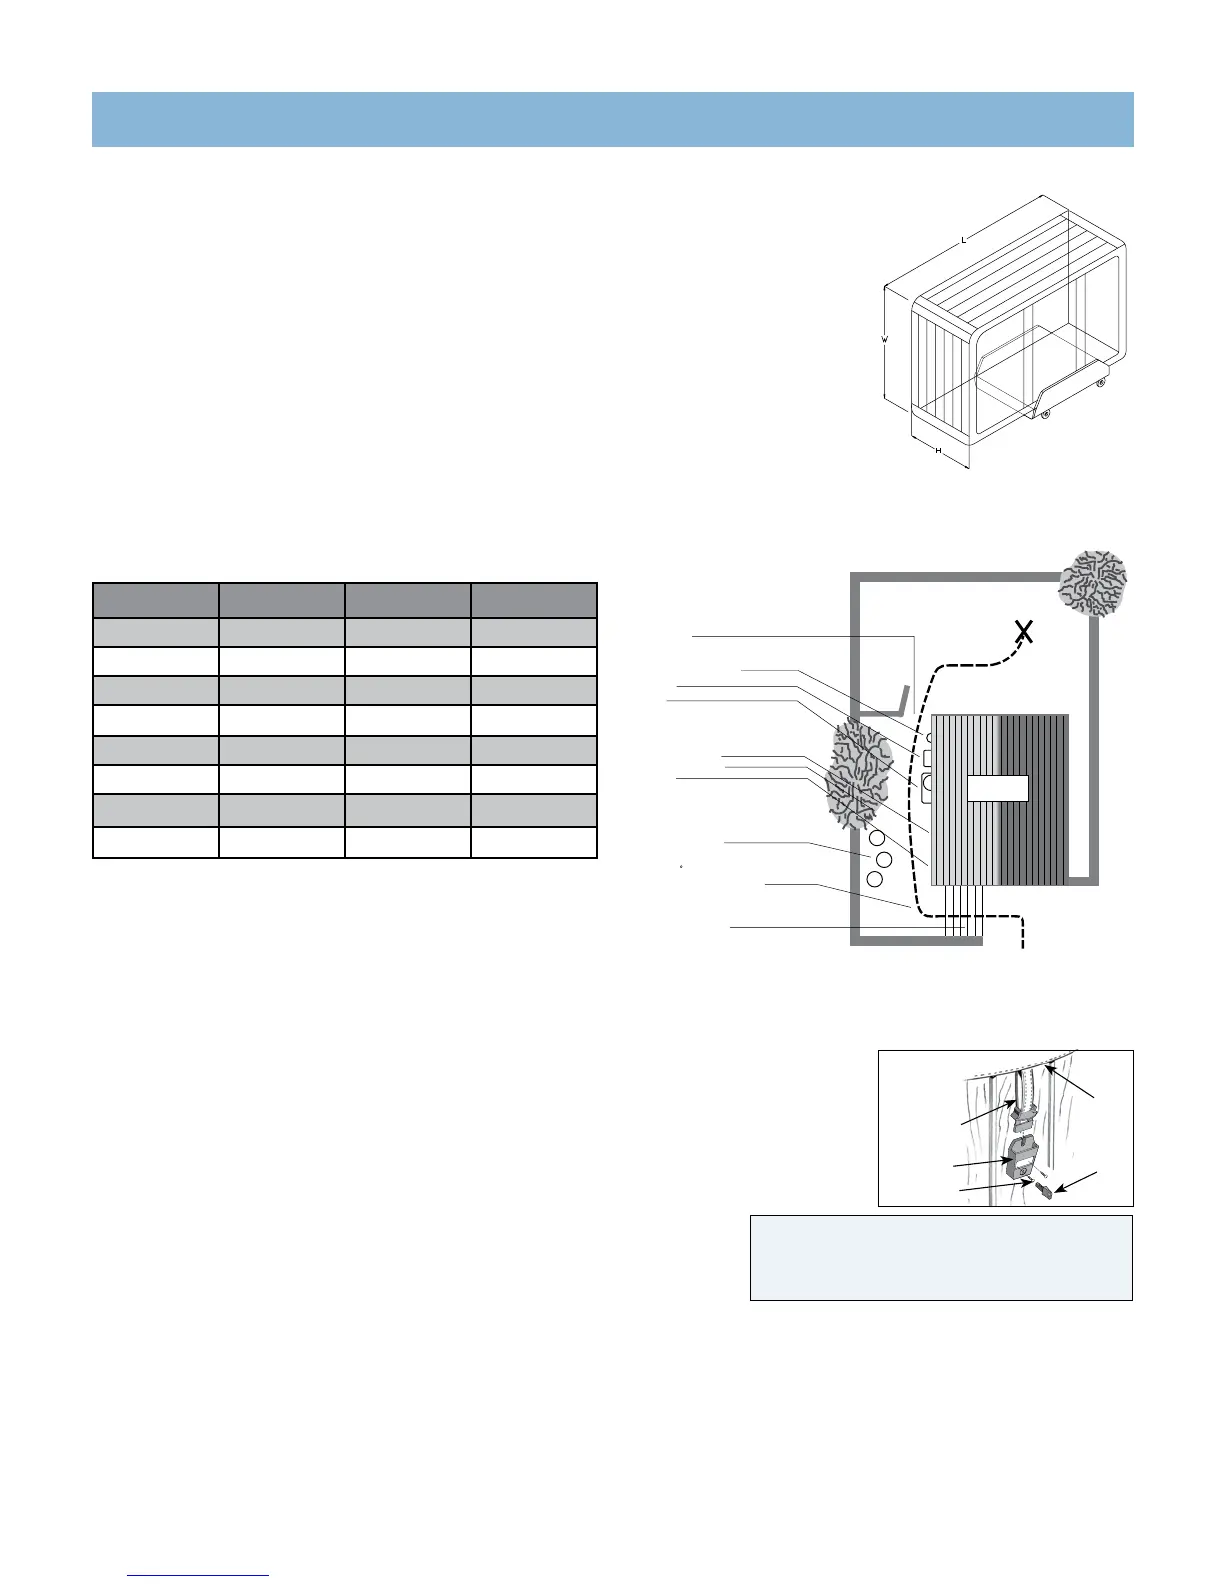
SPA COVER INSTALLATION
• Place the cover squarely on the spa.
• Position the tie-down locks included with your cover on the side of the spa so that they are easily reached by the cover tie-down straps. Allow for about 1.5 cm
to 2 cm of slack in the straps to make it easy to insert straps into locks and to compensate for vinyl shrinkage in cold weather.
• Attach the locks with the screws provided and insert the cover tie-down straps into the locks.
NOTE: Keeping the cover in place any time the spa is not in use will reduce the amount of time
the heater operates, thereby minimizing operating costs.
How is your width and height clearance?
Protruding electric meters
A/C units
Do you have sufficient
overhead clearance?
Check low roof eaves,
overhanging branches,
rain gutters
Is the path clear?
Move away branches, dog
houses, firewood, etc.
If there is a 90 turn, can we
clear it? (The spa will not bend.)
No more than 6 consecutive
stairs without a landing
to accommodate the spa
Gas meters
Check all gates
HOUSE
BACK YARD
STREET
DANGER. RISK OF INJURY.
• Never leave a spa uncovered or unattended.
• Never leave a spa cover unlocked.
• Do not stand, sit, or lie on the cover.
COVER INSTALLATION
TIE-DOWN STRAP
LOCK
COVER
KEY
SCREW (2)
INSTALLATION