7. Installation
If you are programming the data logger with Short Cut, skip Wiring to the data logger (p. 19) and
Programming (p. 20). Short Cut does this work for you. See QuickStart (p. 2) for a Short Cut
tutorial.
7.1 Siting
Locate the sensor away from obstructions such as trees and buildings. The horizontal distance
from an obstruction should be at least ten times the height of the obstruction. If mounting the
sensor on the roof of a building, the height of the sensor above the roof, should be at least 1.5
times the height of the building.
Ensure that the solar radiation sensor is not shaded.
7.2 Mounting
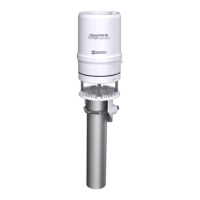
The ClimaVUE 50 includes a V-bolt for mounting to a pipe with a nominal outer diameter of 31.8
to 50.8mm (1.25 to 2.0in). The CM310 mounting pole is recommended to mount the ClimaVUE
50 with a small enclosure and solar panel (no other sensors). The ClimaVUE 50 can mount to a
crossarm by using the ClimaVUE50, MetSENS, or WindSonic Mounting Pipe Kit, which includes a
mounting tube and a CM220 Right Angle Mounting Kit (includes bracket, two U-bolts, and four
nuts).
7.2.1 Required tools
l 1/2-in open-end wrench
l Torpedo level
l UV-resistant cable ties
l Compass
l Ladder
ClimaVUE 50 Compact Digital Weather Sensor 13

 Loading...