Adjusting the feed amount
6. Press ▲ or ▼ to select Y es , and then press the OK button.
A test pattern is printed for adjustment based on the amount of paper stretching or shrinkage.
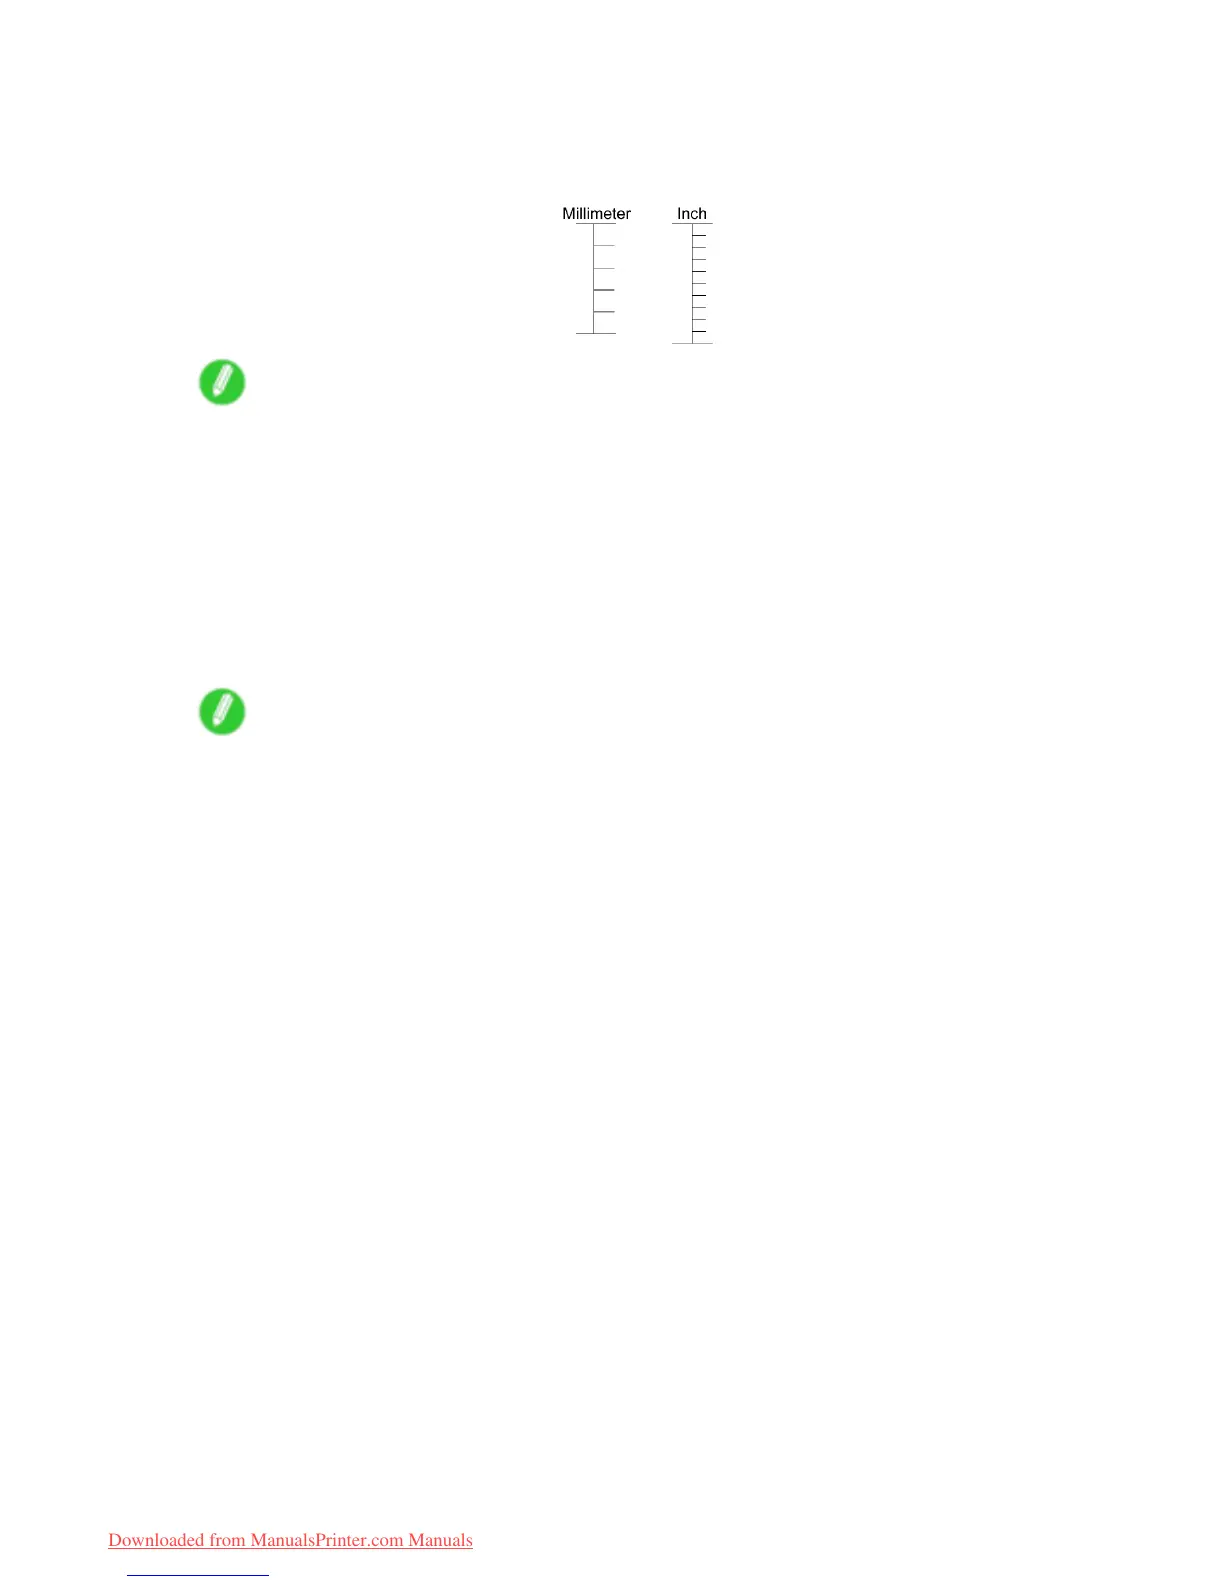
The scale bar shows “Millimeter” in 50 mm units and “Inch” in 1 inch units.
Note
• A test pattern is printed in black when you choose A: Standard or in magenta if you choose B: Other .
• T o cancel printing the test pattern for adjustment, hold down the Stop button for a second or more,
and then go to step 7.
7. Measure the length of the adjustment pattern. Calculate the dif ference between the measured
length and actual length. Enter it as a percentage and press the OK button.
Y ou can adjust the value in 0.02% increments. Press ▲ to increase the value or ▼ to decrease it.
If the scale is printed shorter than actual size, set the value toward the positive side; if it is printed
longer , set the value toward the negative side.
Note
• Y ou can also specify the adjustment value in Adjust Length in the Paper Details menu. In this
case, no test pattern for adjustment is printed.
• If you have not selected a coated paper in the Paper Details menu, B: Other is not shown in
the Adjust Length menu.
Note that B: Other may not be shown when using some types of paper .
584 Adjustments for Better Print Quality
Downloaded from ManualsPrinter.com Manuals
 Loading...