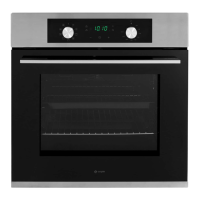
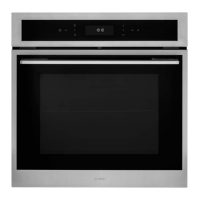
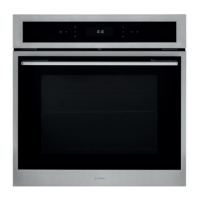
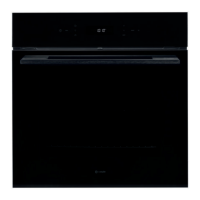
Instruction manual C2234 / C2234BK
Please keep this instruction manual for future reference
12
589mm
min 550mm
560mm
70mm
546mm
595 mm
575mm
551mm
23mm
5mm
595mm
24mm
116mm
INSTALLATION
IMPORTANT:
ISOLATE YOUR OVEN FROM THE ELECTRICAL SUPPLY BEFORE PERFORMING
INSTALLATION OR MAINTENANCE.
Installation should be carried out according to the instructions by a professionally
qualified person only.
The manufacturer declines all responsibility for any damage to persons, animals or
materials due to incorrect installation.
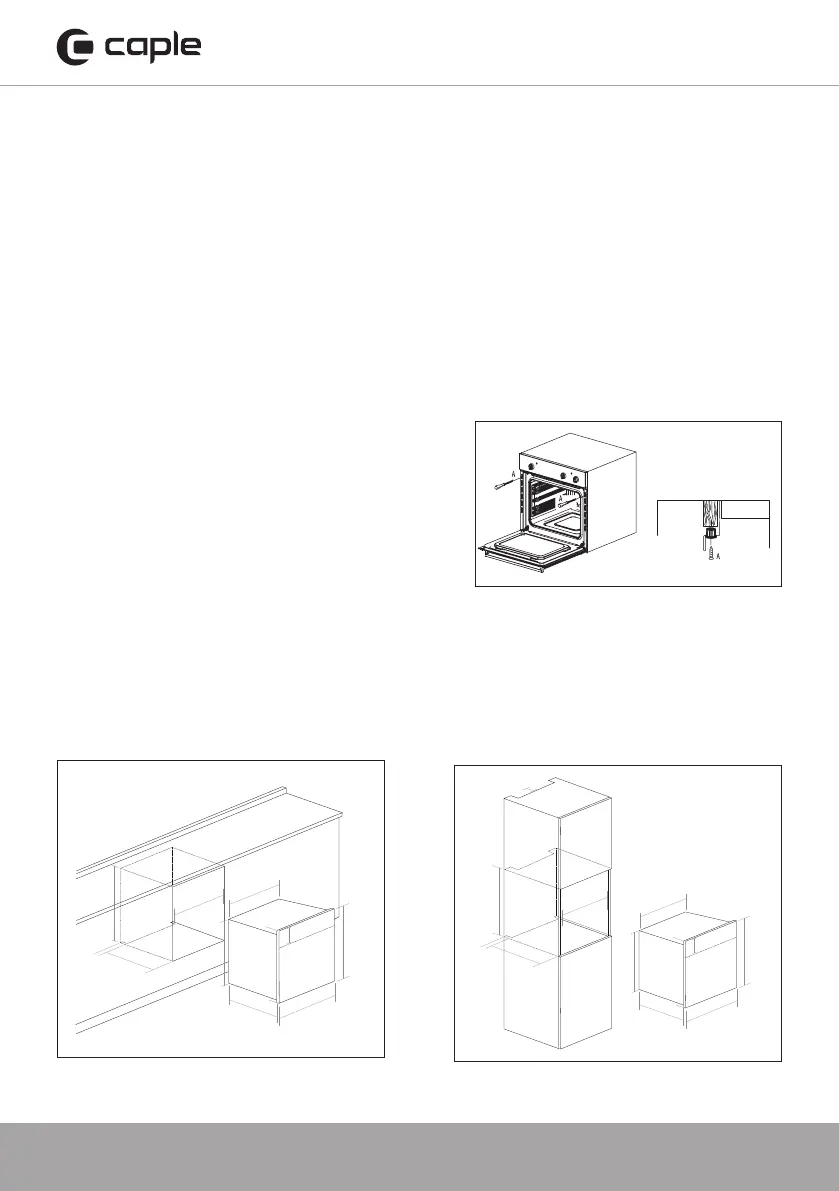
FITTING THE APPLIANCE
Fit the appliance into its surround (beneath a
worktop or above another appliance in a tall
housing) by inserting screws and plastic covers
into the 2 holes (A - fig.3) that can be seen in
the frame of the oven when the door is open.
For the most efficient air circulation, the oven
should be fitted according to the dimensions
shown in fig. 1 & 2.
The rear panel of the cabinet must be removed so that air can circulate freely. The
panel to which the oven is fitted should have a gap of at least 70 mm at the rear
for ventilation (fig.4 & fig.5).
546mm
595mm
575mm
589mm
min 550mm
560mm
551mm
23mm
5mm
595mm
70mm
20mm
546mm
595 mm
575mm
551mm
23mm
5mm
595mm
24mm
116mm
116mm
INSTALLATION
IMPORTANT:
Unplug your oven before
performing installation or maintenance
Installation should be carried out according to the instructions by a
professionally qualified person only.
The manufacturer declines all responsibility for
any damage to persons, animals or materials due to incorrect installation.
Fitting the appliance
Fit the appliance into its surround (beneath a worktop or above
another appliance) by inserting screws and plastic covers into the 2
holes (A - fig.3) that can be seen in the frame of the oven when the door
is open.
For the most efficient air circulation, the oven should be fitted
according to the dimensions shown in fig. 1 & 2.
The rear panel of the cabinet must be removed so that air can
circulate freely. The panel to which the oven is fitted should
have a gap of at least 70 mm at the rear for ventilation (fig.4 & fig.5).
See below for full dimensional drawings of your oven to help with
installation.
NOTE: where ovens are to be matched with hobs, it is essential
to follow the instructions contained in the manual supplied with
the hob
Plastic cover
Fig.3
Oven dimensions
Fig.2
Fig.1
Fig. 1
Fig. 2