2
INSTALLATION, Cont.
Regardless of how you mount your CN20, it should be in a safe area where it will not be in the way of
normal traffic. The mounting bracket should be
securely fastened to the wall or column top so that it
cannot break loose from the mounting surface. After
the CN20 has been mounted, it may be connected to
the optional plug-in power supply or the batteries may
be installed.
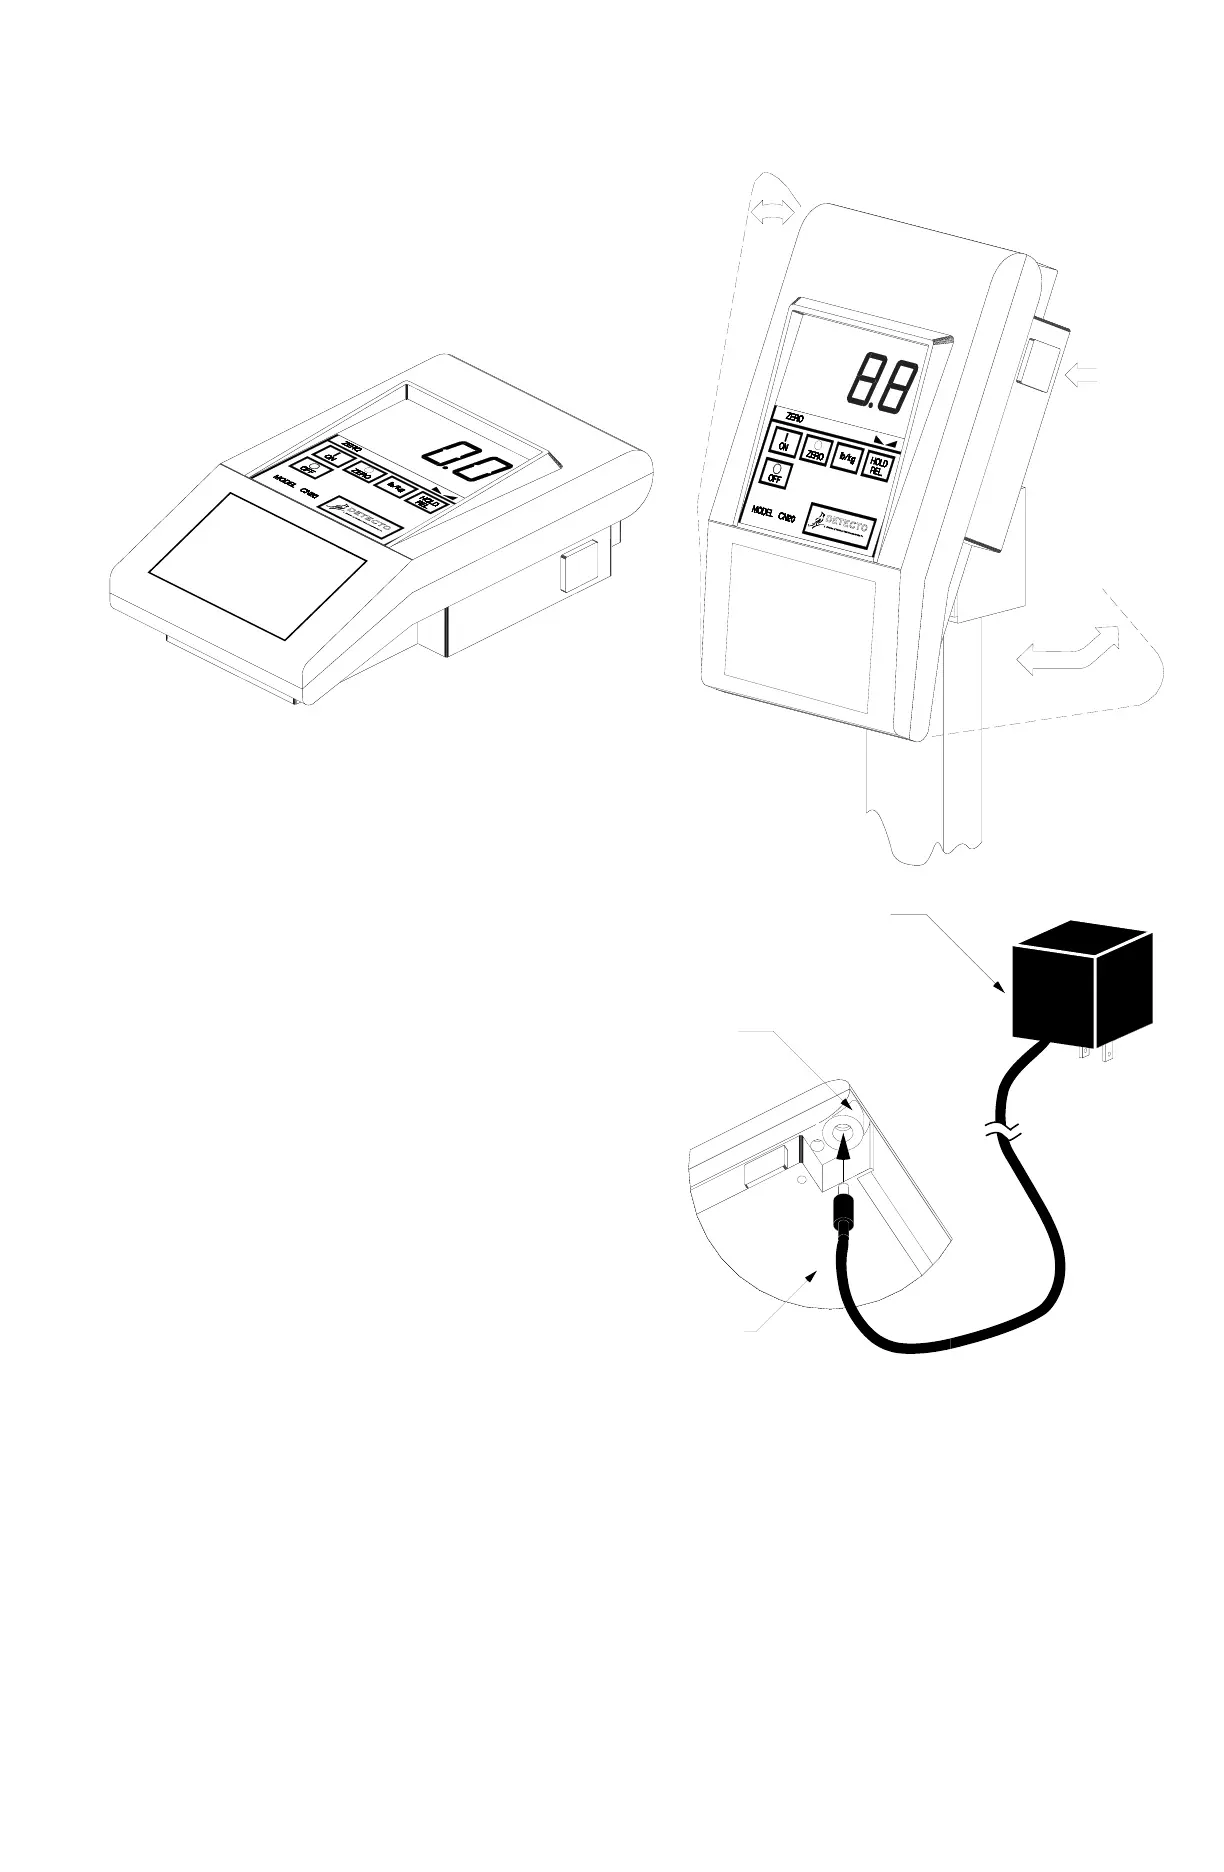
OPTIONAL PLUG-IN POWER SUPPLY
If you have ordered an optional plug-in power supply to
operate your CN20 from a wall outlet it may be
installed at this time. Remove the power supply
from the shipping carton and insert the output
power cable connector into the power jack
located on the underside of the CN20 enclosure.
Refer to Figure no. 2 for the location of the power
jack. Insert the power supply connector into the
wall outlet.
BATTERIES
If you did not order an optional plug-in power
supply or if you did but wish to operate the CN20
from batteries, you must install batteries before
operations can begin. The CN20 uses six (6) “D”
size Alkaline or Ni-Cad batteries. These batteries
are contained in a slide-out drawer at the back of
the instrument enclosure.
To remove the battery drawer, press down on the
release pad while pulling outward. Remove the
battery drawer from the instrument. Install six (6)
“D” size batteries in the drawer making certain
that they are positioned in accordance with the
battery outline located in the bottom of the
drawer. Note: All six (6) batteries must be of the same type. They must all be Alkaline or they must all
be Ni-Cad. DO NOT mix Alkaline and Ni-Cad batteries. Refer to Figure no. 3 for illustration of battery
installation.
After placing all six (6) of the batteries in the drawer, replace the drawer in the CN20 and push it all
the way forward until the retaining latch snaps into place. Failure to push the drawer in until the latch
engages will keep the instrument from operating. Press the ON key. If the display turns on and the
BAT annunciator is off, the batteries have been installed correctly. If not, remove the tray and check
for one (1) or more improperly positioned batteries.
Figure No. 1
Press here
on both sides
to tilt
May be
rotated
Tilt
Desk Top
Column Mount
Optional AC Power
Supply - 115 VAC
or 230 VAC Model
Power Jack
Bottom of
Instrument
Figure No. 2

 Loading...


