96
5. When replacing wheel be certain to tighten four bearing
set screws. Premature bearing failure can occur if not set
tightly.
Fig. 52 — 25-46 Inch Wheel Mount
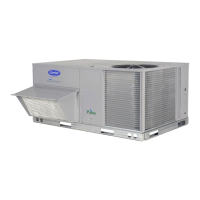
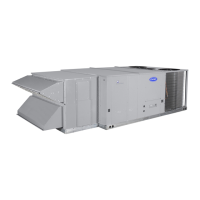
Outside Air and Exhaust Air Hood Removal
OUTSIDE AIR HOOD REMOVAL
1. Turn off, lockout and tag-out electrical power to unit.
2. Remove the hood by removing the self-sealing screws
along the perimeter of the hood. See Fig. 53.
NOTE: Even after all screws have been removed from entire pe-
rimeter of hood, it will still be difficult to remove due to the gasket
applied from original installation. Take care not to damage the
gasket. If damage occurs use equivalent gasket to replace before
reattaching the hood.
3. Disconnect the green (HIGH) and yellow (LOW) tubes
attached to the quick connects located inside the ERV. Do
NOT damage the tubes.
EXHAUST AIR HOOD REMOVAL
1. Turn off, lockout and tag-out electrical power to unit.
2. Remove the hood by removing the self-sealing screws
along the perimeter of the hood.
NOTE: Even after all screws have been removed from entire pe-
rimeter of hood, it will still be difficult to remove due to the gasket
applied from original installation. Take care not to damage the
gasket. If damage occurs use equivalent gasket to replace before
reattaching the hood.
Fig. 53 — Outside Air Hood Removal
Wheel,
Hub and
Shaft
Set
Screws
(2 each)
Flange
Bearings
(2)
Wheel Support Beams
Detail “A”
High and Low
Quick Connects
A
 Loading...