10
A07157
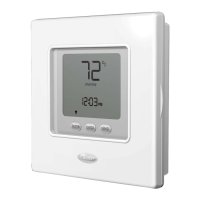
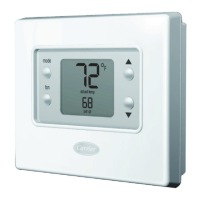
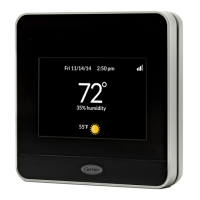
Fig. 4 -- Attach Comfort Series Programmable Thermostat
11. Close thermostat assembly making sure pins on back of circuit board align
with sockets in connector.
12. Turn ON power to unit.
When power is applied, all display icons are lit for 2 seconds to tes t the display.
Fol lowing this , the equipment type for which the ther m ost a t is configured is dis pl ayed
for an addi t ional 2 seconds. It wi ll be one of HP, H2, AC, A2, H or C (see explanation
under Step 3, Opti on 01 below). A HP ther mostat configured t o operate an AC (see
Opti on 1 below) wil l displ ay AC. An AC thermostat cannot display HP.
NOTE: If a common wire has not been connected, two AA batteries must be used
to power the thermostat.
Step 3 — Set Thermostat Configuration
Configuration options enable the installer to configure the thermostat for a particular
inst al lati on. Most are not presented to the homeowner and therefor e must be proper l y set
by the inst al l er. (Only those marked with an asteri sk * below are avail abl e to the
homeowner.) Fol l owi ng is a lis t of the options availabl e, an explanation of their functi on,