I-120
GH Pump 120 – 16.02.EN
18
To lubricate ball bearing (16 and/or 18) use the following
procedure:
CAUTION
Over greasing creates heat and is the cause of
many problems requiring repair. DO NOT
OVER GREASE.
1. Never lubricate ball bearing (16 and/or 18) while
unit is running. If necessary, shut down pumping
unit according to Section IV, Paragraph E.
CAUTION
Do not lubricate bearing with a power grease
gun.
2. Using a hand-operated grease gun on grease
fittings, add approximately one ounce of fresh
grease. With most hand-operated grease guns,
two or three pumps are enough. DO NOT
OVER GREASE. When installing new bearing,
pack new bearing only half full with grease.
Bearing temperature may rise above normal
immediately after lubrication, but should
stabilize within 4 to 8 hours.
B. LUBRICATION OF MOTOR BEARINGS. See
motor manufacturer’s instructions to be sure motor ball
bearings are properly lubricated.
C. TORQUE VALUES. Refer to Table 5,
Recommended Torque Values. Clean and properly
lubricate threads and bearing face of the fastener to
obtain the proper fastener loading from these torque
values. Fasteners should be tightened evenly and in
stages. Refer to your torque wrench manual for the
proper use of your wrench.
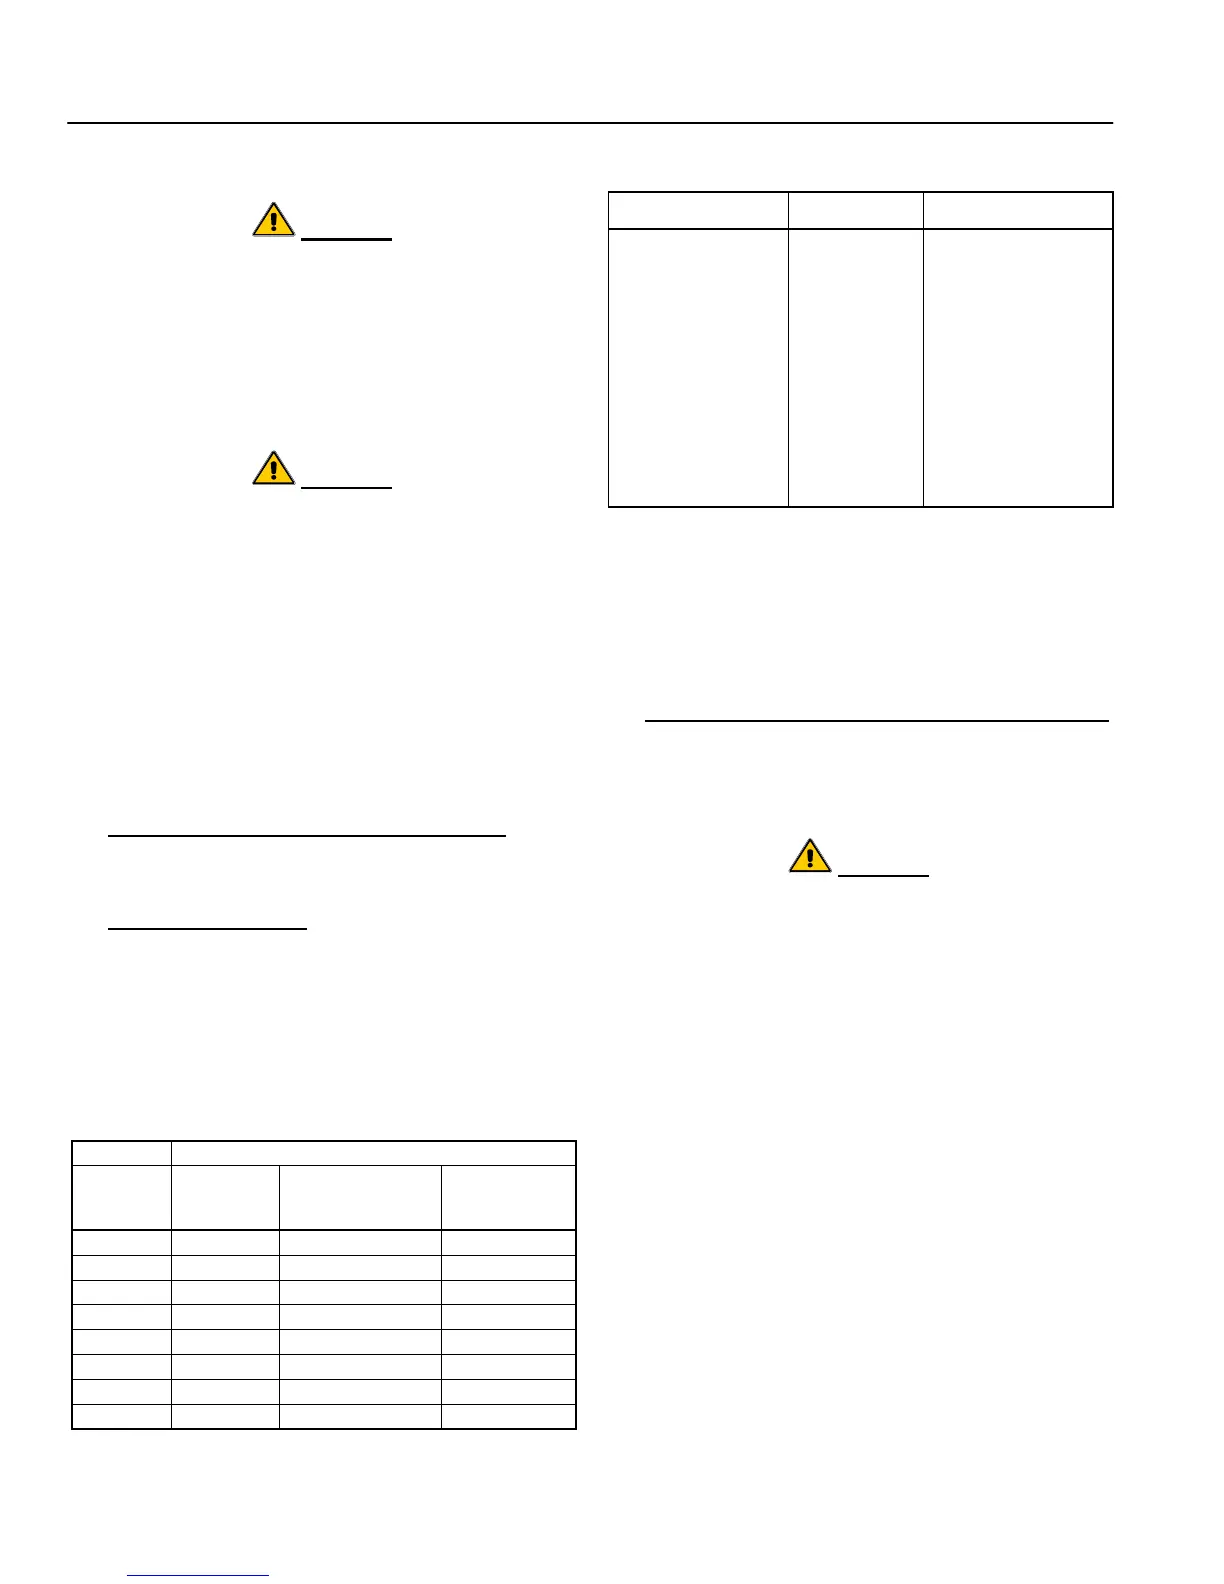
Table 5. Recommended Torque Values (ft-lbs)
Steel (or
otherwise noted)
Table 6. Recommended Equipment
Spanner Wrench
Rawhide or
Wood Mallet
Belt Alignment
Gauges
Volt-Amp Meter
Wooden Wedge
Allen Wrench Set
Socket, Open, &
Box Wrench
Set
Rust Solvent
Dow 111
Lubricant
XI. SERVICE AND REPAIR.
Refer to Figures 9 and 10 to locate the pump parts by
item number and parts list Table 8. If a specific sectional
assembly drawing exists for a particular pumping unit
then that drawing should be referred to for service work.
A. PREPARATIONS FOR DISASSEMBLY OF PUMP.
During disassembly, match mark parts so they can be
replaced in their original position. All parts should be
thoroughly cleaned or replaced with new, if necessary.
Sealing faces should be perfectly clean.
CAUTION
Factory authorized parts must be used to safely
maintain your Carver Pump.
NOTE
To avoid damage to O-rings, check to make
sure all parts are free of sharp edges or burrs.
All O-rings, ball bearings, shims, mechanical
seals, lip seals, packing, and gaskets if
disturbed from position should be replaced.
Variations do exist between configurations, not
all parts described in the text may be on your
configuration. Review what variations your
pumping unit has before starting. Parts marked
with * are options or vary by pump.
After prolonged operation, components may not be
easily removed from shaft. In such instances, rust
solvent may be used and suitable extracting tools
applied wherever possible. DO NOT use force under
any circumstances. Refer to Table 6, Recommended
Equipment, for proper tooling during disassembly and