20110901
2-5-1
Transferring Data between ClassPad and a Computer
2-5 Transferring Data between ClassPad and a
Computer
Establishing a USB connection between ClassPad and a computer will cause the computer
to recognize the ClassPad’s mass storage area as a USB Flash Drive. After a connection
is established, data can be transferred between ClassPad and computer using computer
operations only.
Connecting and Disconnecting with a Computer in the USB Flash Mode
Important!
Never touch the USB cable plugs and screen while a data communication operation
is in progress. Static electricity from your fingers can cause data communication to be
terminated.
To establish a connection between ClassPad and a computer
(1) Start up your computer.
(2) After starting up your computer, use the USB cable to connect it to the ClassPad.
• The ClassPad will turn on automatically and the “Select Connection Mode” screen will
appear.
(3) Tap [USB Flash].
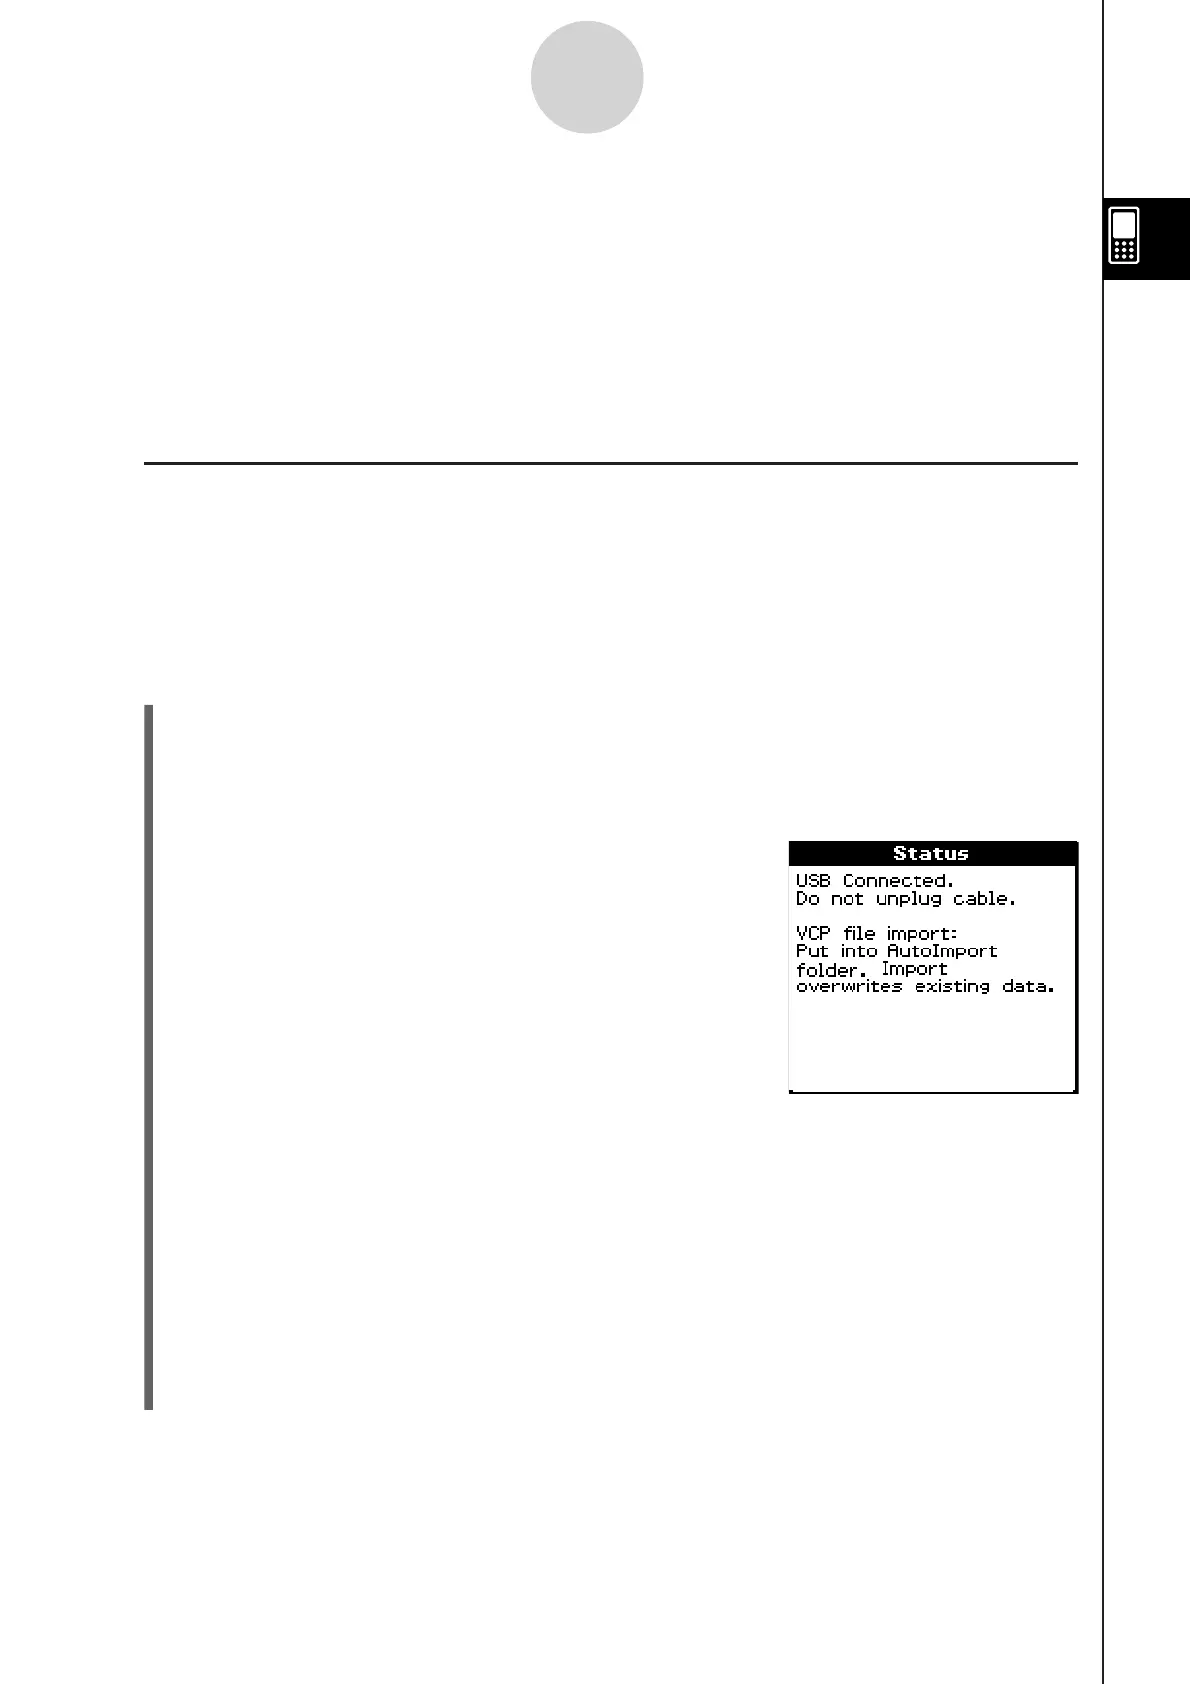
• Establishing a connection between the ClassPad
and a computer will cause the screen shown nearby
to appear.
(4) On your computer, open the ClassPad drive.
• The ClassPad drive will appear inside My Computer under Windows
®
XP, and inside
Computer under Windows Vista
®
or Windows
®
7. Use Windows Explorer to open the
ClassPad drive.
• Under Mac OS X, the ClassPad drive icon appears on the Mac desktop. Double-click
the icon to open it.
• The ClassPad drive represents ClassPad’s mass storage area.
(5) Perform the required operation on your computer to transfer the data.
• For details about data transfer operations, see “Transferring Data” (page 2-5-3).
k
•
u