20110901
To terminate the connection between the ClassPad and a computer
(1) If the ClassPad is connected to a Windows computer, note the drive letter (E, F, G,
etc.) assigned to the ClassPad drive.
(2) Depending on the type of operating system your computer is running, perform one of
the following operations.
• Windows: Click the “Safely Remove Hardware” icon in the toolbar in the lower right
corner of the display. On the menu that appears, select “USB mass storage device”
whose letter matches the ClassPad drive letter you noted in step (1) above. Check to
make sure the “Safe To Remove Hardware” message is displayed.
• Mac OS: Drag the ClassPad drive icon to the Eject icon (Trash icon). Check to make
sure that the ClassPad drive icon is no longer on your desktop.
(3) The message “Complete!” will appear on the ClassPad screen. To close the message
dialog box, tap [OK].
(4) Disconnect the USB cable from the ClassPad.
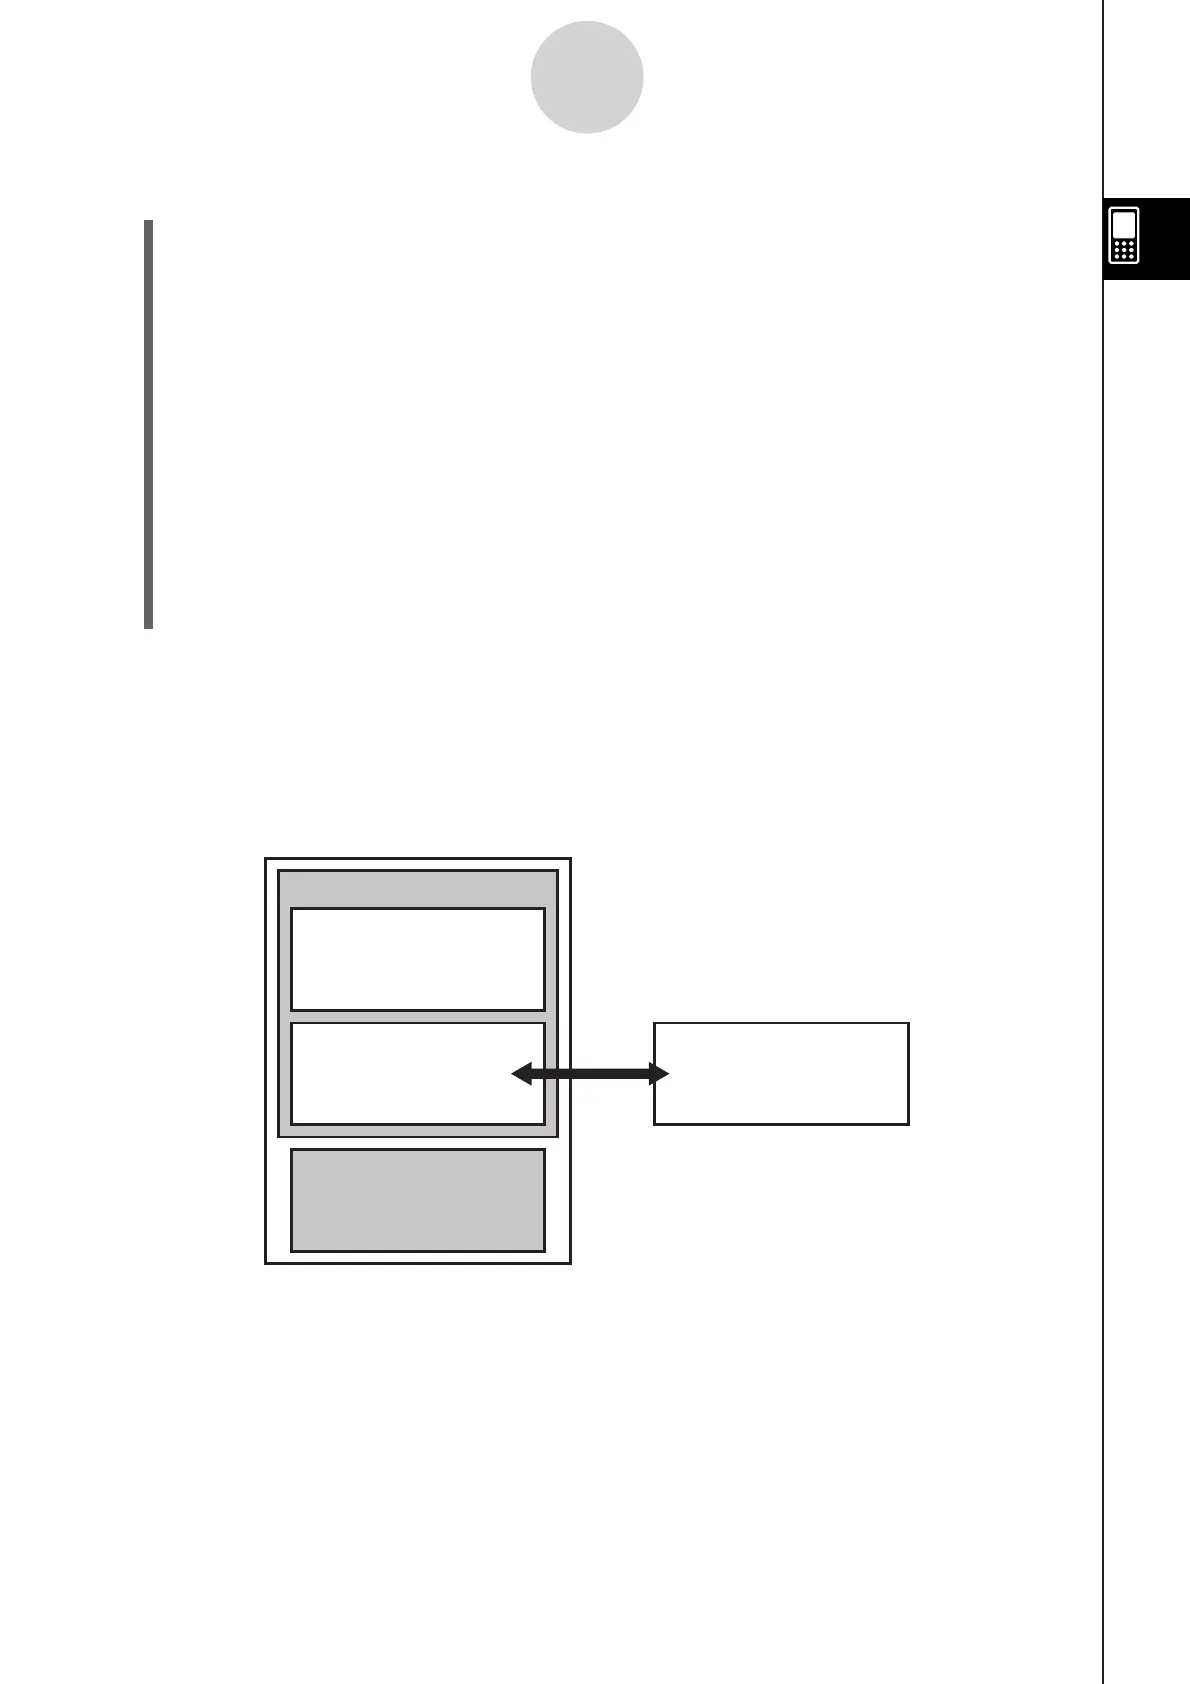
How a computer displays files and folders in the ClassPad drive
Establishing a connection between ClassPad and a computer in USB Flash mode displays
folder and files stored in the ClassPad mass storage area as folders and files in the
computer’s ClassPad drive.
ClassPad
Computer
Flash ROM
eActivity Area
Mass Storage Area
(USB Flash Drive)
ClassPad Drive
Main Memory
u
u
2-5-2
Transferring Data between ClassPad and a Computer