― 22 ―
< Note >
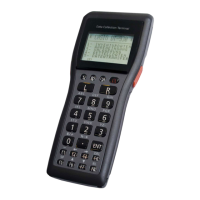
Left and right TRIGGER-KEYS are not identical.
“R”
“L”
The positions of L and R are
as above from this viewpoint.
The “R” side is up.
There are three types of TRIGGER-KEY’s. They are KEY with die stamped “L”
on the inner side, that with die stamped “R” on the inner side, and that with no
die stamp. That with die stamp “L” should be used at left and “R” should be used
for right. That with no stamps can be used both for right and left.
< Note >
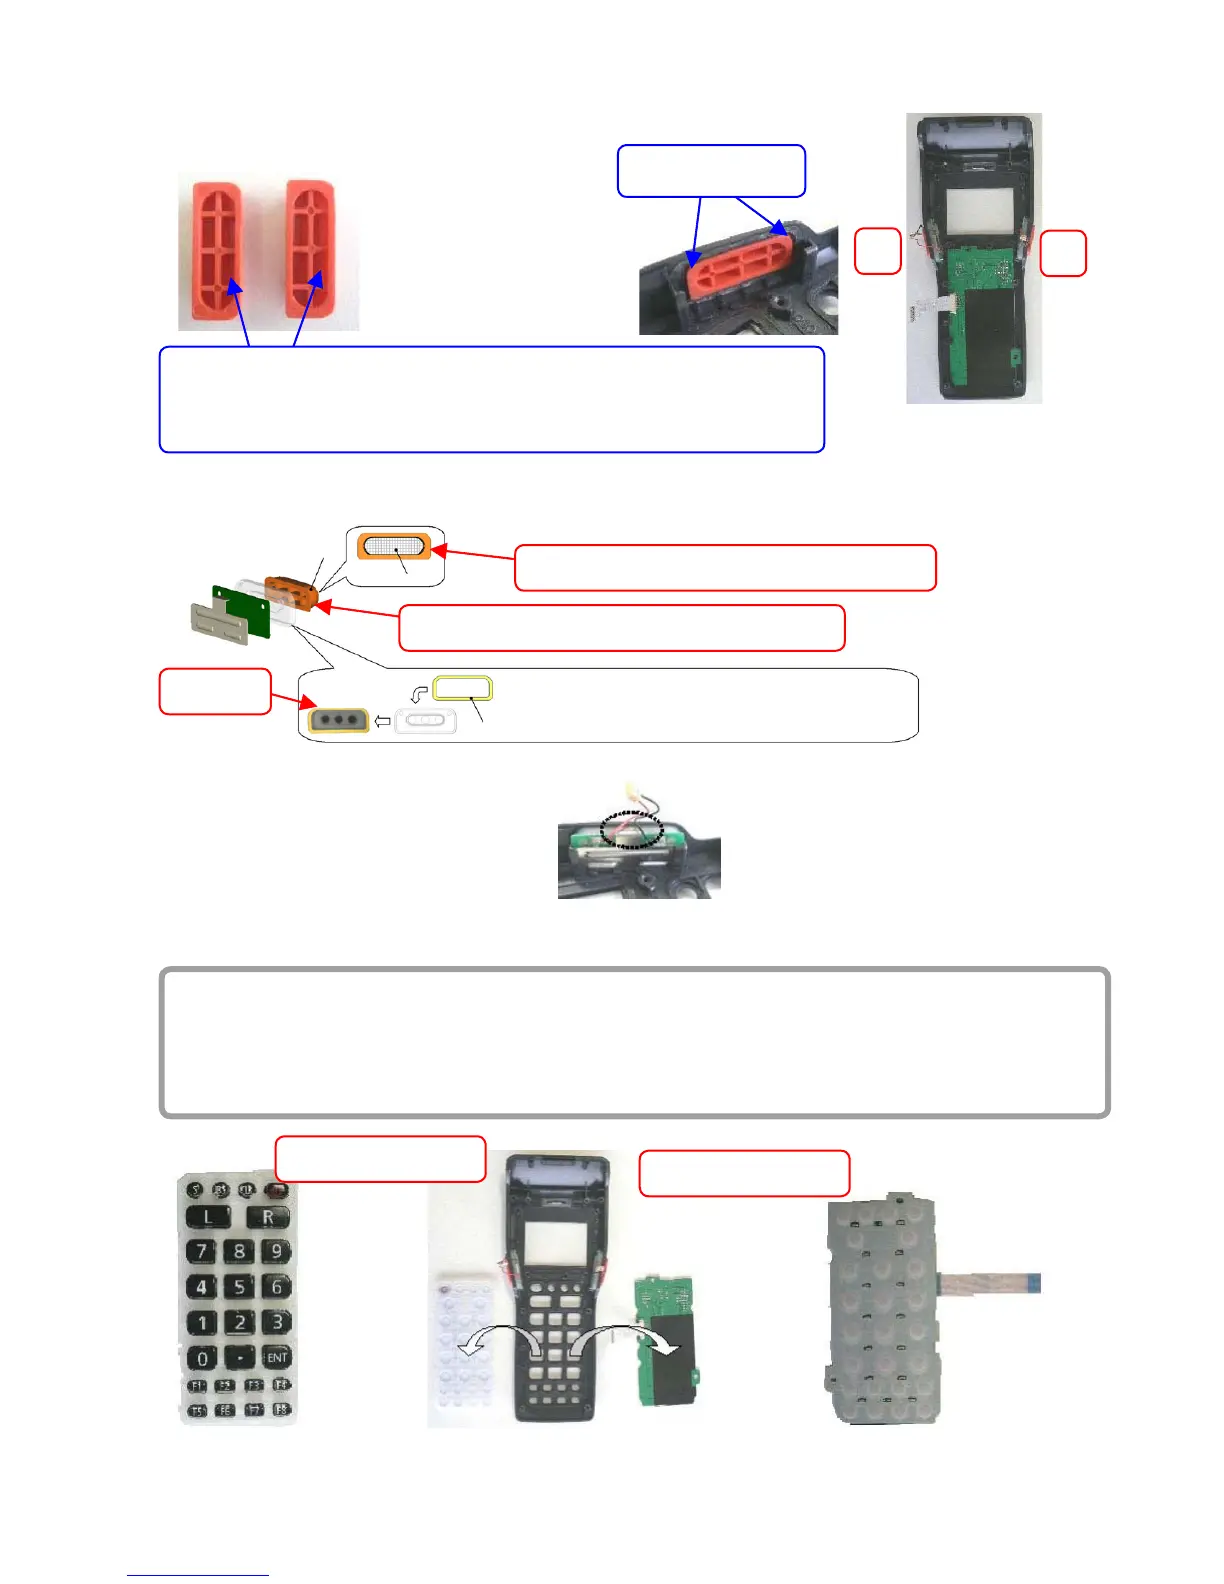
Be sure to use brand new tape when TR-KEY is disassembled.
Fix the TR-TAPE-A at concave face of TR-KEY
Separator
TR-KEY
TR-TAPE-A
TR-TAPE
Make sure to keep the side with round angle upward.
1
Attach TR-TAPE to RUBBER/TRG.
2
Peel off the separator.
1
2
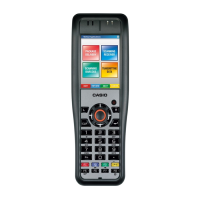
< Caution >
Do not pinch the cables with a hook.
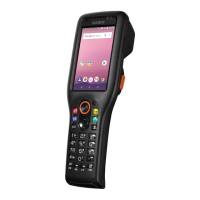
3.3.13 KEY DISASSEMBLY/ASSEMBLY
Procedures
With no screws, KEY can easily be detached from U-CASE.
(1)
Remove PY050-KEY-ASSY.
(2) Remove KEY-SUB-ASSY.
* For the assembly, reverse the above order.
(1) PY050-KEY-ASSY
Rear Side
Rear Side
(2) KEY-SUB-ASSY