EN-25
English
Connecting to a Computer
You can connect the Digital Piano to a computer and
exchange MIDI data between them. You can send play
data from the Digital Piano to commercially available
music software running on your computer, or you can
send MIDI data from your computer to the Digital
Piano for playback.
The following shows the minimum computer system
requirements for sending and receiving MIDI data.
Check to make sure that your computer complies with
these requirements before connecting the Digital Piano
to it.
z
Operating System
z
USB port
IMPORTANT!
• Never connect to a computer that does not conform
to the above requirements. Doing so can cause
problems with your computer.
IMPORTANT!
• Make sure you follow the steps of the procedure
below exactly. Connecting incorrectly can make data
send and receive impossible.
1.
Turn off the Digital Piano and then start up
your computer.
• Do not start up the music software on your computer
yet!
2.
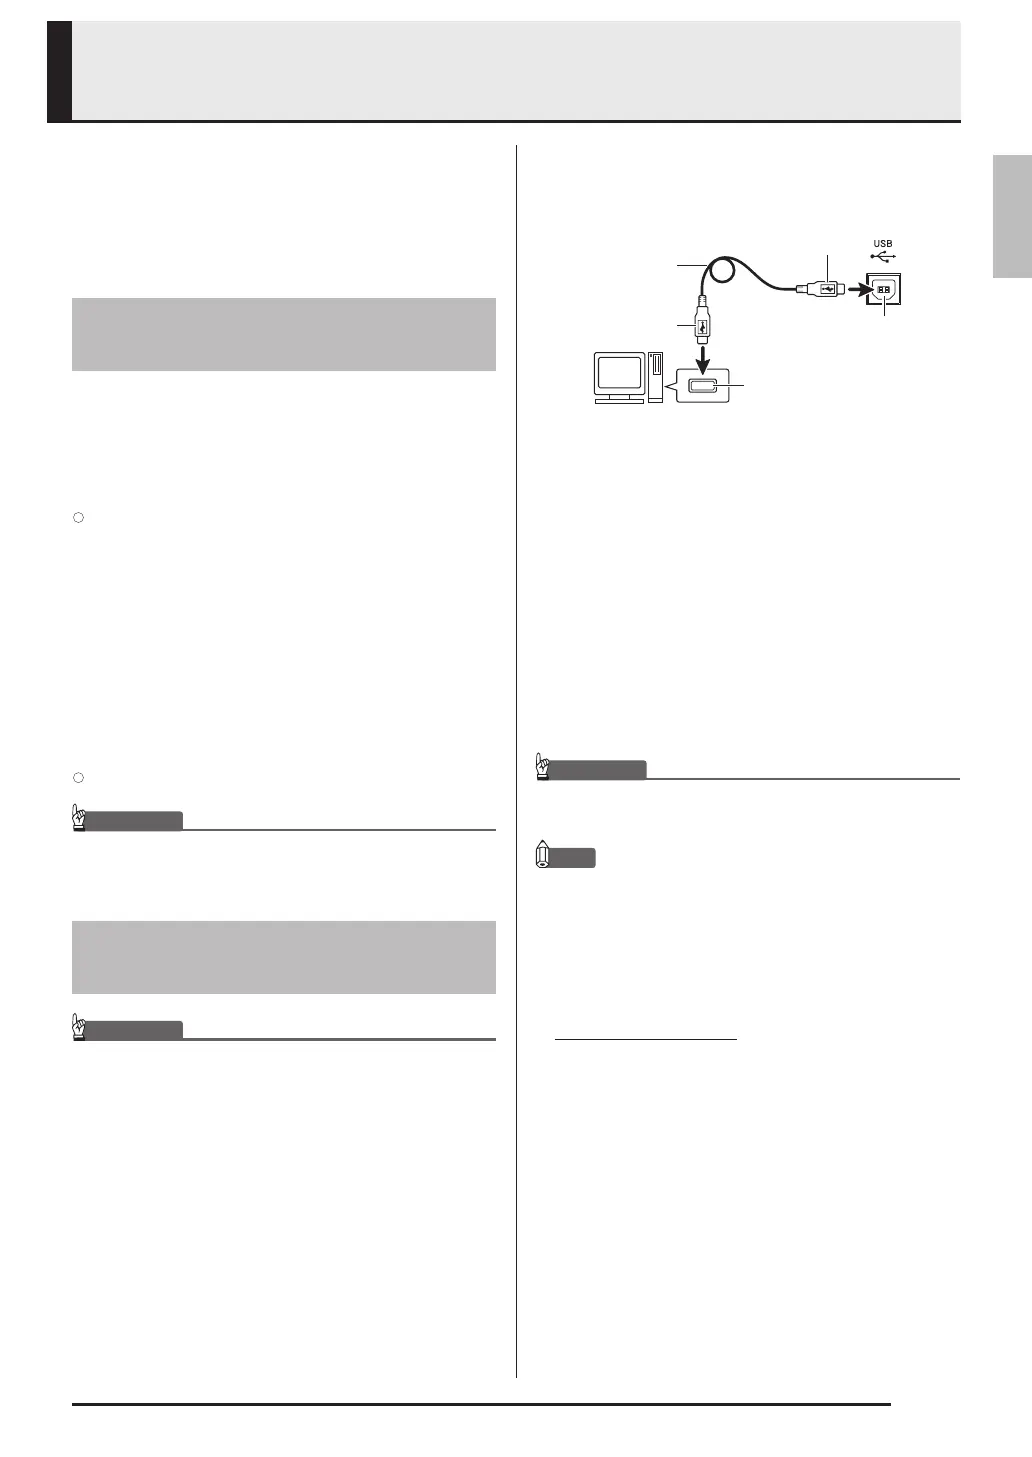
After starting up your computer, use a
commercially available USB cable to connect
it to the Digital Piano.
3.
Turn on the Digital Piano.
• If this is the first time you are connecting the Digital
Piano to your computer, the driver software required
to send and receive data will be installed on your
computer automatically.
4.
Start up commercially available music
software on your computer.
5.
Configure the music software settings to
select “CASIO USB-MIDI” as the MIDI device.
• For information about how to select the MIDI device,
see the user documentation that comes with the
music software you are using.
IMPORTANT!
• Be sure to turn on the Digital Piano first before
starting up your computer’s music software.
NOTE
• Once you are able to connect successfully, there is no
problem with leaving the USB cable connected when
you turn off your computer and/or Digital Piano.
• For detailed specifications and connections that
apply to MIDI data send and receive by this Digital
Piano, see the latest support information provided
by the website at the following URL.
http://world.casio.com/
Minimum Computer System
Requirements
Windows Vista
®
*1
Windows
®
7
*2
Windows
®
8
*3
Windows
®
8.1
*4
Mac OS
®
X
(10.3.9, 10.4.11, 10.5.X, 10.6.X, 10.7.X,
10.8.X
, 10.9.X)
*1: Windows Vista (32-bit)
*2: Windows 7 (32-bit, 64-bit)
*3: Windows 8 (32-bit, 64-bit)
*4: Windows 8.1 (32-bit, 64-bit)
Connecting the Digital Piano
to Your Computer
Computer USB port
A connector
Digital Piano USB port
B connector
USB cable
(A-B type)
PX160-ES-1B.indd 27 2016/01/20 17:58:33
 Loading...