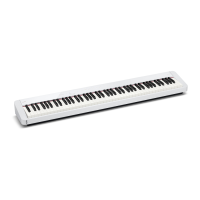
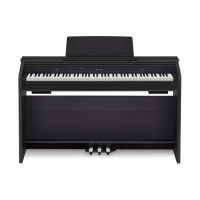
PX-150
– 9 –
DISASSEMBLY
About Repair
• The photos show a prototype. The appearance of the instrument, such as color, may differ
from the actual model.
•
Toavoiddamagestotheinstrumentandoor,laytheinstrumentonamattressorblanket
before starting disassembling.
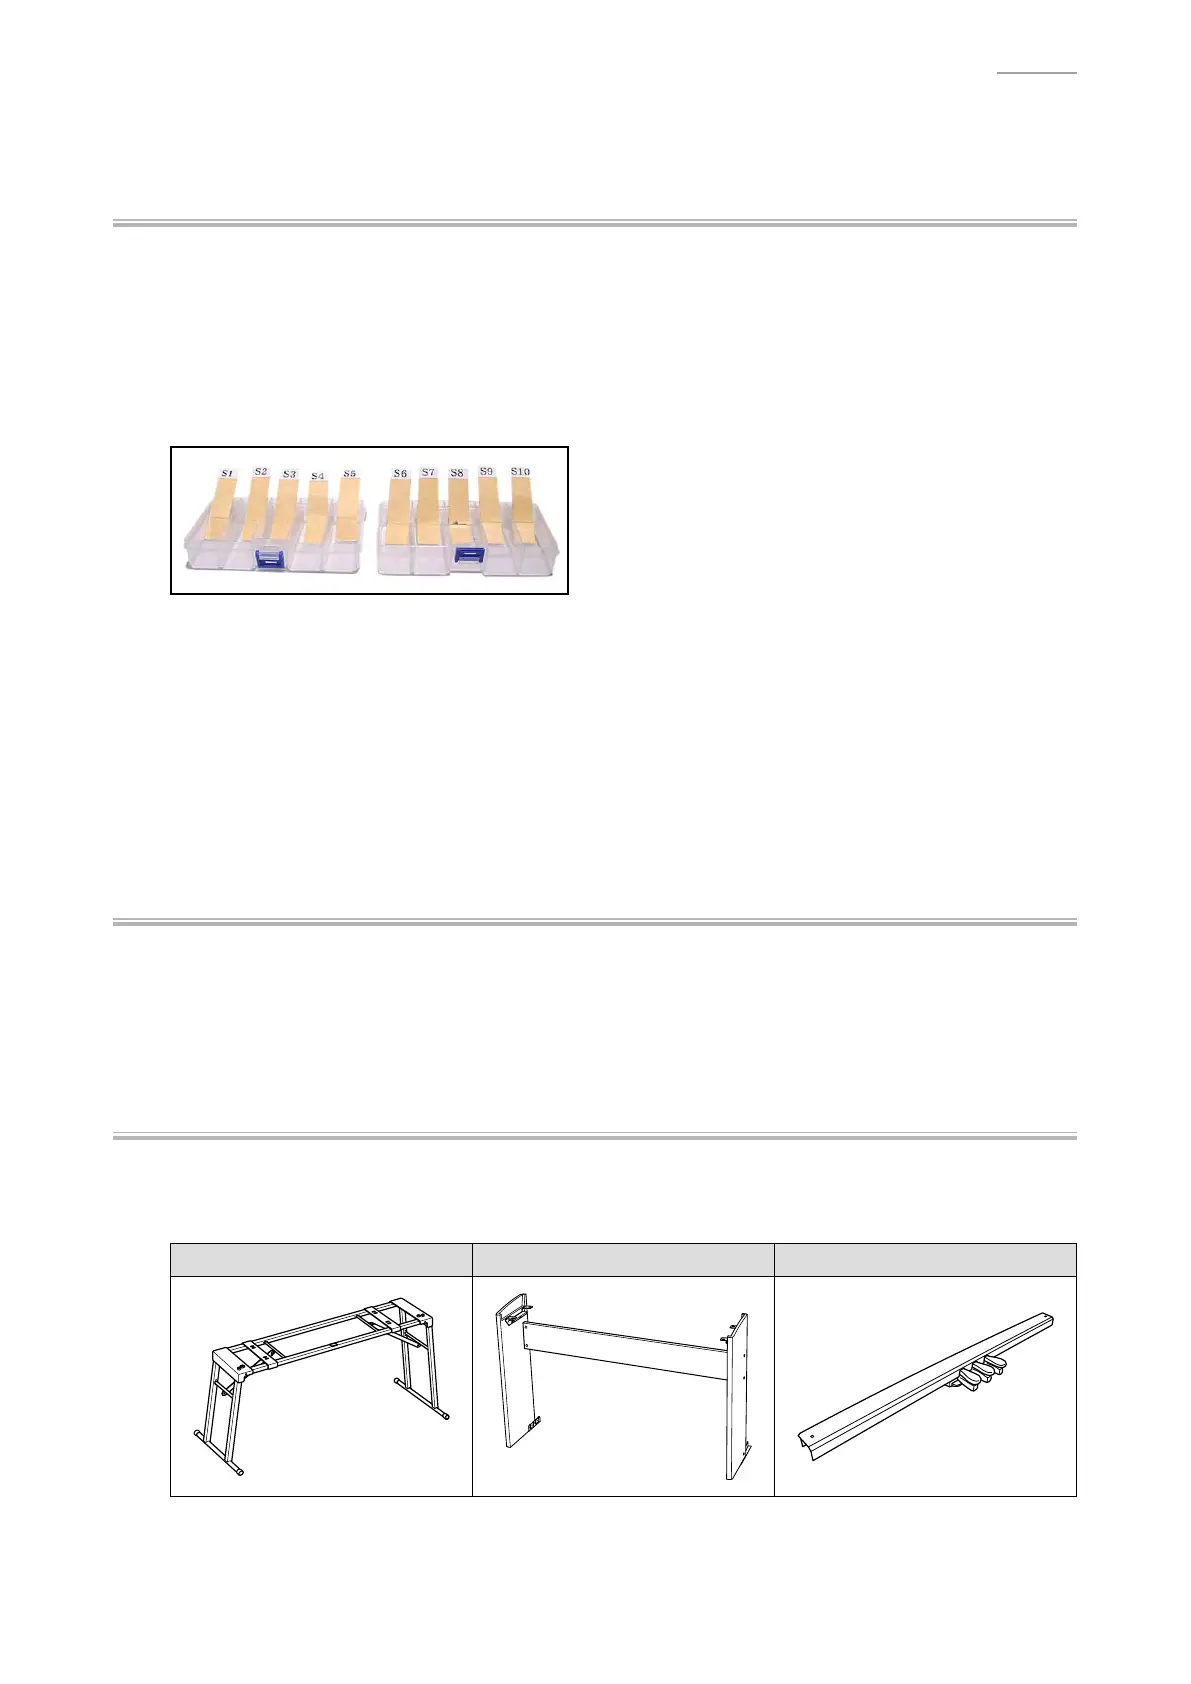
• There are several kinds of screws. Be sure to use the correct type of screws when
reassembling. It is advisable to sort the screws as shown below after removing them.
• If a screw cap is attached to the screw, remove it. Be sure to reattach the screw cap when
assembling.
• Check how cables are wired before removing cables. Be sure to wire the cables in the same
manner as they were before disassembly.
•
Incasecablesaresecuredwithcableties,securingbands,clips,ortapes,removethemrst.
Be sure to secure the cables in place in the same manner as they were before disassembly.
Before Starting Repair or Servicing
• Remove the AC adaptor, AC cord or batteries.
• Remove accessories such as the music stand.
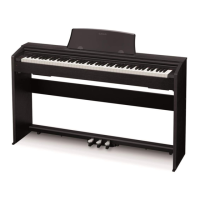
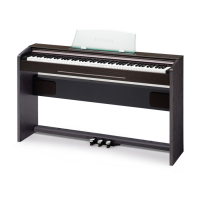
About the Stand
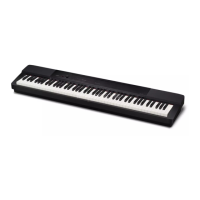
• The stand and the pedal unit for this digital piano are sold separately.
NOTE: The stand CS-67P is required to use the pedal unit SP-33.
Stand: CS-53P Stand: CS-67P Pedal Unit: SP-33