— 10 —
ConnectorÅ~2
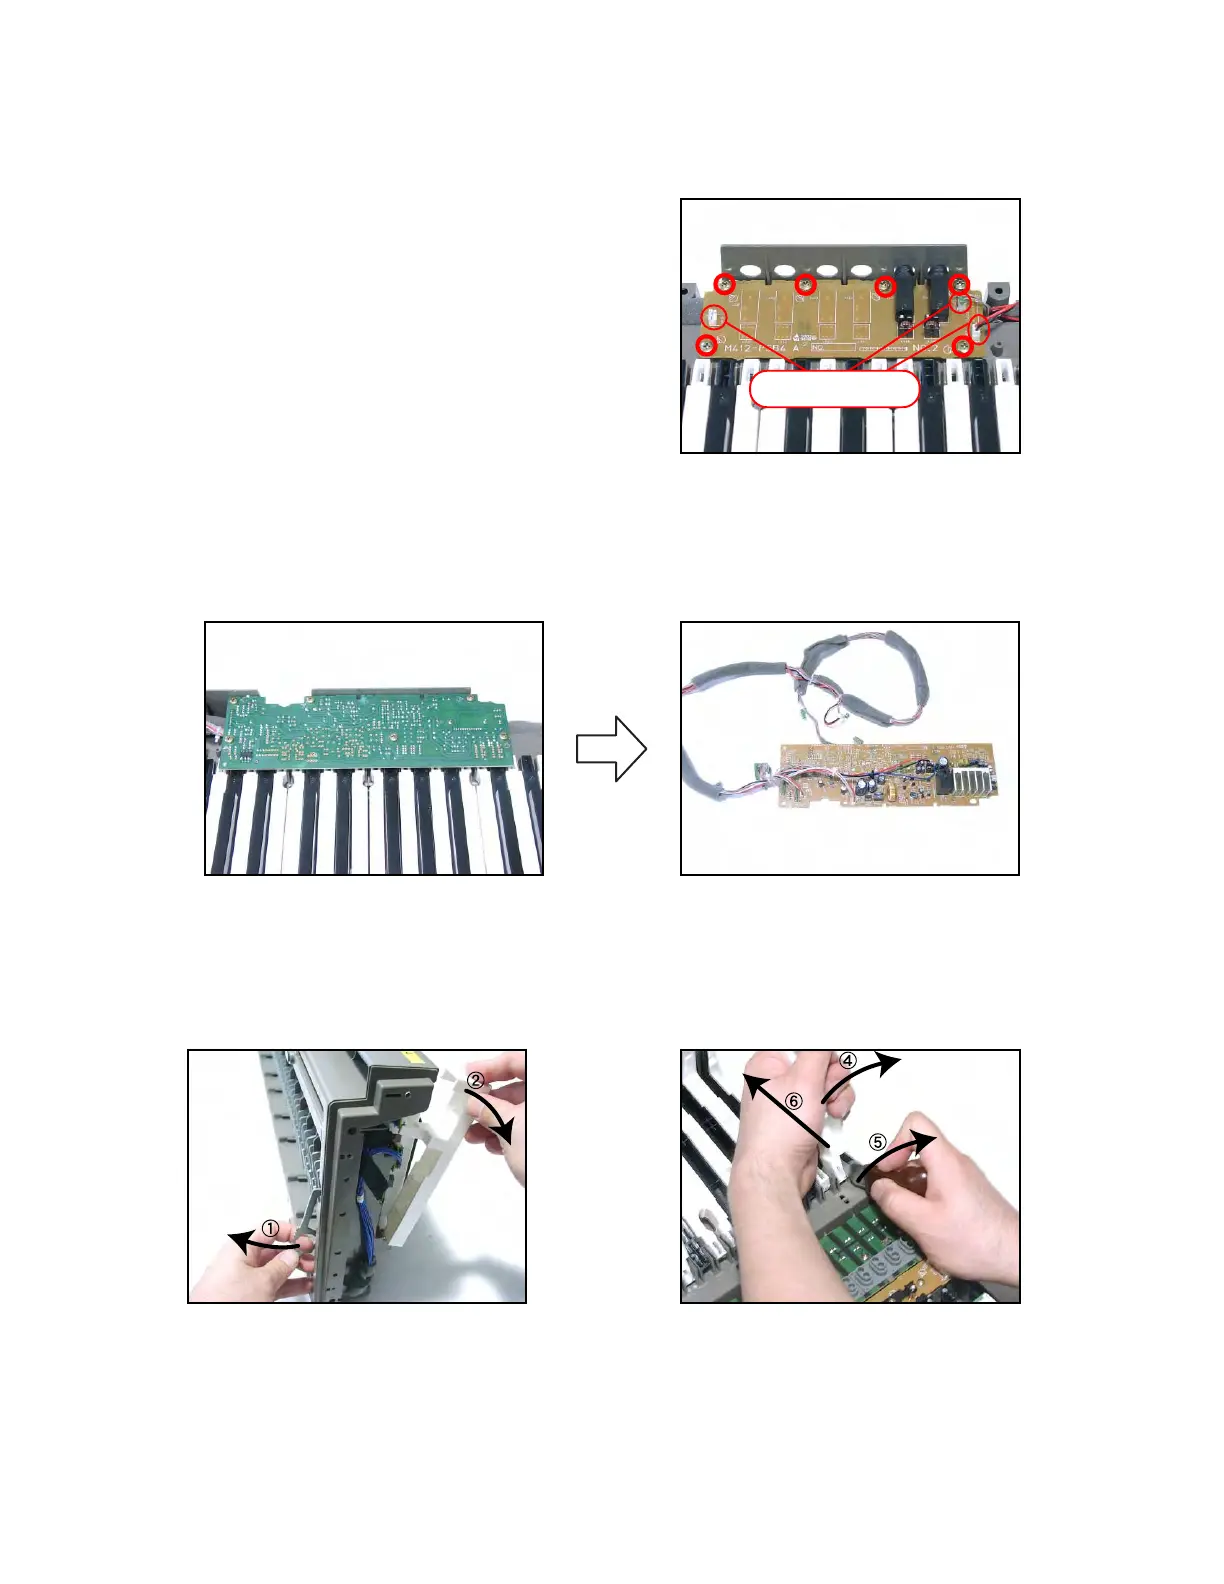
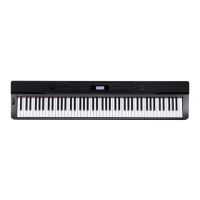
■ Removing the JACK PCB (M412-PSB4)
18. Remove three connectors.
19. Remove six screws and then the LED PCB (MCPK-LDC9).
■ Removing the JACK PCB (M412-PSB4)
20. Remove three connectors.
21. Remove five screws and then the LED PCB (MCPK-LDC9).
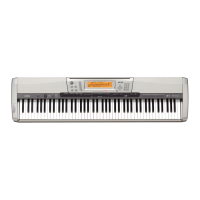
■ Removing the keyboard
22. Remove the keyboard as shown below.