– 22 –
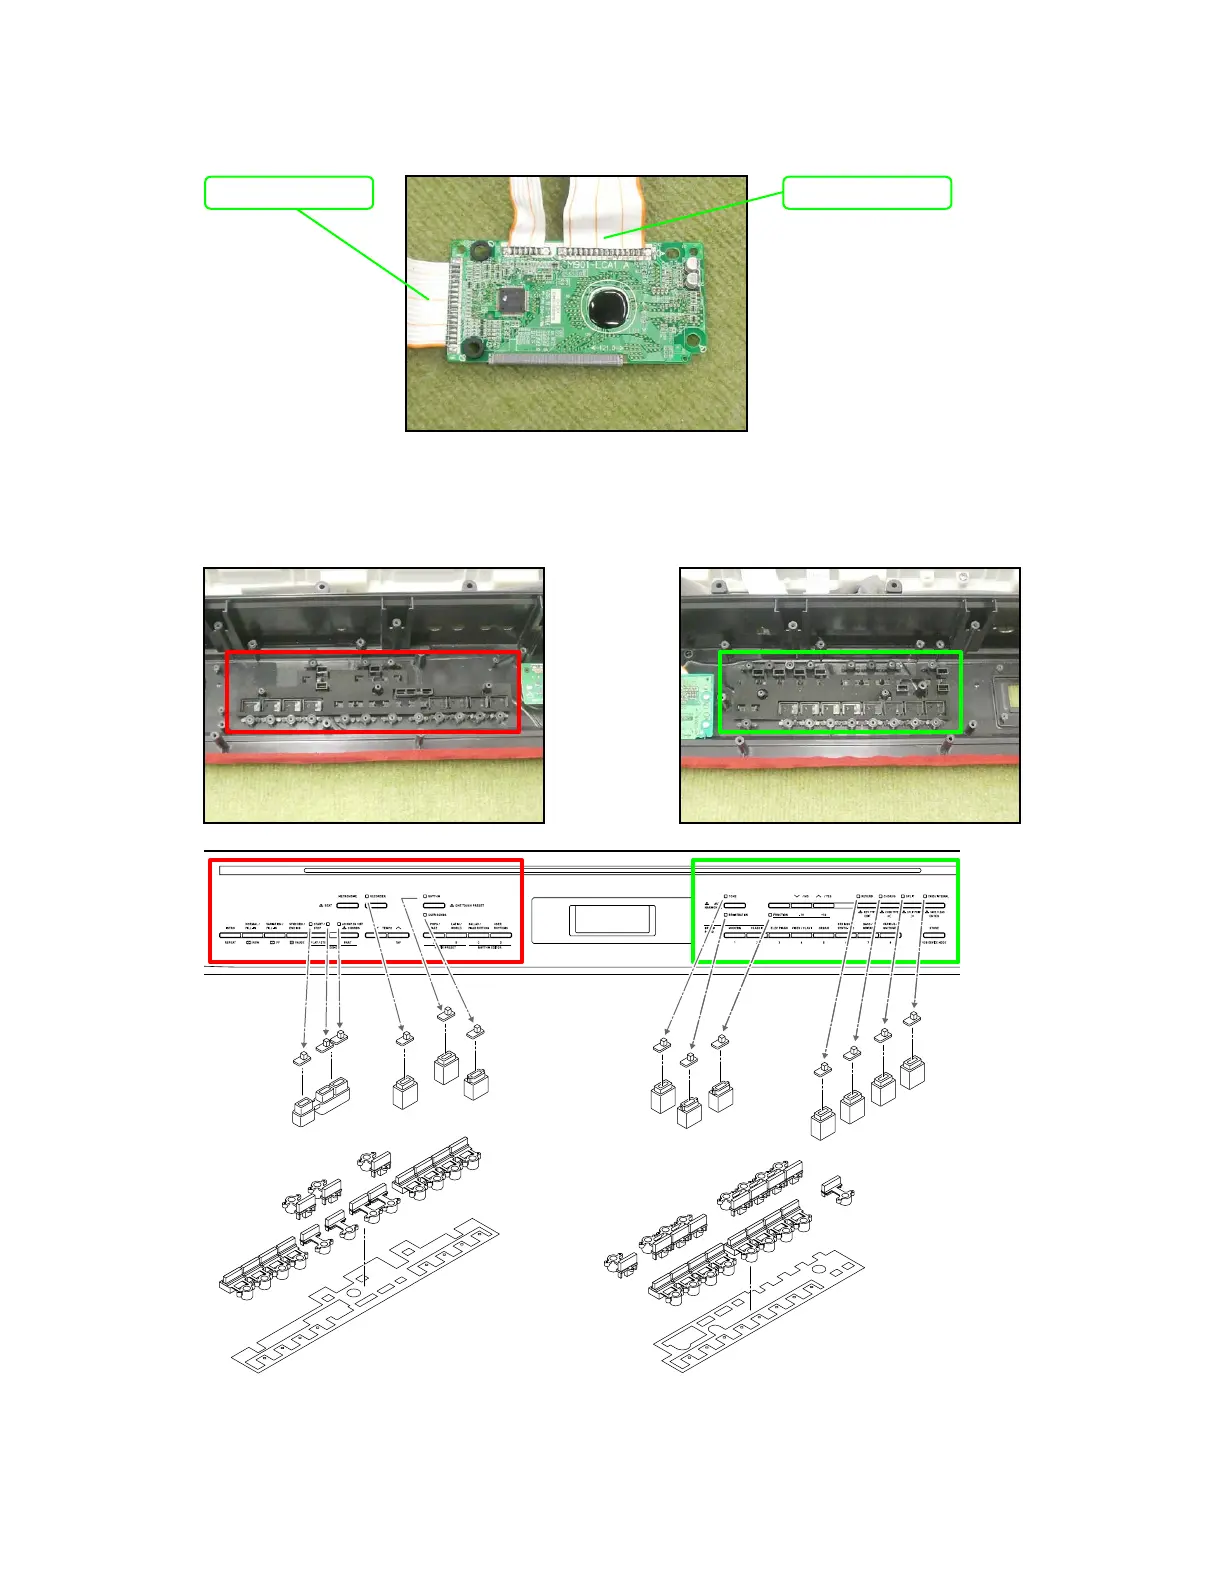
5. Unsolder two FFCs conected to the M901-LCA1 PCB, and remove the M901-CNA1 PCB and the
M901-CNA2 PCB.
Removing the buttons
Once the M901-CNA1 and the M901-CNA2 PCBs are removed, you may disassemble the buttons, the
LED cover, the LED spacer, and the nonwoven band.
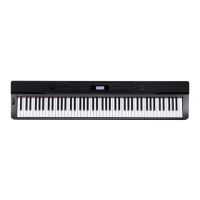
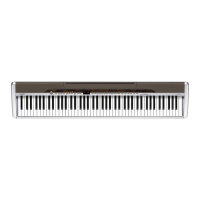
FFC (M901-CNA1)FFC (M901-CNA2)
 Loading...