TIP/HINT : For production joining, it is recommended to reduce the distance
of plunger P to approx 3/8" from the moulding, using screw C, and to
accelerate the firing of wedges by adjusting button T (towards +) (see
FIGURE 1).
It is also possible to control the firing rate of plunger P using the knurled button R
located at the top of the machine.
USE
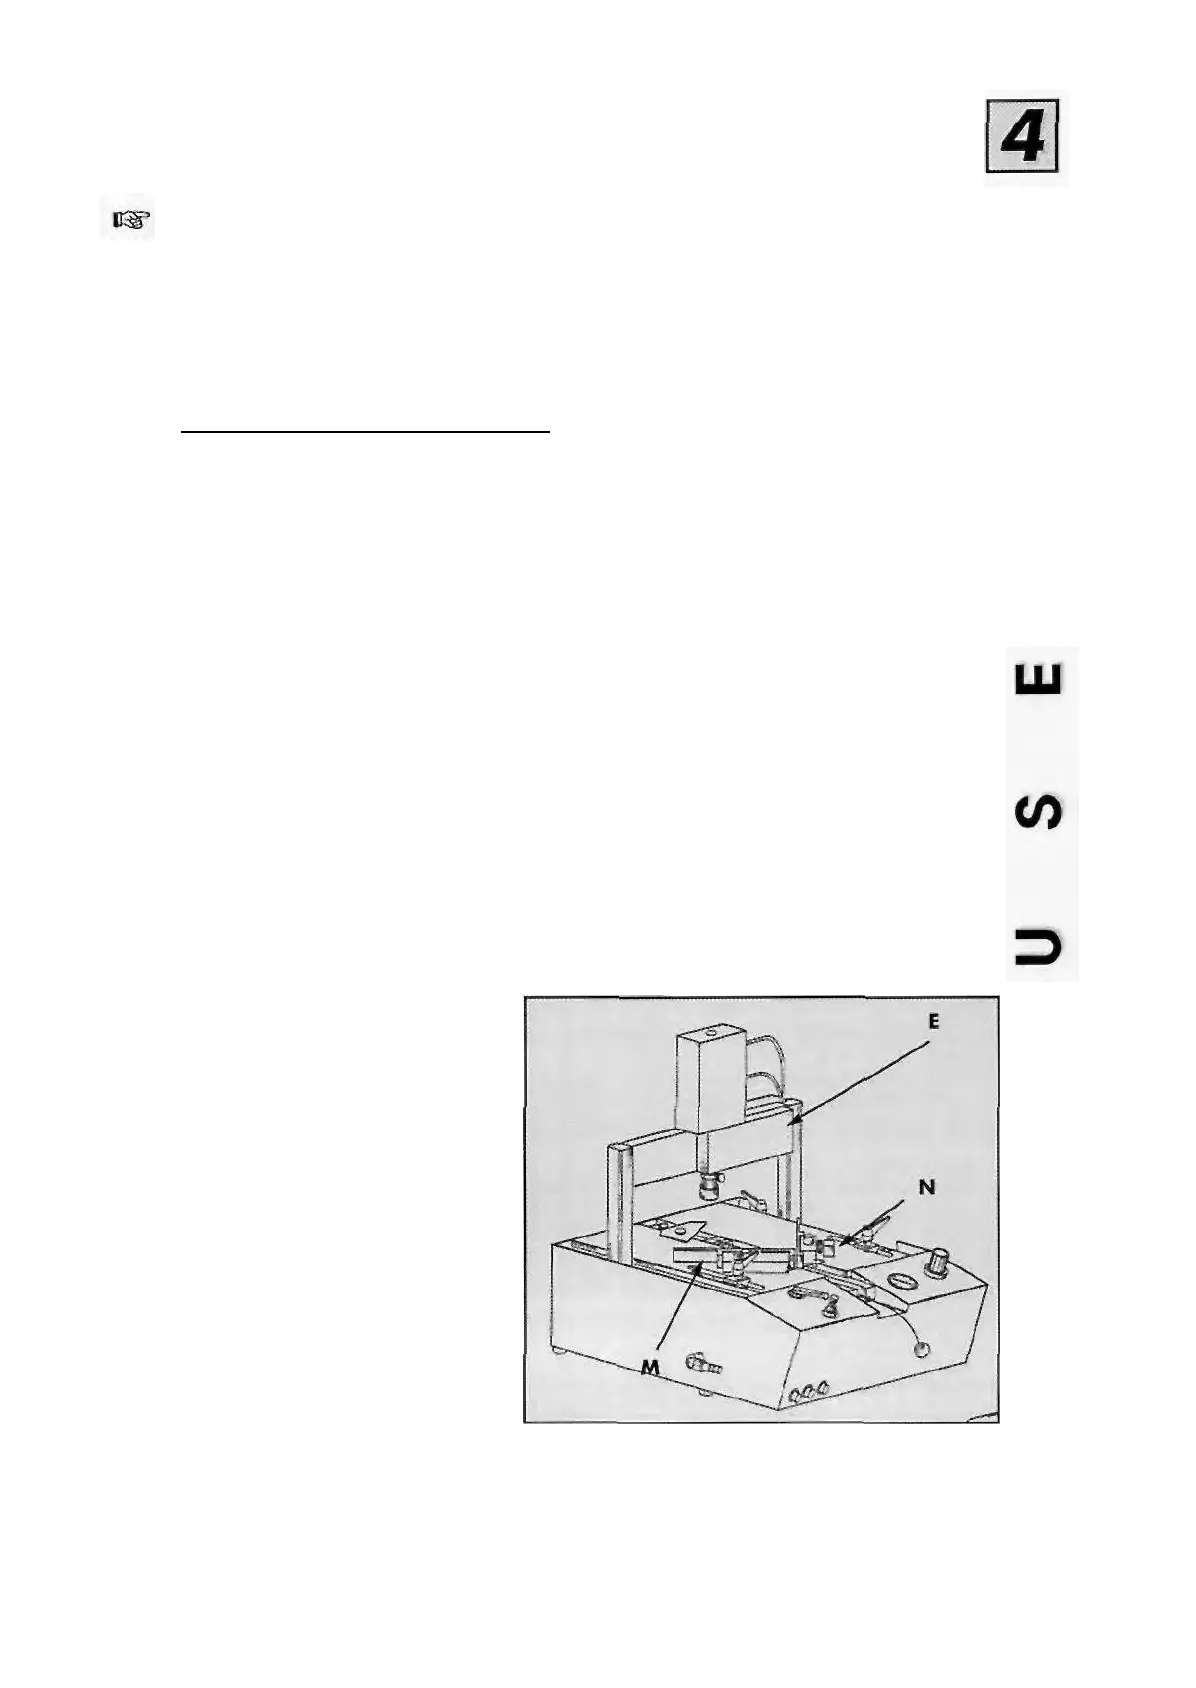
II- ASSEMBLY OF FRAME (FIGURE 9)
Follow these steps after settings have been made the fences adjusted, appropriate wedges insert.
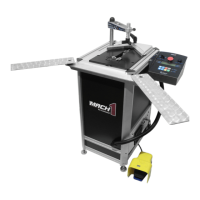
CS 910 Jr (TABLE TOP)
1 - Place the first moulding against left fence
M, and slide it as far as right as fence N,
2 - While holding the first moulding, place
the second moulding against right fence N
and slide it until it touches the first one,
3 - Slide bracket E to the first position .
4 - Gently press on the pedal to lock both
mouldings by means of clamp D,
5 - Then press the pedal fully to fire the first
wedge.
Where several wedges might be stacked,
slightly withdraw pedal pressure in order to
keep the mouldings clamped, then fully press
once again and the second wedge will be
located to reinforce the first one.
6 - When firing wedge at the second
position, slightly withdraw pressure on the
pedal, move the bracket to the other position,
then press fully once again in order to insert
a wedge,
7 - Fully release the pedal.
FIGURE 9
CS 910 Sr (SENIOR)
1 - Place the first moulding against left hand fence
M, and slide it as far as right fence N,
2 - While holding the first moulding, place the
second moulding against right hand fence N
and slide it until it touches the first one,
3 - Slide bracket E to the first position.
4 • Press on the pedal to lock both mouldings by
means of clamp D,
5 - Then press the firing button (FIG 1 - PART V) to
fire the first wedge. If you wish to stack a second
wedge in the same position (one on top of the
other), press the button once again.
6 • For a second wedge, move the bracket
assembly to the second position, keeping the
pedal pressed (mouldings clamped). Press the
stapling button to insert wedge (s).
7 - Releasing the pedal will release the corner.
910SRJR/02.94
- 7-
 Loading...