67
ADVANCED SETUP Menu
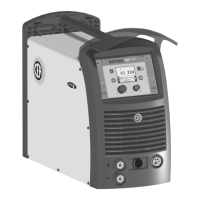
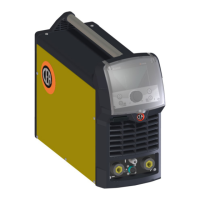
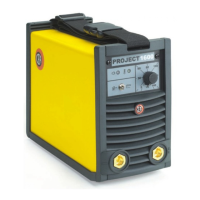
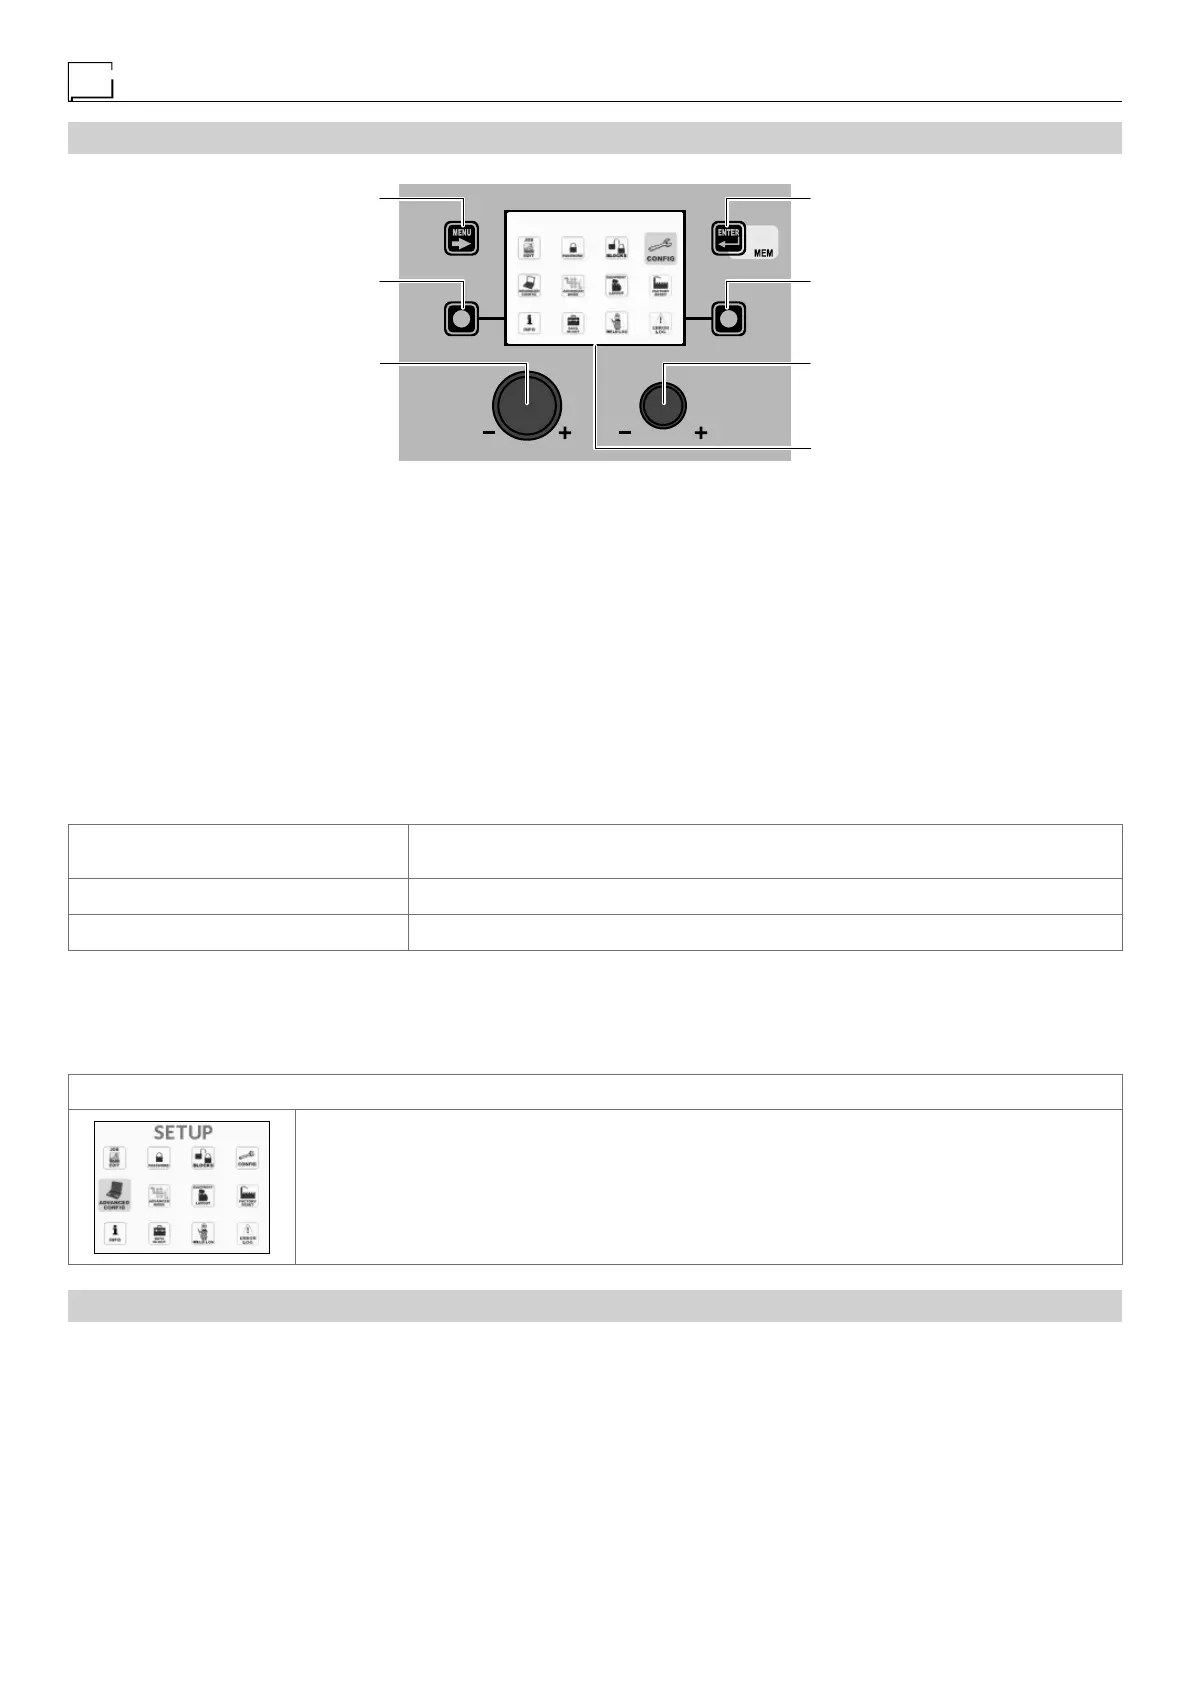
“DH” CONTROL PANEL
MENU KEY ENTER/MEM KEY
ENCODER KNOB - SX ENCODER KNOB - DX
VISION SCREEN
SX KEY DX KEY
SETUP
To access the ADVANCED SETUP Menu from any point on the control panel:
• Open the SETUP Menu by holding the SX K
EY down for at least 5 consecutive seconds.
•
Open the CONFIG Menu by rotating the ENCODER K
NOB
- SX until the icon required is reached, and then push the ENTER/MEM K
EY
.
•
Access the ADVANCED CONFIGURATION function by rotating the ENCODER K
NOB
- SX and select ACTIVATE by rotating the
ENCODER KNOB - DX.
• Access the ADVANCED WELDING MODE function by rotating the ENCODER K
NOB - SX and select ACTIVATE by rotating the EN-
CODER K
NOB - DX.
• Access the PLANT CONFIGURATION function by rotating the ENCODER K
NOB - SX and select ACTIVATE by rotating the ENCOD-
ER K
NOB - DX.
• Exit the CONFIG Menu by pushing the MENU K
EY.
•
At this stage the SETUP Menu has been transformed into the ADVANCED SETUP Menu and the VISION S
CREEN
displays the
following additional icons:
- ADVANCED CONFIG
- ADVANCED MODE
- EQUIPMENT LAYOUT
- WELD LOG
MENU KEY
Used to exit the ADVANCED SETUP Menu and take the VISION SCREEN back to the
welding phase.
ENCODER K
NOB - SX Used to scroll the various icons (sub-menus) in the menu and then select them.
ENTER/MEM K
EY Used to access the menu related to the icon selected.
WARNING:
• It is impossible to weld!
• If the VISION S
CREEN is protected by a password, access to this menu will only be allowed by entering the correct password.
ACCESSING THE SUB-MENUS
To access the sub-menus included in the ADVANCED SETUP Menu, you must:
• Turn the ENCODER K
NOB - SX to select the desired icon.
• Push the ENTER/MEM K
EY.
“HT4” CONTROL PANEL
It is not possible to access the ADVANCED SETUP Menu and all the related sub-menus using the “HT4” control panel.