8 I
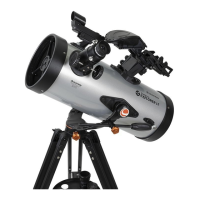
ATTACHING THE STARSENSE CAMERA TO
YOUR TELESCOPE
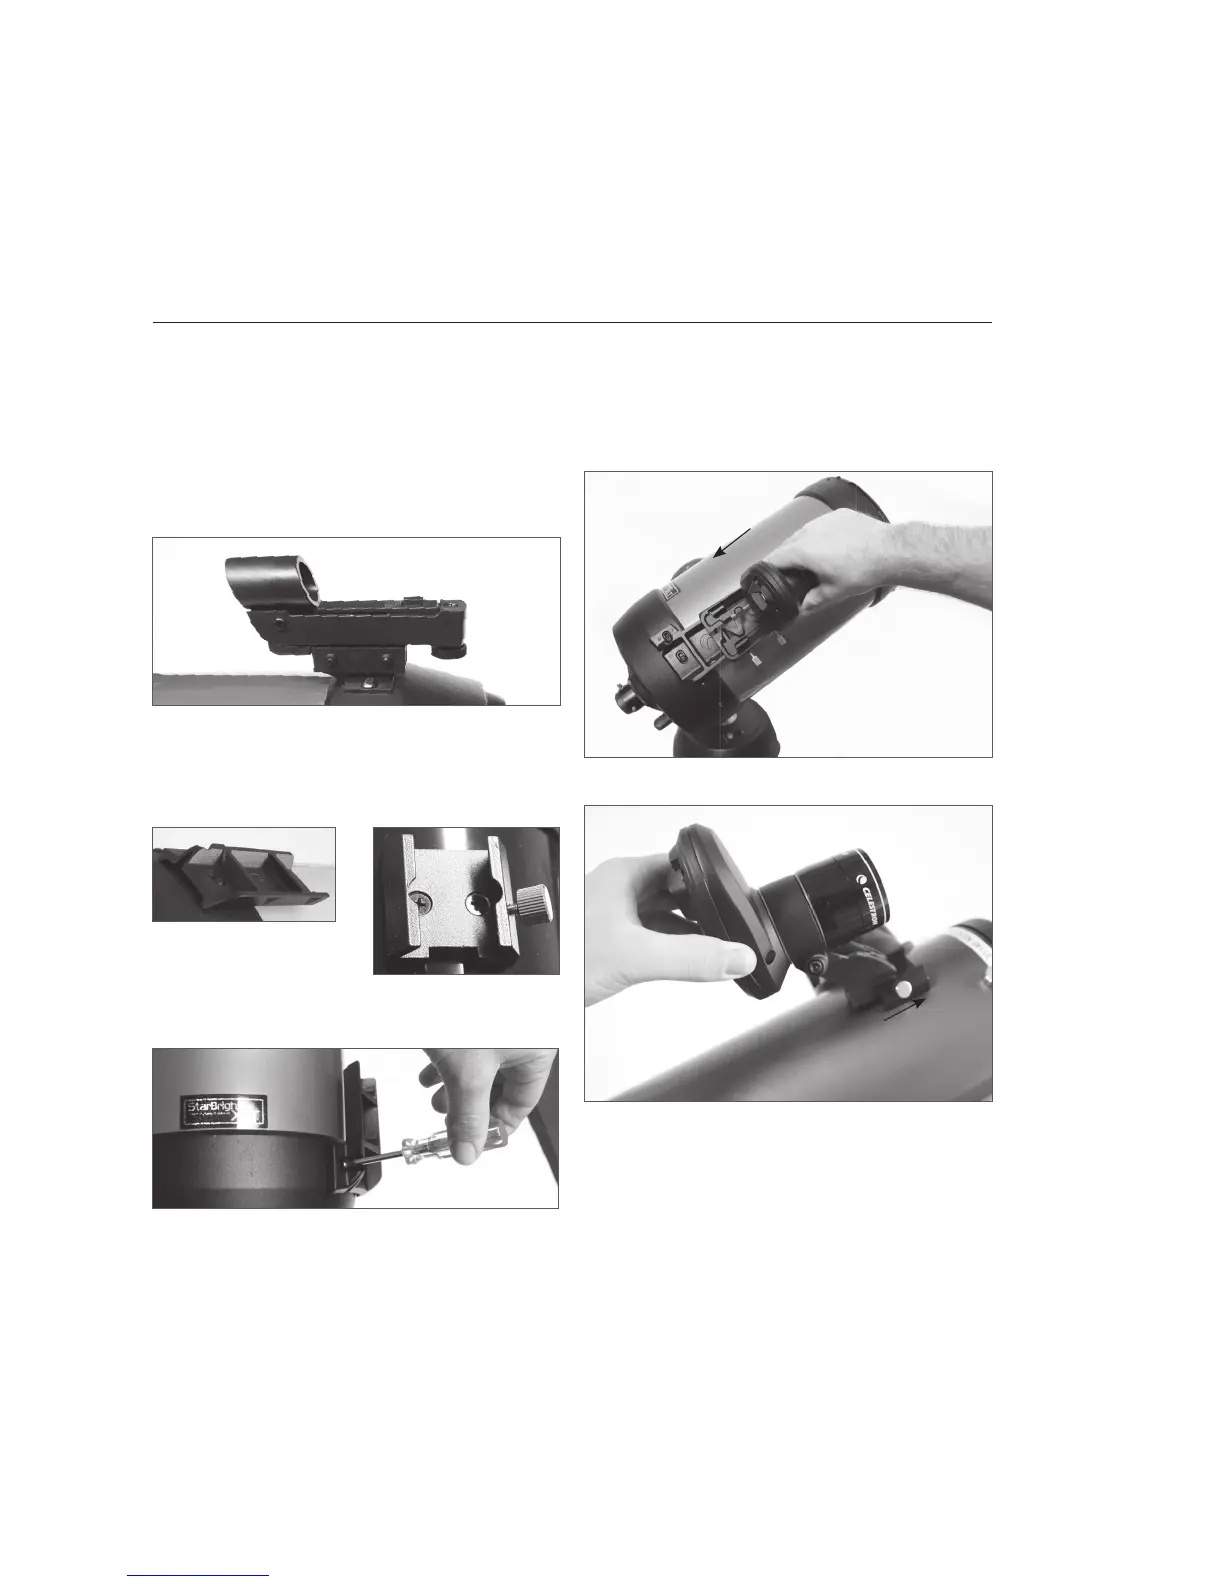
1. Remove the fi nderscope and bracket from your
telescope tube.
Note: Some optical tubes, like the NexStar SE, may have
a small plastic rail which secures the Star Pointer.
Remove this rail with a Phillips head screwdriver.
2. Using the Optical Tube Compatibility Chart on
page 7, identify whether your telescope accepts
the small or large camera base.
Using a Phillips head
screwdriver, install the
appropriate base on your telescope.
3. Slide the StarSense camera onto the camera
base and secure it with the thumbscrew(s). The
camera slides on the large base front to back,
and slides on the small base back to front.
ASSEMBLY
Remove StarPointer
Large Base
Installing base with Phillips screwdriver
Installing large base (front to back)
Installing small base (back to front)
Small Base