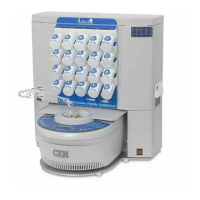
32 Fiber Optic Temperature Control
7. Once the number is properly entered, select “hide” to close the keyboard.
8. Save the GF number by selecting the Save icon located at the top right corner of the screen.
9. The current ber optic temperature reading is located above the GF number. Verify the temperature reading at
room temperature.
NOTE
If “---” appears as the temperature, then the MARS 6 does not recognize the Fiber Optic Probe. The probe
is either not installed or is not working properly.
10. Press the Home icon in the lower left corner of the screen to return to the Home page.
Fiber Optic Temperature Verification
1. Select the System Settings icon in the bottom right corner of the screen.
2. Select Tools.
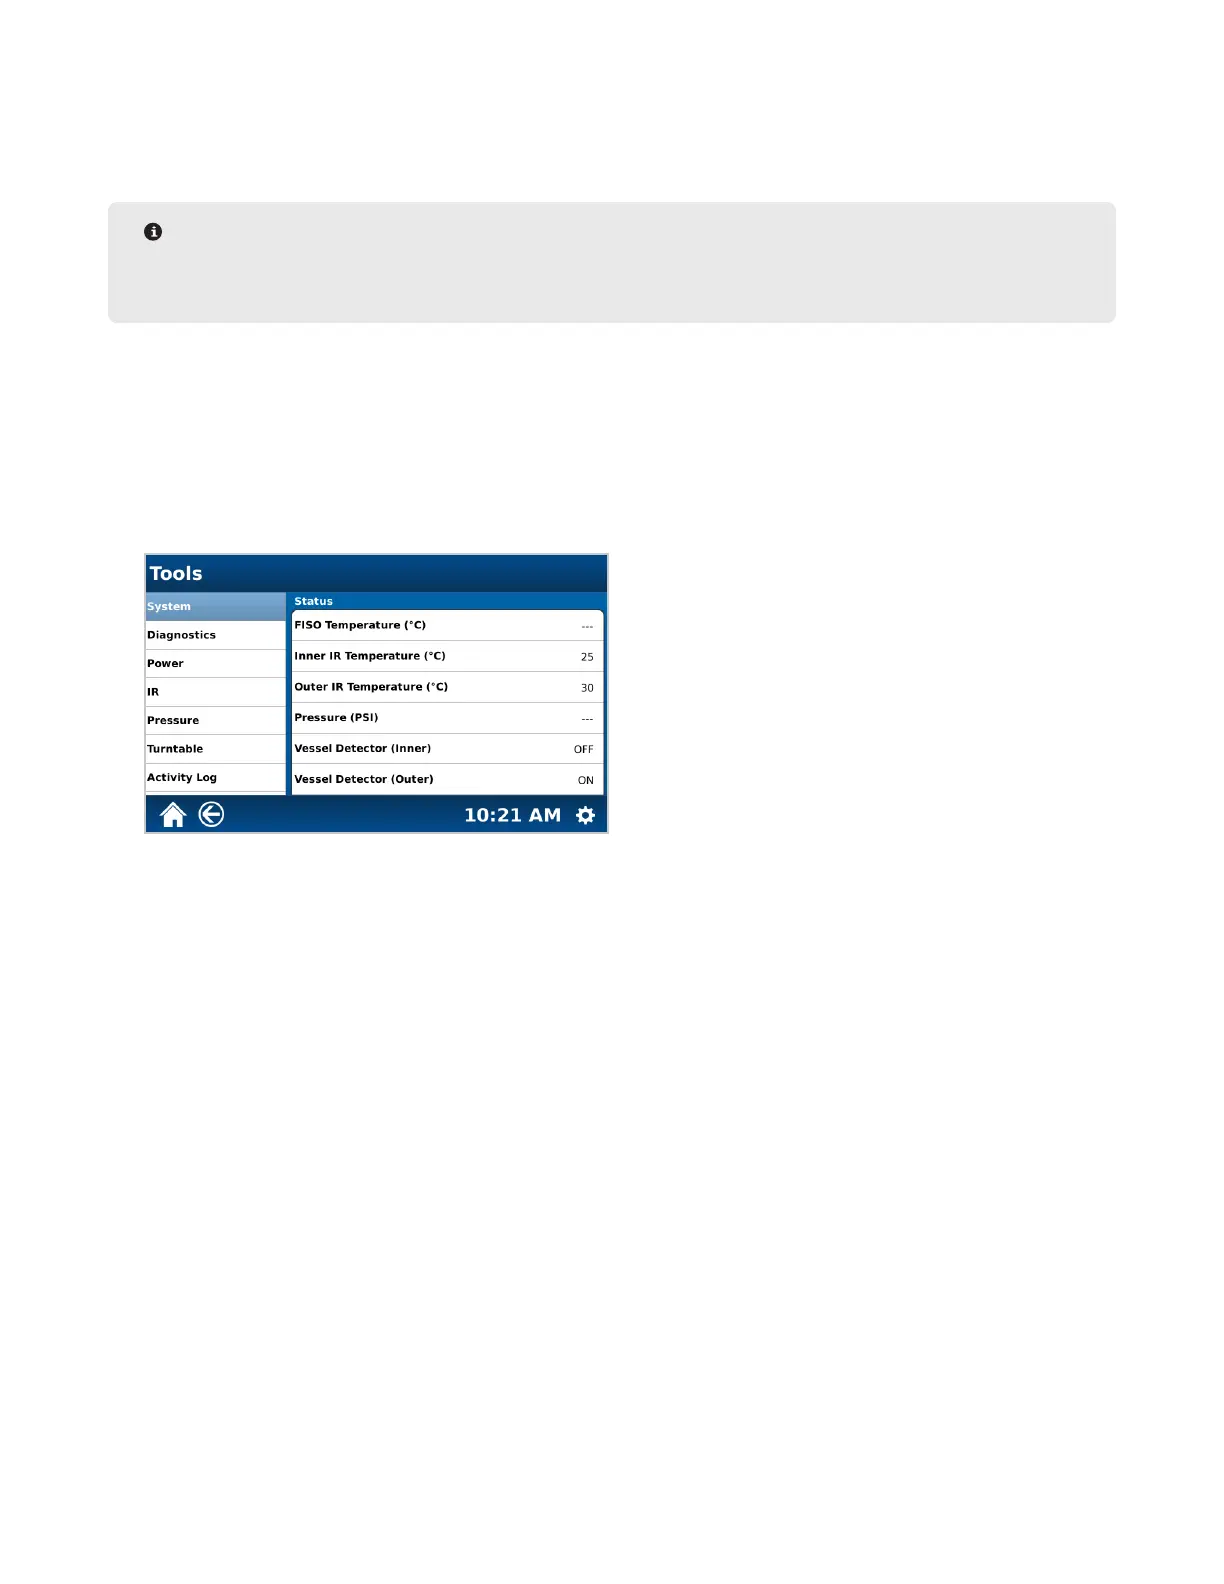
3. Select the "System" tab. The "FISO Temperature (ºC)" will appear under "Status".
4. Verify the temperature reading at room temperature.
• If the ber optic probe is new or the temperature is not reading correctly, enter the GF number. See the
"Fiber Optic" section of the manual for details.
• If “---” appears as the temperature, then the MARS 6 does not recognize the Fiber Optic Probe. The probe is
either not installed or is not working properly. See the "Fiber Optic" section of the manual for details.
5. The probe can also be inserted into a beaker of warm water for temperature verication.
6. Press the Home icon in the lower left corner of the screen to return to the Home page.
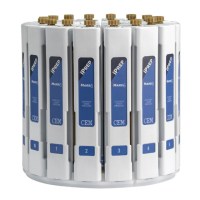
Fiber Optic Care
Proper care and handling will insure the maximum lifetime from the ber optic temperature probe.
• Store the ber optic probe in a secure place when not in use.
• Do not leave the probe attached to the ceiling connector. If left inside the cavity, probes can be damaged or
broken by accidental contact.
• Remove any liquid or debris that gets on the probe with a wet paper towel. Start at the base of the connector
and gently pull toward the tip. Dry the probe before the next use.