30
[6] 6
enabled
*
disabled
PGM6 assigned to partition A
PGM6 ->A Yes k6 Not k6
Note: The default programmed options are marked with *.
Press the [1] to [6] keys in order to turn the appropriate option enabled/disabled and the keypads will display activate/deactivate status of the corresponding options.
After setting first set of options, press [#] key to confirm. The keypad buzzer will sound 3 beeps and will display next 1 to 6 options according to the table below:
(second part – partition B)
Key pressed
to toggle
option
KP-126Pz / KP-164Pz (LED keypads)
Description
KP16LCD / KP16LCDL (LCD keypads)
Zone
LED
ON OFF 1
st
line message
2
line message
Enabled Disabled
[1] 1
enabled
*
disabled PGM1 assigned to partition B
PGM1 ->B Yes k1 Not k1
[2] 2
enabled
*
disabled PGM2 assigned to partition B
PGM2 ->B Yes k2 Not k2
[3] 3
enabled
*
disabled PGM3 assigned to partition B
PGM3 ->B Yes k3 Not k3
[4] 4
enabled
*
disabled
PGM4 assigned to partition B
PGM4 ->B Yes k4 Not k4
enabled
*
disabled
PGM5 assigned to partition B
[6] 6
enabled
*
disabled
PGM6 assigned to partition B
PGM6 ->B Yes k6 Not k6
After setting these options, press [#] key to confirm. The keypad buzzer will sound 6 confirmation beeps and the panel exits the [028] programming section, waiting for a new
command to enter another section or [#] key to exit the main programming menu.
Section [029] – Keypads assignment to partitions
While the system is being within “main programming menu” select section [029] to establish how keypads are assigned to partitions. The 1 to 8 options will be displayed according to
the table below:
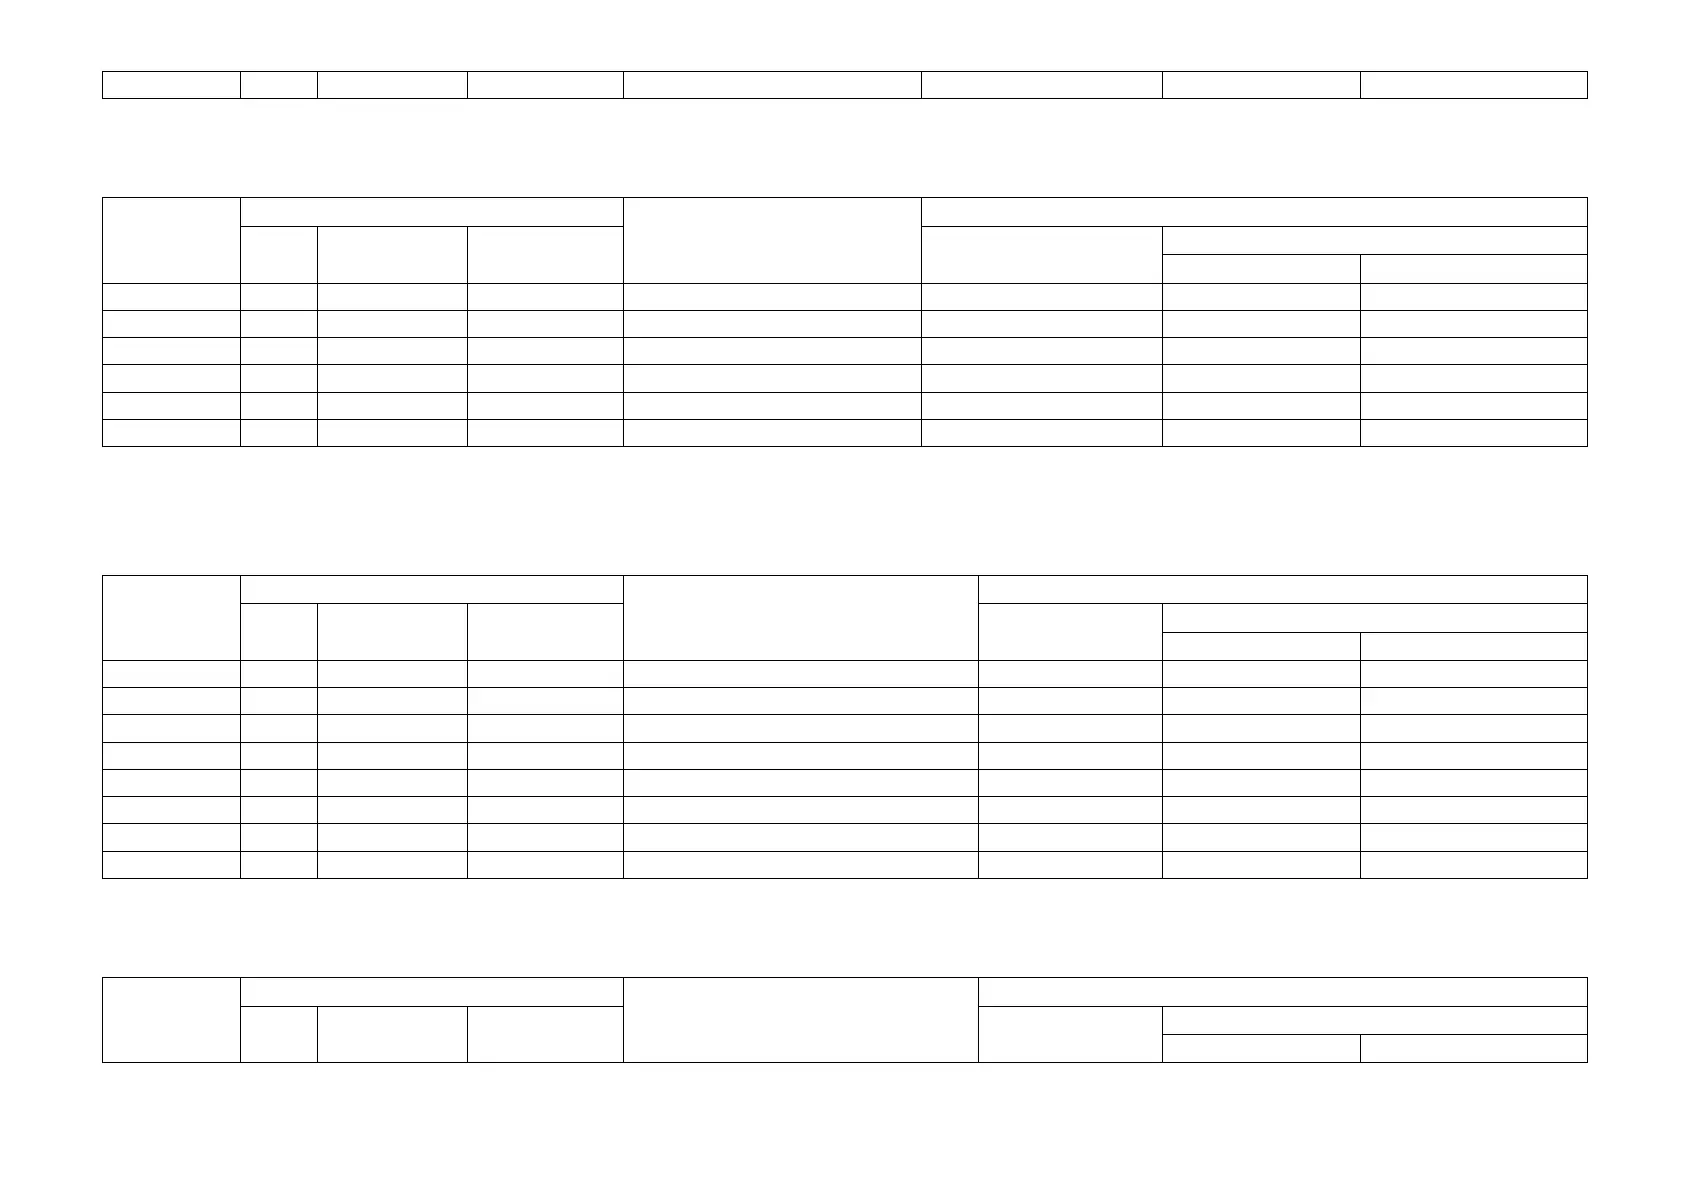
(first part – partition A)
Key pressed
to toggle
option
KP-126Pz / KP-164Pz (LED keypads)
Description
KP16LCD / KP16LCDL (LCD keypads)
Zone
LED
ON OFF 1
st
line message
2
nd
line message
Enabled Disabled
[1] 1
*
enabled disabled Address 1 keypad assigned to partition A
Kpd1 ->A Yes k1 Not k1
[2] 2
*
enabled
disabled Address 2 keypad assigned to partition A
Kpd2 ->A Yes k2 Not k2
[3] 3
*
enabled
disabled Address 3 keypad assigned to partition A
Kpd3 ->A Yes k3 Not k3
*
enabled
disabled
Address 4 keypad assigned to partition A
Kpd4 ->A Yes k4 Not k4
[5] 5
*
enabled
disabled
Address 5 keypad assigned to partition A
Kpd5 ->A Yes k5 Not k5
[6] 6
*
enabled
disabled
Address 6 keypad assigned to partition A
Kpd6 ->A Yes k6 Not k6
[7] 7
*
enabled
disabled
Address 7 keypad assigned to partition A
Kpd7 ->A Yes k7 Not k7
[8] 8
*
enabled
disabled
Address 8 keypad assigned to partition A
Kpd8 ->A Yes k8 Not k8
Note: The default programmed options are marked with *.
Press the [1] to [8] keys in order to turn the appropriate option enabled/disabled and the keypads will display activate/deactivate status of the corresponding options.
After setting first set of options, press [#] key to confirm. The keypad buzzer will sound 3 beeps and will display next 1 to 8 options according to the table below:
(second part – partition B)
Key pressed
to toggle
option
KP-126Pz / KP-164Pz (LED keypads)
Description
KP16LCD / KP16LCDL (LCD keypads)
Zone
LED
ON OFF 1
st
line message
2
nd
line message
Enabled Disabled