29
13. Electrical Connections (continued)
13.1 Fitting the Mechanical and Digital Time Clocks
To fit the integral time clock it is necessary to proceed as follows;
(
this should only be carried out by a competent engineer)
- Isolate the electical supply to the appliance;
- Remove the front panel as described in Section 18.1.1;
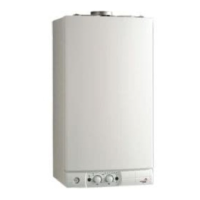
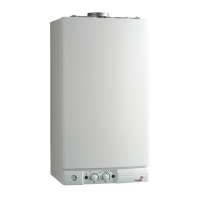
-
Remove the plastic cover on the right hand side (Fig. 34)
and pull out the 4 wires (Fig. 35);
NOTE:
T
HE WIRES MAY BE TUCKED BEHIND THE ELECTRICAL COVER.
- Connect the time clock wires as follows;
ME
CHANICAL
MO
DEL
(Fig. 36)
R
ed Wire - Contact 1
Black Wire - Contact 2
B
lack Wire - Contact 3
Grey Wire - Contact 5
NO
TE
: TH
E TWO BLACK WIRES ON
CO
NTACTS
2 & 3 C
AN BE REVERSED
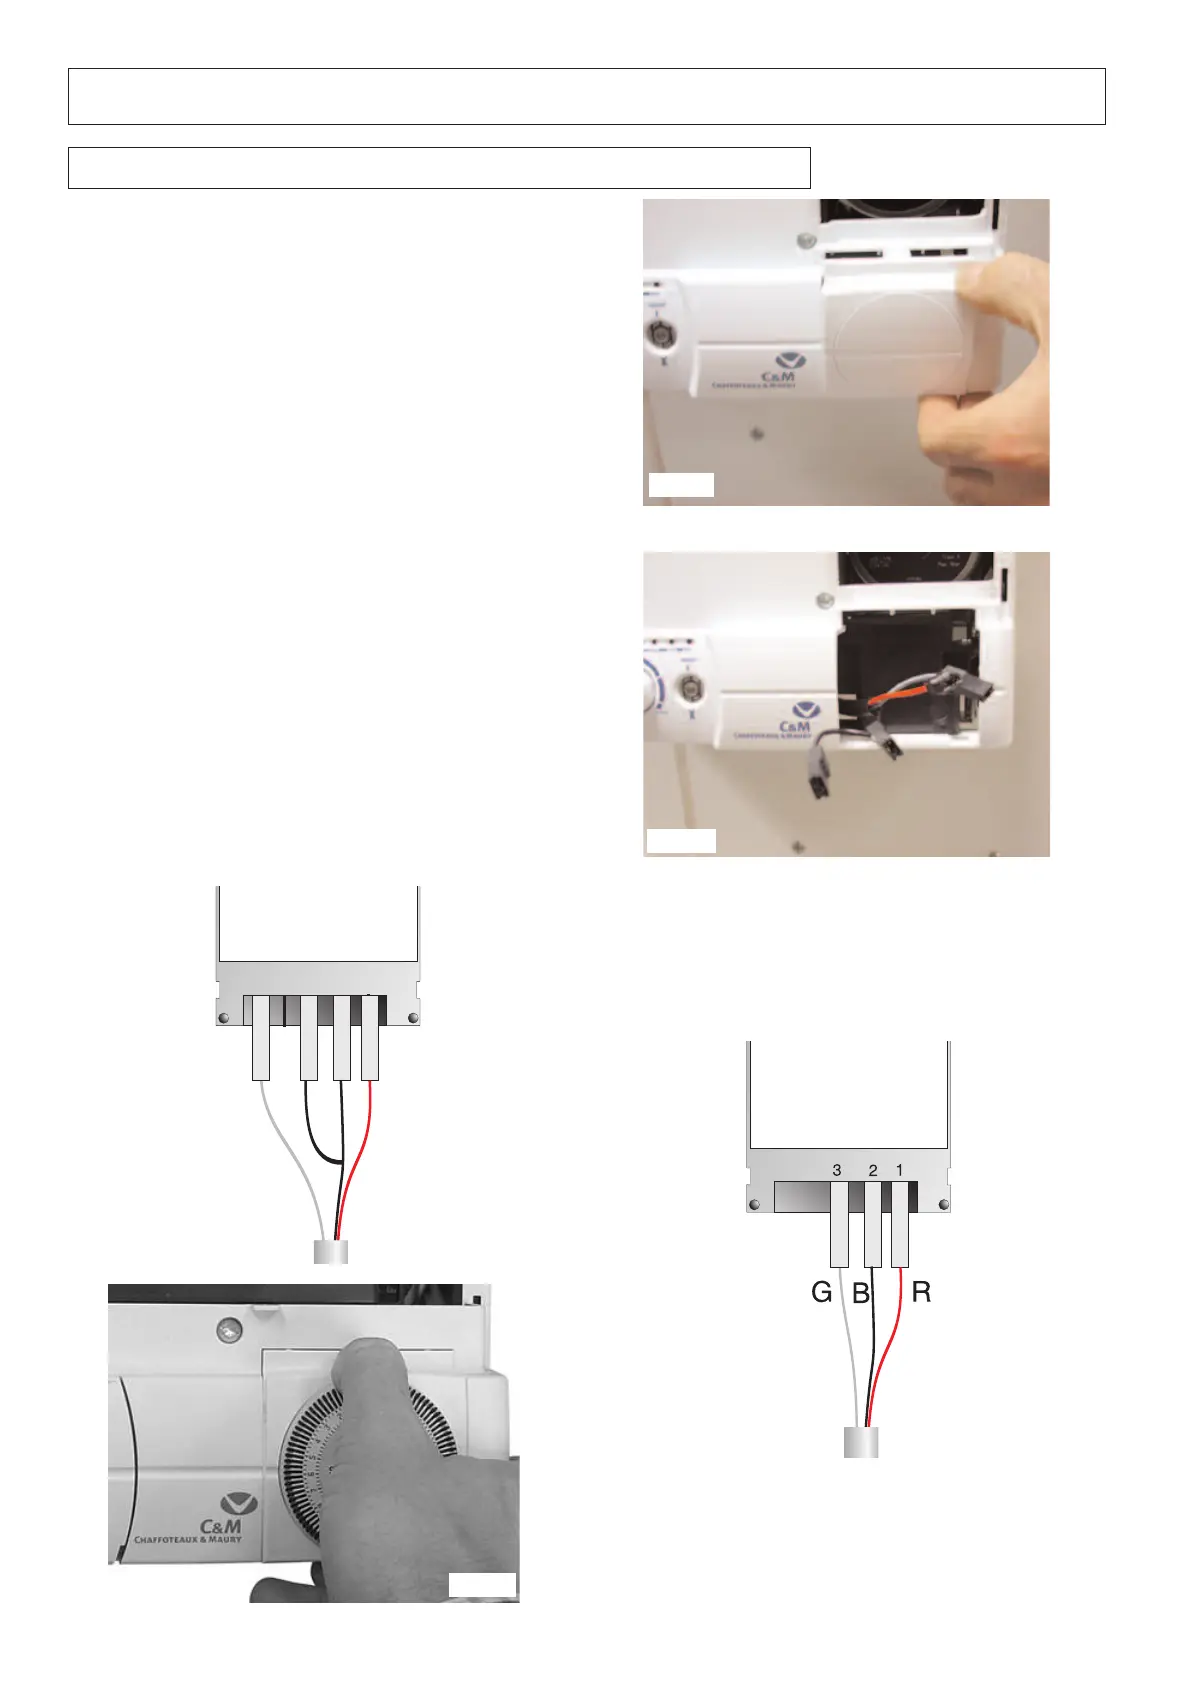
DIGITAL MODEL (Fig. 37)
Red Wire - Contact 1
Black Wire - Contact 2
Grey Wire - Contact 3
NO
TE
:SE
COND
BL
ACK
WI
RE IS NOT CONNECTED
.
- Push the clock back into the panel and refit the casing
panel (Fig. 38).
Fig. 34
Fig. 35
Fig. 36
Fig. 37
Fig. 38
 Loading...