6
ASSEMBLY STEP 1
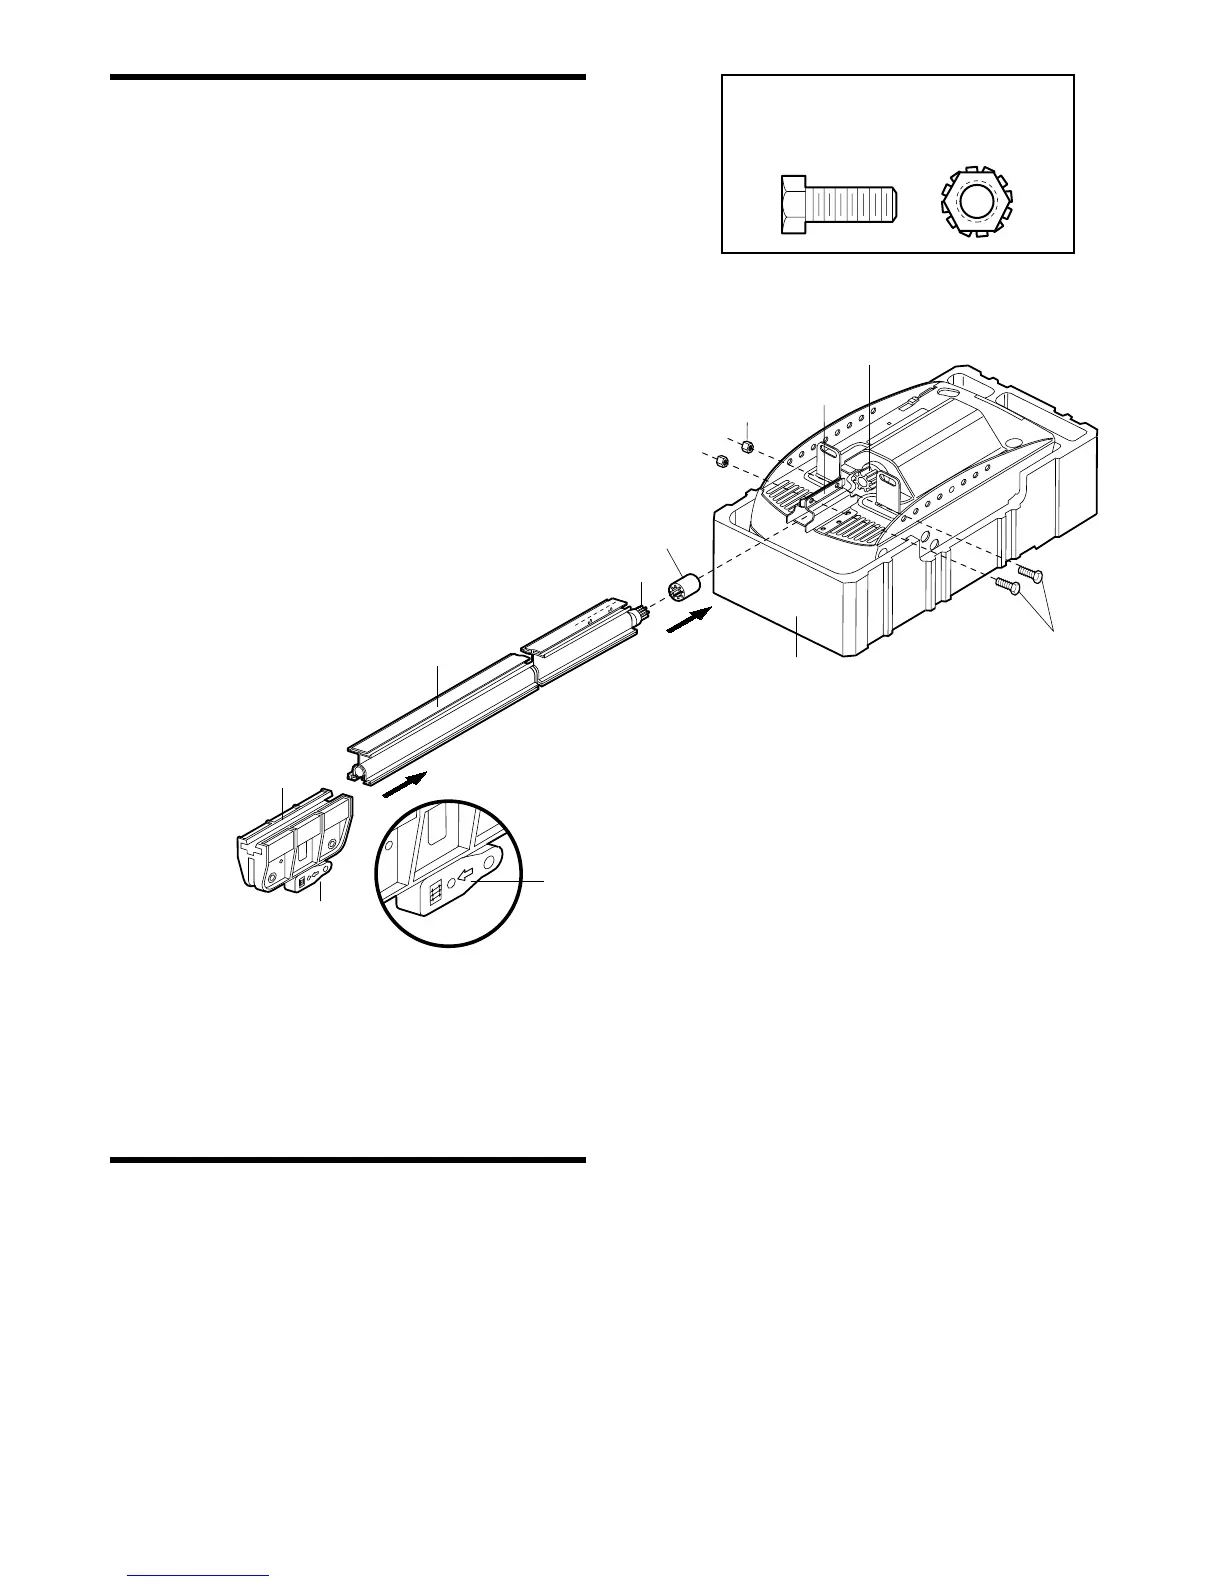
Fasten the Rail to the Motor Unit
To avoid installation difficulties, do not run the
garage door opener until instructed to do so.
To aid in assembly and installation, replace the foam
packing around the motor unit. Remove it after
Installation Step 4.
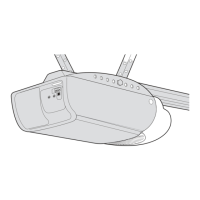
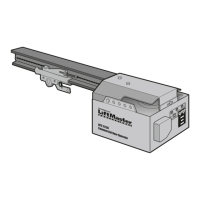
• Working on a level surface, align the rail assembly
with the motor unit, as shown.
• Slip the coupling over the rail sprocket.
• Slide the rail through the motor unit bracket until
the coupling fits securely over the motor unit
sprocket.
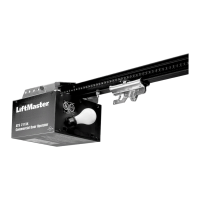
• Align the two bolt holes in the rail with those in the
motor unit bracket. Insert two 1/4"-20x5/8" hex
bolts and lock nuts. Tighten securely with a 7/16"
socket wrench.
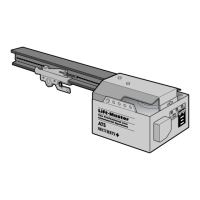
ASSEMBLY STEP 2
Install the Trolley
• Slide the trolley onto and along the bottom of the
rail until it snaps firmly in place. Be certain to
install it facing correctly: the trolley release
arm must be horizontal (lock position), with its
arrow pointed away from the motor unit.