202-01-19 Driving Axle 202-01-19
DISASSEMBLING AND INSTALLATION (Continued)
BENNI MINI
5. Loosen the nips on the dust shield.
Slide the dust shield on the driving axle.
6.
Warnings: the working angle of the inner
constant speed universal joint can not
surpass 22.5°. The working angle of the
external constant speed universal joint can
not surpass 45°.
Warnings: slightly push the wheel suspension
outward avoiding the damage of the inner
constant speed universal joint.
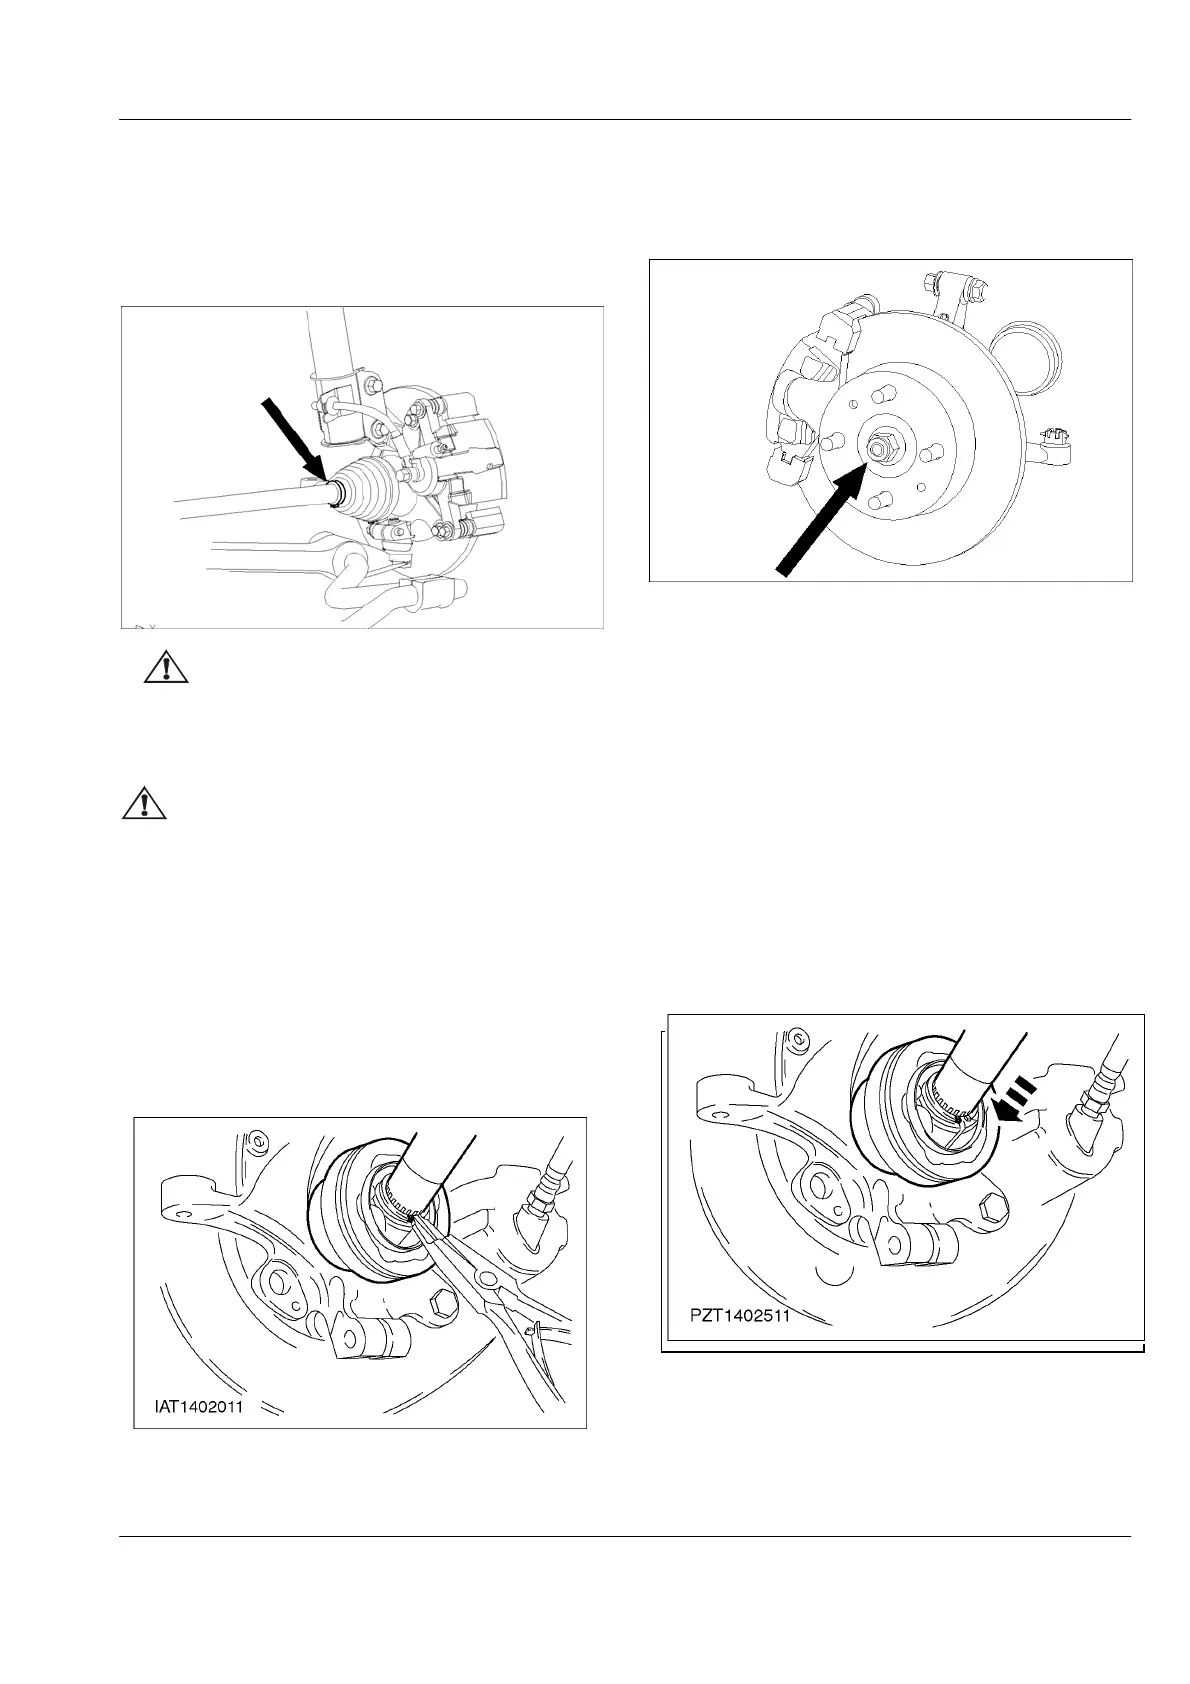
Take out the driving axle from the universal joint of
the driving axle.
• Take out the dust shield and fix the driving axle.
• Eliminate the grease in the universal joint.
• Use the retaining ring caliper to expand the retaining
ring and keep the retaining ring in expansion
state.
• Take out the retaining ring.
Disassemble the driving axle nut, and take out the
locking pin and the washer.
使用两爪拉出器从轮毂中压出左边驱动轴。
Installation
1. Notes
• Replace all the retaining rings and nips.
2. Notes: Make sure that the retaining ring is well
installed.
安装驱动轴。
Install the driving axle.
• Install new retaining ring in the driving axle
groove.
• Sliding the dust shield on the driving axle.
• Insert the driving axle into the universal joint of
the driving axle until the retaining ring (or
clipping ring) is clipped.
3. Fill in high performance grease (G.A.Cpalex
GTE).
Quantity: 70 plus or minus 10 grams.
4. Configure a nip for the special tool 14-044.
 Loading...