R
Robert ScottSep 12, 2025
Why won't the LEDs illuminate on my Char-Broil 463247412?
- RreedreginaSep 12, 2025
If no LEDs illuminate on your Char-Broil Grill, it is caused by a dead battery. Replace the batteries.
Why won't the LEDs illuminate on my Char-Broil 463247412?
If no LEDs illuminate on your Char-Broil Grill, it is caused by a dead battery. Replace the batteries.
What to do if Char-Broil 463247412 makes noise but no spark?
If no sparks appear at any electrodes when the Electronic Ignition Button is pressed on your Char-Broil Grill, but noise can be heard from the spark module, the output lead connections may not be connected. Remove and reconnect all output connections at the module and electrodes.
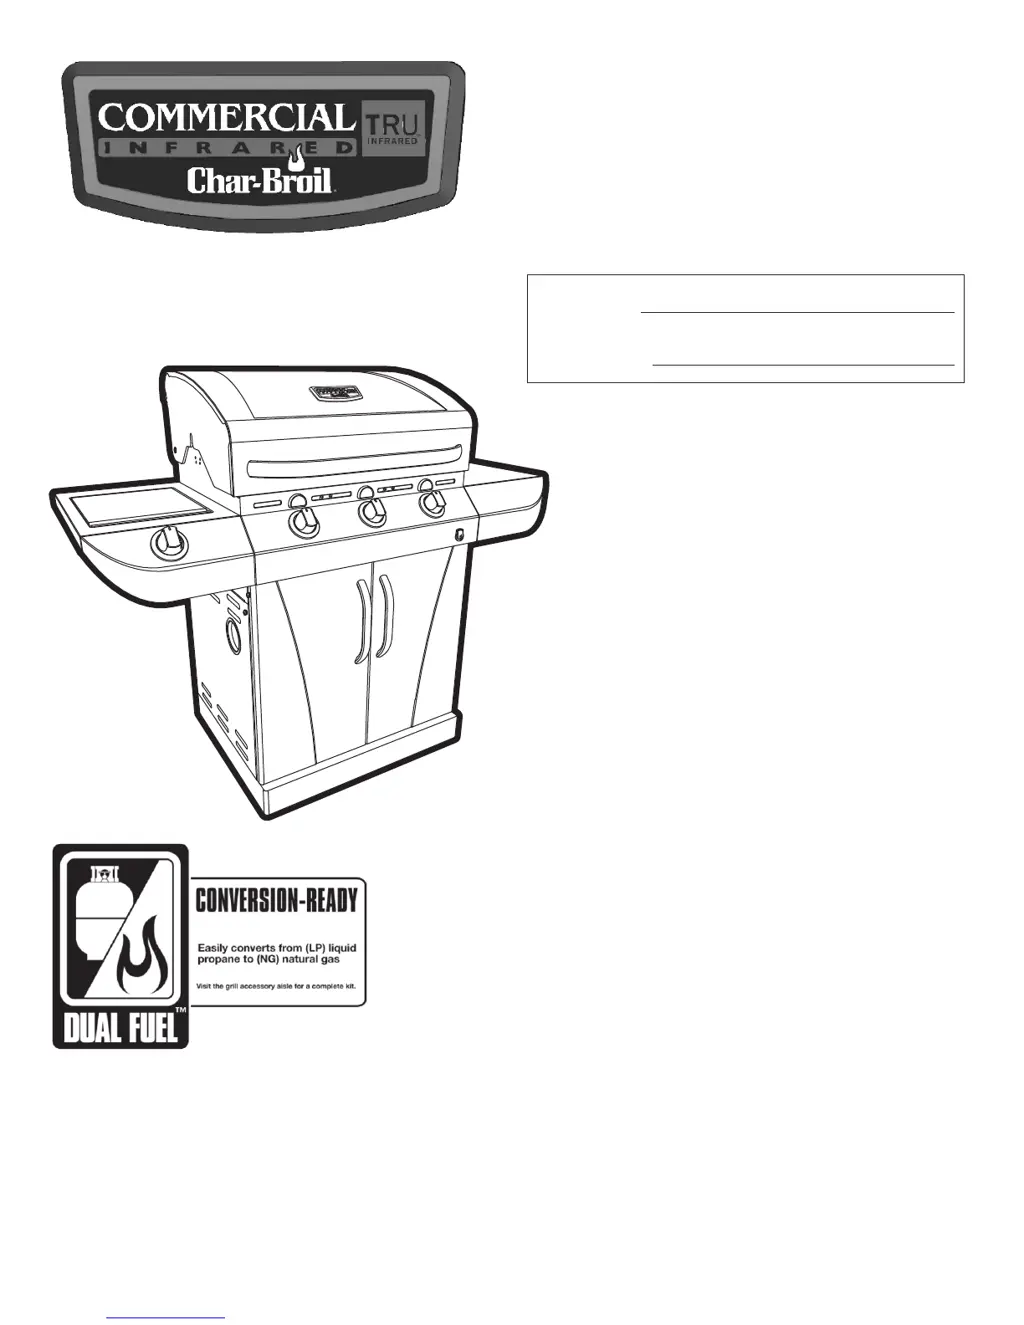
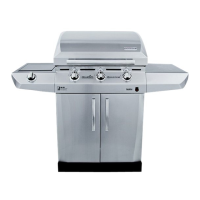
| Brand | Char-Broil |
|---|---|
| Model | 463247412 |
| Category | Grill |
| Language | English |
Explains DANGER, WARNING, and CAUTION symbols and their implications for user safety.
Defines installer/consumer responsibilities and specifies outdoor-only use.
States chemical warnings required by California law for product components.
Key safety steps for installation, including electrical and ventilation requirements.
Specific warnings for repair, pot size limits, and porcelain surface handling.
Essential safety guidelines for storing, transporting, and handling LP gas cylinders.
Information on LP gas characteristics and safe cylinder filling practices.
Procedures for exchanging an LP cylinder and performing a crucial leak test.
Step-by-step instructions for correctly attaching the gas regulator to the LP cylinder valve.
Detailed instructions for leak testing valves, hoses, and the regulator for gas leaks.
Critical warnings regarding tool use, outdoor appliance placement, and RV/boat installation.
Key safety rules for grill operation, clearances, and specific advice for apartment dwellers.
Step-by-step guide for lighting the grill burners using the electronic ignitor.
Instructions for alternative match-lighting and performing burner flame checks.
Maintenance checks for ignitors, valves, hoses, and general grill cleaning procedures.
Addresses issues caused by spiders/insects in venturi tubes and cleaning procedures.
Guidelines for storing the grill and cleaning the burner assembly.
Outlines what the warranty covers, for how long, and what is specifically excluded.
Explains available remedies, legal disclaimers, and warranty limitations.
Comprehensive list of all parts with keys, descriptions, and quantities.
Lists additional parts not visually depicted in the main parts list.
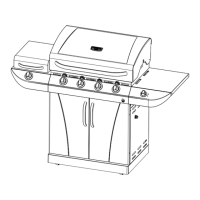
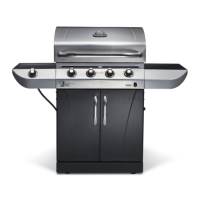
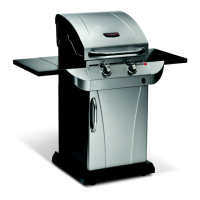
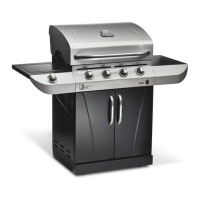
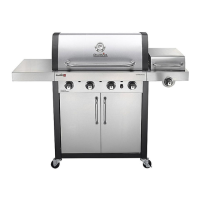
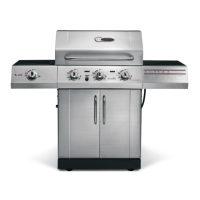
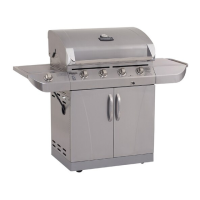
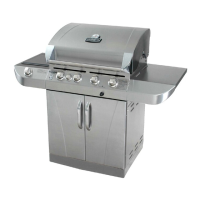
Illustrates the physical arrangement and identification labels for all grill parts.
Step-by-step guide for attaching casters to the bottom shelf and side panels.
Attaching the lower back panel and carefully positioning the main grill head onto the cart.
Securing the upper back panel and attaching the right side shelf to the firebox brackets.
Installing the left side shelf, fascia, and connecting it to the main control panel area.
Procedures for mounting the sideburner valve bracket and inserting the sideburner.
Connecting the sideburner ignitor wire and securely mounting the front brace.
Installing tank heat shields, grease tray rails, and the electronic ignition module.
Attaching the grill doors via hinges and placing the flame tamers.
Placing cooking grates, warming rack, and installing the grease tray for proper function.
Installing the ignitor battery and correctly connecting the LP cylinder and regulator.
Critical steps to take in case of gas leaks, fires, or burner tube issues.
Diagnosing and resolving problems related to igniting burners and inconsistent gas flow.
Addressing issues like flames blowing out, flare-ups, grease fires, and LP cylinder filling.
Troubleshooting for one burner not lighting and the AUTO-CLEAN™ timer functionality.
Comprehensive guide to diagnosing and fixing electronic ignition system faults.
Instructions for online product registration and essential requirements for warranty service.
Details on personal information and product specifics needed for registration.