iGage X9x User Manual page 13 of 53
Setting Up an ADL Vantage Pro Radio with Cable Connection to Base
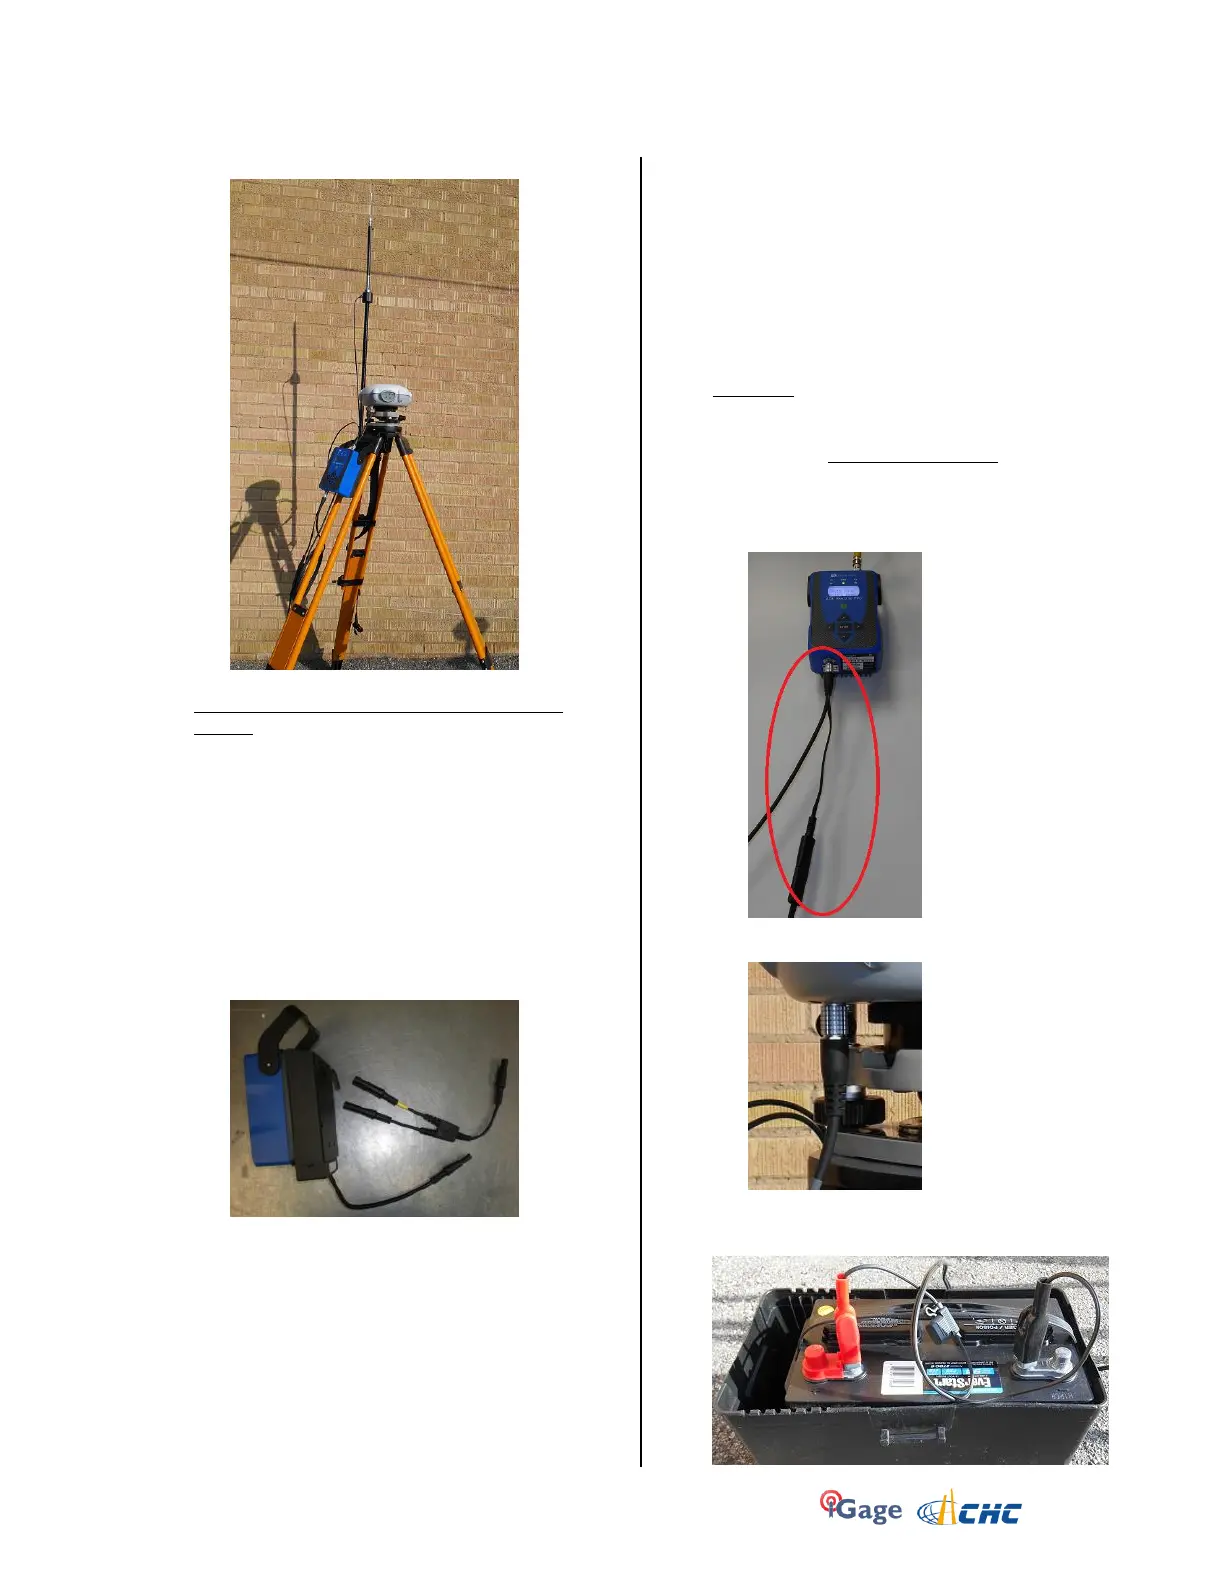
1. Place the GPS receiver on the tripod.
Set the UHF radio antenna to the North of the GPS
receiver.
Raising the UHF antenna’s height will greatly increase
the range for a given radio output power. Height
trumps output power.
NOTE: The radio automatically drops the output power
as required to keep the case at a reasonable
temperature. In hot weather fashion a shade (as simple
as a piece of cardboard) over the top of the radio to
keep direct sunlight from heating the case.
For operation in extreme heat, a fan cage:
is available to force cool the fins on the radio back.
2. Connect the UHF Radio antenna to the radio mast,
connect to the antenna port on the ADL Vantage Pro.
DO NOT plug power into the ADL radio until the UHF
antenna has been connected and placed on the mast.
DO NOT hold the antenna or touch the antenna when
power is applied or turned on to the ADL radio. The
radio can output sufficient power to burn you.
DO NOT place the UHF antenna to the South of the
receiver. The UHF antenna will block the GPS antenna’s
view of satellites to the South. (There are very few SV’s
to the North of your GPS receiver so the impact is
minimized.
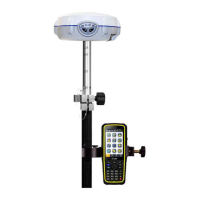
3. Connect the GPS/PCC serial cable to the GPS receiver
and to the radio.
WARNING! The Y-Cable has two ends that have the
same diameter, however one side has 10 pins (GPS) and
the other side has 5 pins (RADIO)! If you interchange
the cable ends, you will ruin the cable. This failure is
not covered by warranty.
The Y cable end with the flat SAE connector and the
round cable plugs into the radio:
The simple cable end plugs into the Base GPS:
4. Connect the Y connector power cable to the battery.
DOUBLE CHECK THE POLARITY (RED to +) (BLACK TO -)
and then plug in the radio Y connector.