English — 8
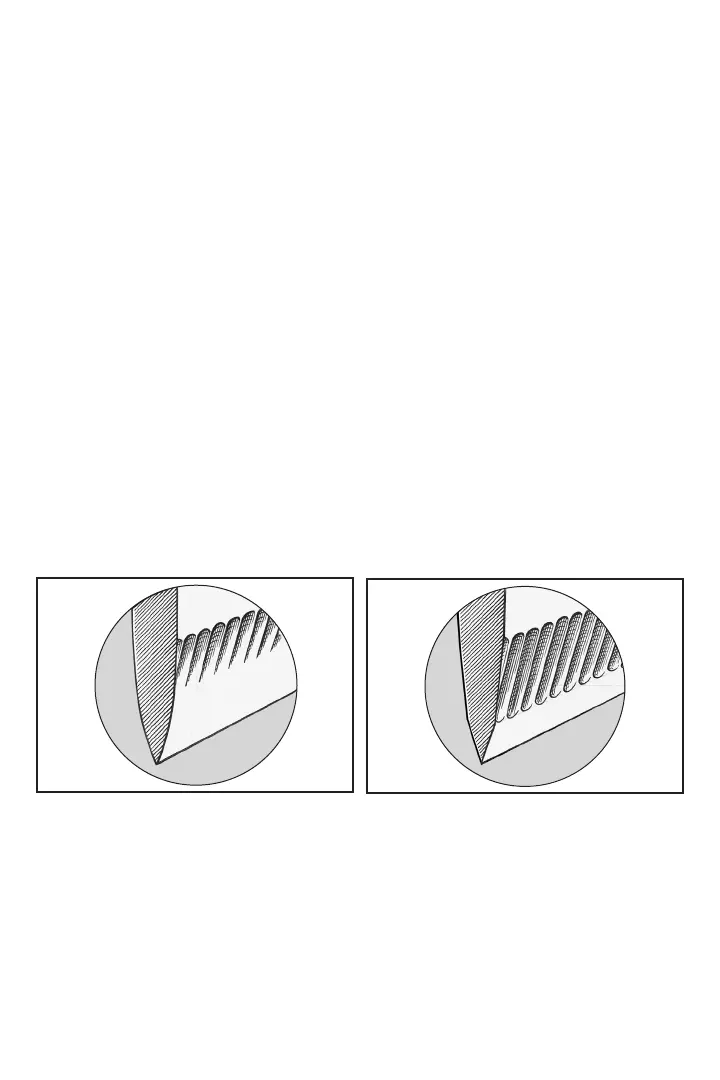
left and right slots of Stage 2 will refine the second facet and create remarkably smooth
and sharp edges, (Figure 7) ideal for the gourmet chef.
When resharpening the Gourmet edge, use Stage 2, (alternating left and right slots).
If after a number of resharpenings, it is taking too long to resharpen, you can speed the
process by resharpening first in Stage 1 following the procedures detailed, and then
resharpen in Stage 2. This procedure, unlike conventional sharpening, will give you
extraordinarily sharp knives every day while removing very little metal and prolonging
the life of your knives.
FOR GAME, FISH AND FIBROUS MATERIALS
For cutting more fibrous materials you may find it advantageous to sharpen in Stage 1 –
followed directly by only one alternating pair of pulls in Stage 2. This will leave sharpened
microflutes along the facets nearer to each side of the edge (Figure 8) that will assist in
the cutting of such materials.
To prepare this type edge, sharpen in Stage 1 until a burr is developed along the entire
edge. Then move to Stage 2 and make just one pair of pulls.
To resharpen this type of edge, sharpen in Stage 1 until you develop a burr and then make
one pair of pulls in Stage 2.
PROCEDURE FOR SHARPENING SERRATED BLADES
Serrated blades are similar to small saw blades with scalloped depressions and a series of
pointed teeth. In normal use the pointed teeth do most of the cutting.
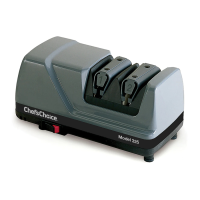
Serrated blades of all types can be sharpened in the Chef’sChoice
®
Model 325. However,
use only Stage 2 (Figure 9), which will sharpen the teeth of the serrations and develop
microblades along the edge of these teeth. Generally five (5) to ten (10) pairs of
alternating pulls in Stage 2 will be adequate. If the serrated knife is very dull more pulls
will be needed. If the knife edge has been severely damaged through use, make just one
fast pull (2-3 seconds for an 8” blade) in each of the right and left slots in Stage 1, then
make a series of pulls in Stage 2, alternating right and left slots. Excessive use of Stage 1
will remove more metal along the edge than is necessary in order to sharpen the teeth.
Figure 7. A larger polished facet adjacent to edge is
ideal for gourmet preparations.
Figure 8. Retention of larger microflutes adjacent
to edge helps when cutting fiberous foods.




 To Next Page