Do you have a question about the Christopeit Sport Basic Concept and is the answer not in the manual?
Verify all parts are present and assemble according to instructions.
Ensure all screws and connections are tightened regularly.
Position equipment on a dry, level surface; protect floor.
Wear suitable clothing and shoes for fitness training.
Maintain a 2-meter clearance zone around the equipment.
Consult a doctor before commencing any training program.
Use only when in perfect working order; use original spare parts.
Equipment is intended for single-person use unless specified.
Discontinue training and seek medical advice if symptoms occur.
Ensure appropriate use by informed individuals.
Children and individuals with disabilities require supervision.
Keep body parts clear of all moving equipment components.
Verify all adjustments are secure and within limits.
Use appropriate tools for cleaning; avoid strong solvents.
Dispose of packaging and parts responsibly at collection points.
Certified to EN 957-1/+4 "H"; maximum user weight 120kg.
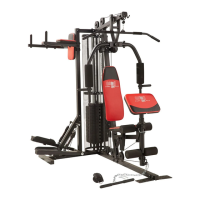
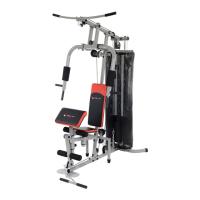
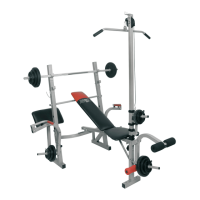
Connect rear feet to crossframe using specified hardware.
Attach front foot and crossframe to the longitudinal frame.
Mount the crossbar onto the front foot and longitudinal frame.
Install butterfly arms and handgrips onto the rear feet.
Attach leg curler, pad holders, and pads to the front foot.
Secure seat padding to the longitudinal bar with bolts.
Attach backrest padding and its supporting holders.
Mount the curl trestle onto its designated holder.
Assemble latissmus column with associated components.
Perform final checks on installation and safety features.
Guideline for effective training intensity using pulse rate.
Recommended training frequency for fitness improvement.
Structure training sessions with warm-up, main, and cool-down phases.
Strategies for maintaining training motivation and consistency.
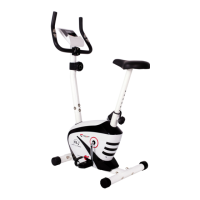
| Type | Exercise Bike |
|---|---|
| Resistance Levels | 8 |
| Saddle Adjustment | Vertical |
| Drive System | Belt drive |
| Resistance System | Magnetic |
| Display | LCD |
| Functions Displayed | Time, speed, distance, calories, pulse |
| Pulse Measurement | Hand pulse sensors |