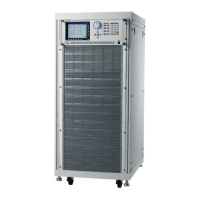
Programmable AC Source 61511/61512/61611/61612 Quick Start Guide
2.4 Output Connection
The output terminal block is located at the rear of AC Source. The Load is
connected to the output terminals. To meet the safety requirements, the
I/O input/output wires need to be tied up by a safety strip and the cover
must be secured. The wire diameter should be large enough to connect
to the load so that it will not overheat when outputting current, see Figure
2-5.
The output terminal labeled “L” is the “+” terminal and
the output terminal labeled “COM/N” is the “-” terminal
when output voltage contains DC composition.
WARNING
For propoer ventilation, the hardware should be placed
at least 1 meter distance from the device front and rear
panel. Do not place the hardware against the wall or
other objects.
2.5 Remote Sense Connection
The remote sense function of AC Source monitors the voltage at the load
and the automatic compensation ensures the voltage delivered to load is
the one programmed.
Remove the connecting wires “ψ1”, “ψ2”, “ψ3” and “COM” from Remote
Sense terminal, and connect remote sense to load as Figure 2-4 shows.
As the sensing leads transmit only a few milliamperes, the sensing wires
are much thinner than the load leads. The sensing leads are part of the
feedback circuit of AC Source, so they must be low resistance for the best
performance. Connect the sensing leads carefully so that they will not be
open-circuited. If the sensing leads are disconnected or become open-
circuited during operation, the AC Source may unable to output. The
sensing leads must be a twisted pair to minimize the interference from
external voltages. The sensing leads need to be connected to the load as
close as possible.
12