User Instructions
Pump Rotation Check
4. With power off, check the wiring connections by tugging on
the lines. Tighten all terminals in the control area. These
can loosen due to vibration in shipping.
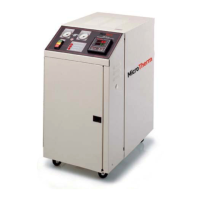
5. Close the front electrical enclosure door. Pull the top cover
off of the heat transfer system and locate the top of the pump
motor.
6. With the supply water connected, and adequate pressure
present, press the and buttons in quick
succession. Watch the rotation on the pump motor to insure
it matches the label on its top.
7. If rotation is incorrect, disconnect power to the system and
swap any two of the supply lines. Repeat rotation check.
Close the front electrical enclosure door and retighten the
locking screw. This must be done to limit access to high voltage
components. Failure to comply could lead to electric shock or
electrocution.
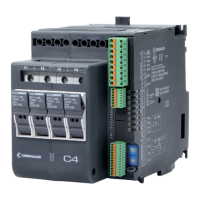
Control Voltage Fusing
Terminal block #1 (see Figure 2.5) contains a 120V fuse for the
control circuitry. this fuse protects the control transformer and
circuitry.
1. Should the fuse blow, an indicator will light on the terminal
block.
2. Disconnect power from the system.
3. Determine the cause of the blown fuse.
4. Replace with an equivalent fuse.
5. Reconnect power.
START STOP
WARNING
12
 Loading...