2-32
Cisco Integrated Services Router Hardware Installation Guide
Chapter 2 Installing the Router
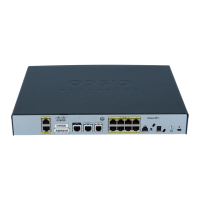
Installing the Cisco 810 ISR
Attaching the mount to the router
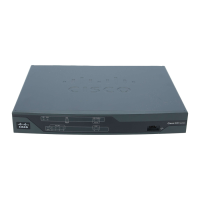
Figure 2-28 Cisco ISR 819 mounted in a Configurable Low Profile DIN mount
To attach the router to the mount:
1. Remove the bottom screw of the 3 screws on the sides of the router at the front.
2. Slip the router into the mount tray
3. Align the holes at the front sides of the mount with the vacant screw holes on the router and
screw the mount to the router with the longer, 6-32 x .375 Philips/Pan Head screws with locking
washer (Cisco 48-0422-01), which are included with the kit.
4. Remove the screw near the middle on the back of the router
5. Locate the “L” bracket that came with the mount, and screw the bracket to the router with the
other 6-32 x .375 Philips/Pan Head screw and locking washer (Cisco 48-0422-01).
6. Now screw the bracket to the mount with the shorter, supplied, 6-32 x .25 Philips/Pan Head
screw and locking washer (Cisco 48-0421-01).
Attaching the Assembled Router and Configurable DIN Mount to the DIN Rail
Once the mount has been configured according to need, and the router has been attached to the mount,
the assembly is ready to be snapped onto the DIN rail.
 Loading...