9. Install the power supplies into the chassis. See: xref Installing AC Input Power to Cisco ASR 1001 Router,
xref Installing DC Input Power on the Cisco ASR 1001 Router
DETAILED STEPS
Step 1 Place the DIMM on an antistatic mat or pad while wearing an antistatic device, such as a wrist strap.
DIMMs are sensitive components that can be shorted by mishandling; they are susceptible to ESD damage.
Handle the DIMM by the edges only, and avoid touching the pins.
Caution
Step 2 Remove the new DIMM from the antistatic bag.
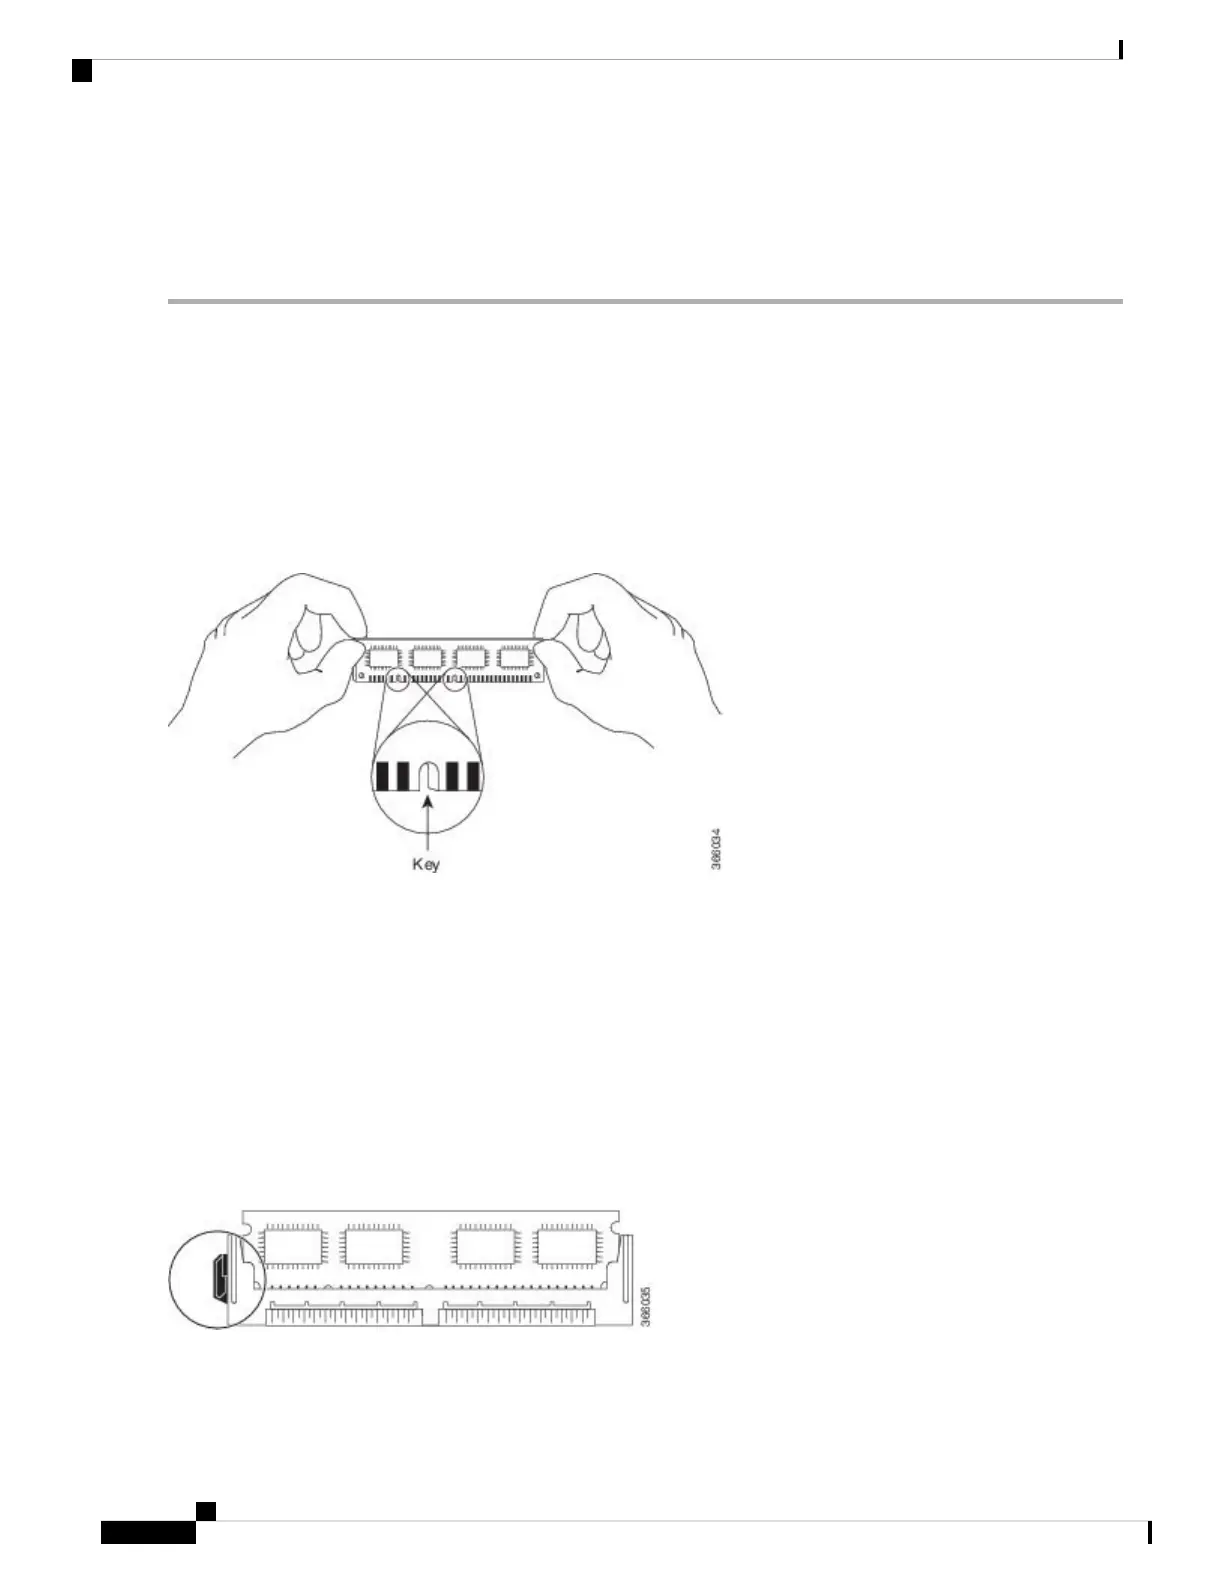
Step 3 Hold the DIMM component side up, with the connector edge (the metal fingers) closest to you. Hold the ends of the
DIMM between your thumb and forefinger. See the following figure.
Figure 23: Handling the Cisco ASR 1001 Router DIMM
Step 4 Tilt the DIMM to approximately the same angle as the socket and insert the connector edge into the socket. Note the two
notches (keys) on the connector edge of the DIMM. These keys are intended to ensure correct orientation of the DIMM
in the socket.
When inserting DIMMs, use firm but not excessive pressure. If you damage a socket, you will have to return
the route processor to the factory for repair.
Caution
Step 5 Note the orientation of the socket key on the DIMM and the DIMM socket, and gently push the DIMM into the socket
until the lever is flush against the side of the DIMM socket, and the DIMM edge connector is fully inserted. If necessary,
rock the DIMM gently back and forth to seat it properly. The following figure shows how to install the DIMM in the
socket for the Cisco ASR 1001 Router.
Figure 24: Installing the DIMM in the Socket for the Cisco ASR 1001 Router
Step 6 After the DIMM is installed, check whether the release lever is flush against the side of the DIMM socket. If it is not,
the DIMM might not be seated properly. If the DIMM appears misaligned, carefully remove it according to the removal
Removing and Replacing FRUs from the Cisco ASR 1000 Series Routers
34
Removing and Replacing FRUs from the Cisco ASR 1000 Series Routers
Replacing the Cisco ASR 1001 Router DIMM

 Loading...


