2-11
Cisco CRS-1 Carrier Routing System to Cisco CRS-3 Carrier Routing System Migration Guide
OL-13669-03
Chapter 2 Downgrading Your Cisco CRS-3 Carrier Routing System Router Back to a Cisco CRS-1 Carrier Routing
System Router
Downgrading your Cisco CRS-3 Carrier Routing System 16-Slot Line Card Chassis Back to a Cisco CRS-1 Carrier
Routing System 16-Slot Line Card Chassis
Steps
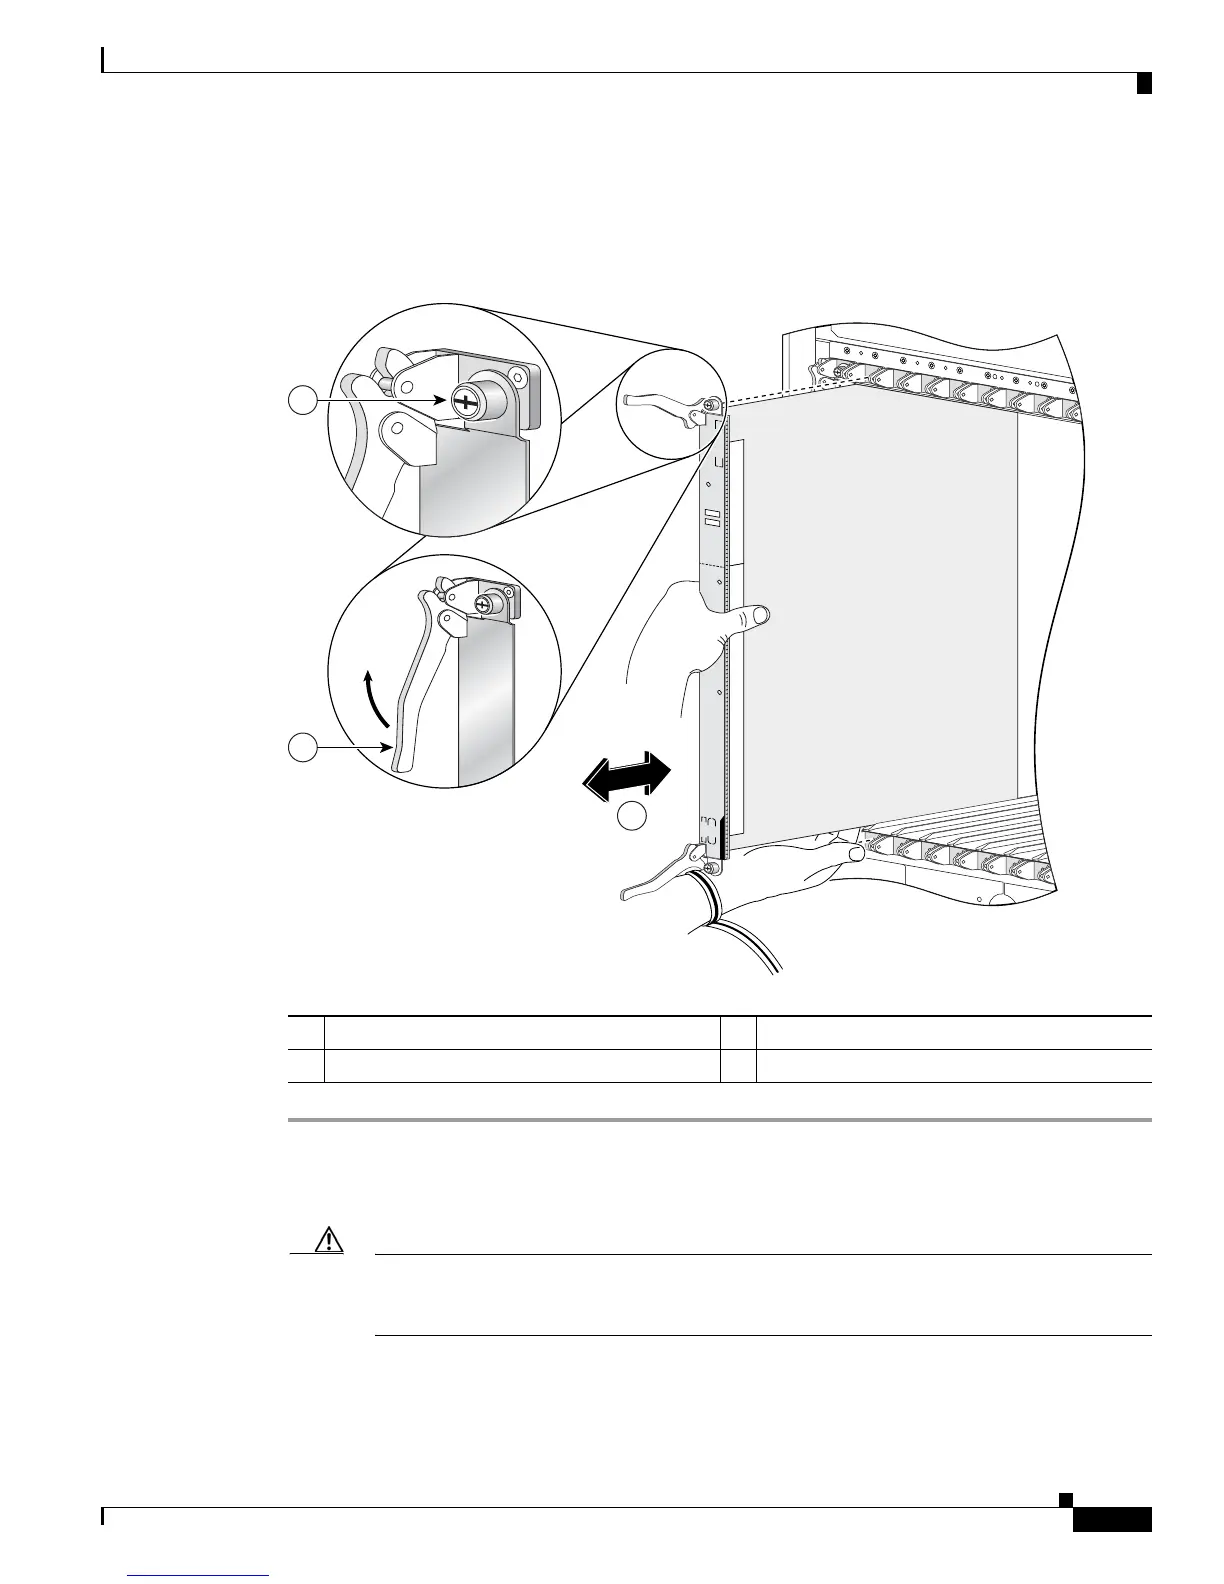
To install a CRS-1 fabric card, see Figure 2-4 and follow these steps:
Figure 2-4 Installing a CRS-1 Fabric Card
Step 1 Attach the ESD-preventive wrist strap to your wrist and connect its leash to an ESD connection socket
on the front of the chassis or to a bare metal surface on the chassis.
Step 2 Choose an available CRS-1 fabric card slot for the CRS-1 fabric card.
Caution To prevent ESD damage, handle a CRS-1 fabric card by its ejector levers, the CRS-1 fabric
card carrier edges, or the slide-assistance arm only. Do not touch any of the electrical
components, pins, and circuitry.
1 Captive screw 3 Direction of installation or removal
2 Ejector lever
STAT US
PID/VID
CRS-FCC-SFC
CLEI
SN:
129870
1
3
2
 Loading...


