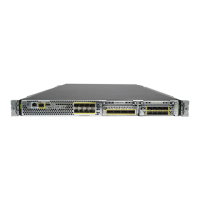
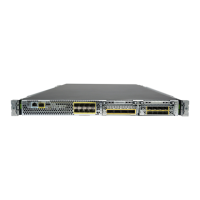
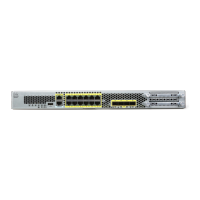
Network module 2
The 10-Gb network module is shown.
Note
10Pullout asset card9
Network module 3
The 10-Gb network module is shown.
Note
11
RJ-45 Console Port
The Firepower 4100 has a standard RJ-45 console port. You can use the CLI to configure your Firepower
4100 through the RJ-45 serial console port by using a terminal server or a terminal emulation program
on a computer.
The RJ-45 (8P8C) port supports RS-232 signaling to an internal UART controller. The console port does
not have any hardware flow control, and does not support a remote dial-in modem. The baud rate is 9600.
You can use the standard cable found in your accessory kit to convert the RJ-45 to DB-9 if necessary.
Type A USB Port
You can use the external USB Type A port to attach a data storage device. The external USB drive
identifier is disk1:. The USB Type A port supports the following:
• Hot swapping
• USB drive formatted with FAT32
• Boot kick-start image from the Supervisor ROMMON for discovery recovery purposes
• Copy files to and from workspace:/ and volatile:/ within local-mgmt. The most relevant files are:
• Core files
• Ethanalyzer packet captures
• Tech-support files
• Security module log files
• Platform bundle image upload using download image usbA:
The USB Type A port does not support Cisco Secure Package (CSP) image upload.
Network Ports
The Firepower 4100 chassis has eight fixed ports that require 1-Gb/10-Gb SFP/SFP+ transceivers (fiber
or copper). They are numbered from left to right starting with 1 and are named Ethernet 1/1 through
Ethernet 1/8. The 4100 also has two network module slots that support different numbers of ports
depending on the network module. See Network Modules, on page 11 for the supported network modules.
See for Supported SFP/SFP+ and QSFP Transceivers, on page 24 the list of supported transceivers.
Each port has LEDs that represent link/activity status.
Management Port
The Firepower 4100 chassis has a management port that requires a 1-Gb fiber or copper SFP.
Cisco Firepower 4110, 4120, 4140, and 4150 Hardware Installation Guide
8
Overview
Front Panel
 Loading...
