LightStream 1010 ATM Switch Processor Module Configuration Note 15
Installing and Replacing the ASP
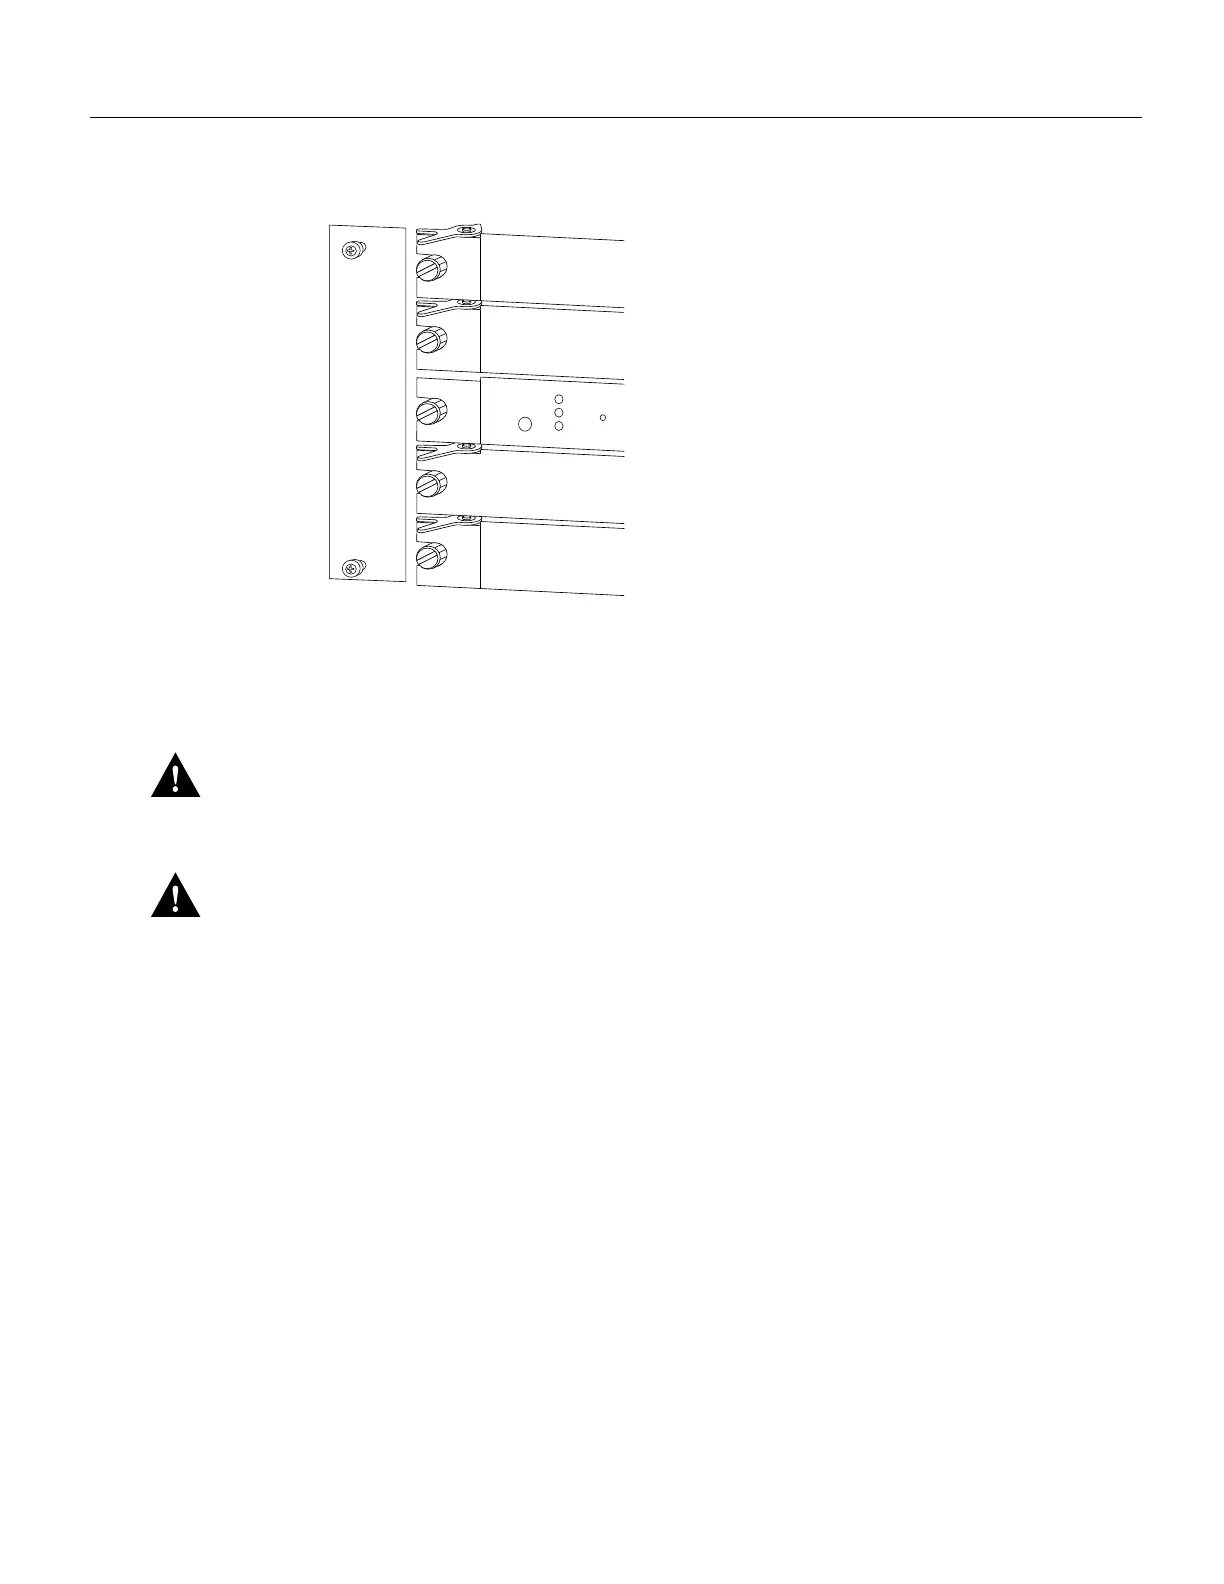
Figure 12 Slot Numbers
ASP Installation
ASP and CAM installation instructions are essentially the same, except the ASP does not support
hot-swapping.
The ASP is a required system component. Removing an ASP while the system is operating causes
the system to shut down and may damage the processor. Power off the system before removing the
ASP. For more information, see the section “Installing and Replacing the ASP.”
Caution Handle ASP by the carrier edges only to prevent ESD damage.
Take the following steps to install an ASP or CAM:
Step 1 Use a 1/4-inch flat-blade screwdriver to loosen the ASPs, which are secured with two
captive installation screws. Then remove the ASP card from the slot.
Step 2 Hold the ASP faceplate with one hand, place your other hand under the carrier and guide it
into the slot. Avoid touching the card. (See Figure 13.)
Step 3 Place the back of the ASP in the slot and align the notch on the sides of the module carrier
with the groove in the slot.
H5612
PS1
PS2
FAN
RESET
SWITCH/PROCESSOR
Slot 0
Slot 1
Slot 2
Slot 3
Slot 4